As I’ve mentioned before, I love beer. I’ve taken to brewing my own at home, and I find it an enjoyable and relaxing experience.
Until now, I was only able to buy the ingredients to do extract brewing. This was okay as it taught me the basics, but it doesn’t offer nearly the same level of flexibility with recipes. I was itching to be more creative.
Recently, my good friends and neighbours (#freighbors) tipped me off to a new homebrew supply store opening up locally. A quick check with the good people down at the internet confirmed this and I was able to find their contact info easy.
However, even after following Short Finger Brewing on social media for a few weeks, I hadn’t paid them a visit because...I don’t know...life got in the way. I had several different excuses, but I was genuinely interested in checking them out.
Finally, while writing my post about how I brew with extract, I decided to actually look at the map and see where they are located. To my amazement, they are literally in my office’s back yard.
With this newfound information, I immediately sent them an email and made arrangements to drop in the next day.
For my first attempt, I didn’t want to try a recipe too advanced. All-grain brewing requires some different pieces of equipment, and I didn’t know how well my homemade gear would work.
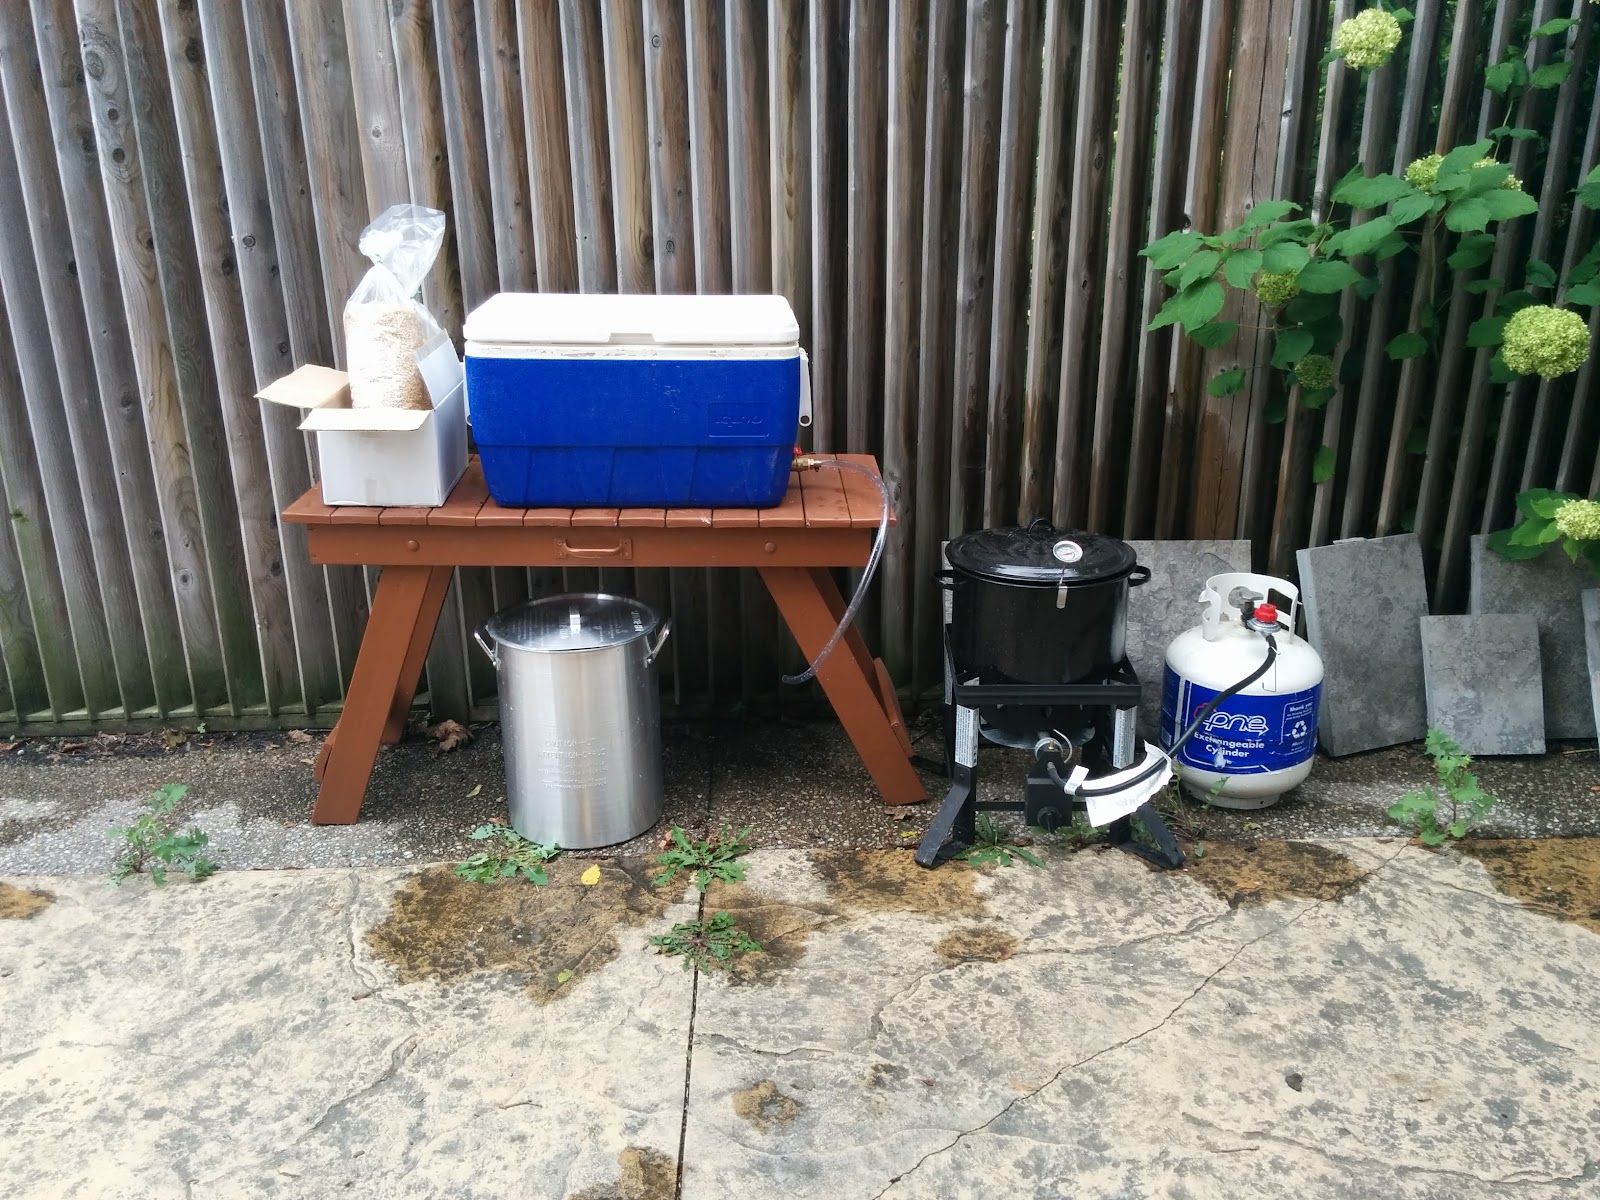
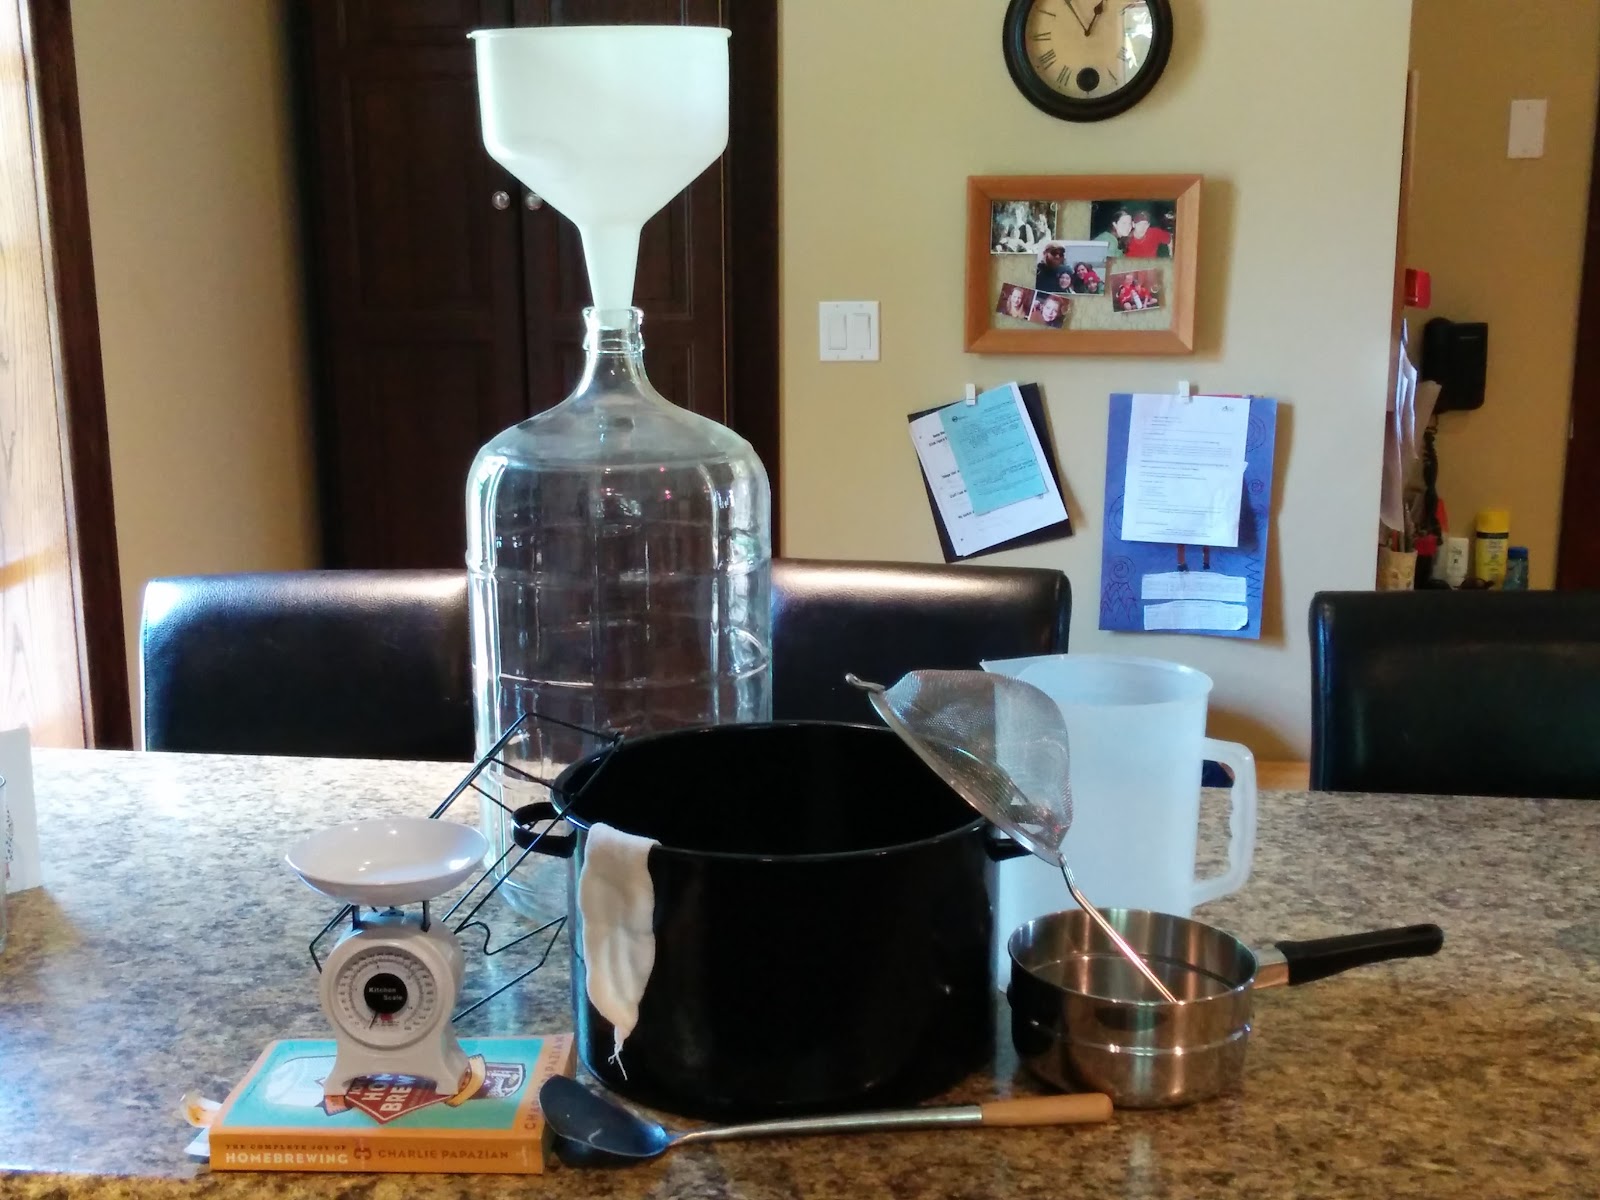
As you can see, all-grain brewing requires many more large pieces of equipment. While a good size brew pot and a fermenter is all you need for an extract beer, all-grain needs a few more items.
Like most things, there is more than one way to skin a cat. That said, there are different methods to sparge the grains. I will get into the specifics later, but based on the equipment I had at my disposal I had to batch sparge. This means I only need one mash/lauter tun, but two pots.
For my pots, I use my brew pot for extract brewing to heat the strike and sparge water, and a large turkey fryer as my brew pot. This way I can boil a full 5 gallon batch with no issues as the turkey fryer is large enough that it won’t boil over unless I’m completely negligent. And even if it does, since I’m outside it won’t be as devastating as it would be if I were in the kitchen.
While I had to buy my pots, I got to use my handyman skills to make my mash tun. I have a buddy who has access to a lot of coolers that his work just tosses out after they are done with them. He was kind enough to grab one and give it to me for free.
This one didn’t have a drain, but since I was going to replace it with a ball valve anyway, this wasn’t an issue. I carefully drilled a hole and inserted my valve construction.
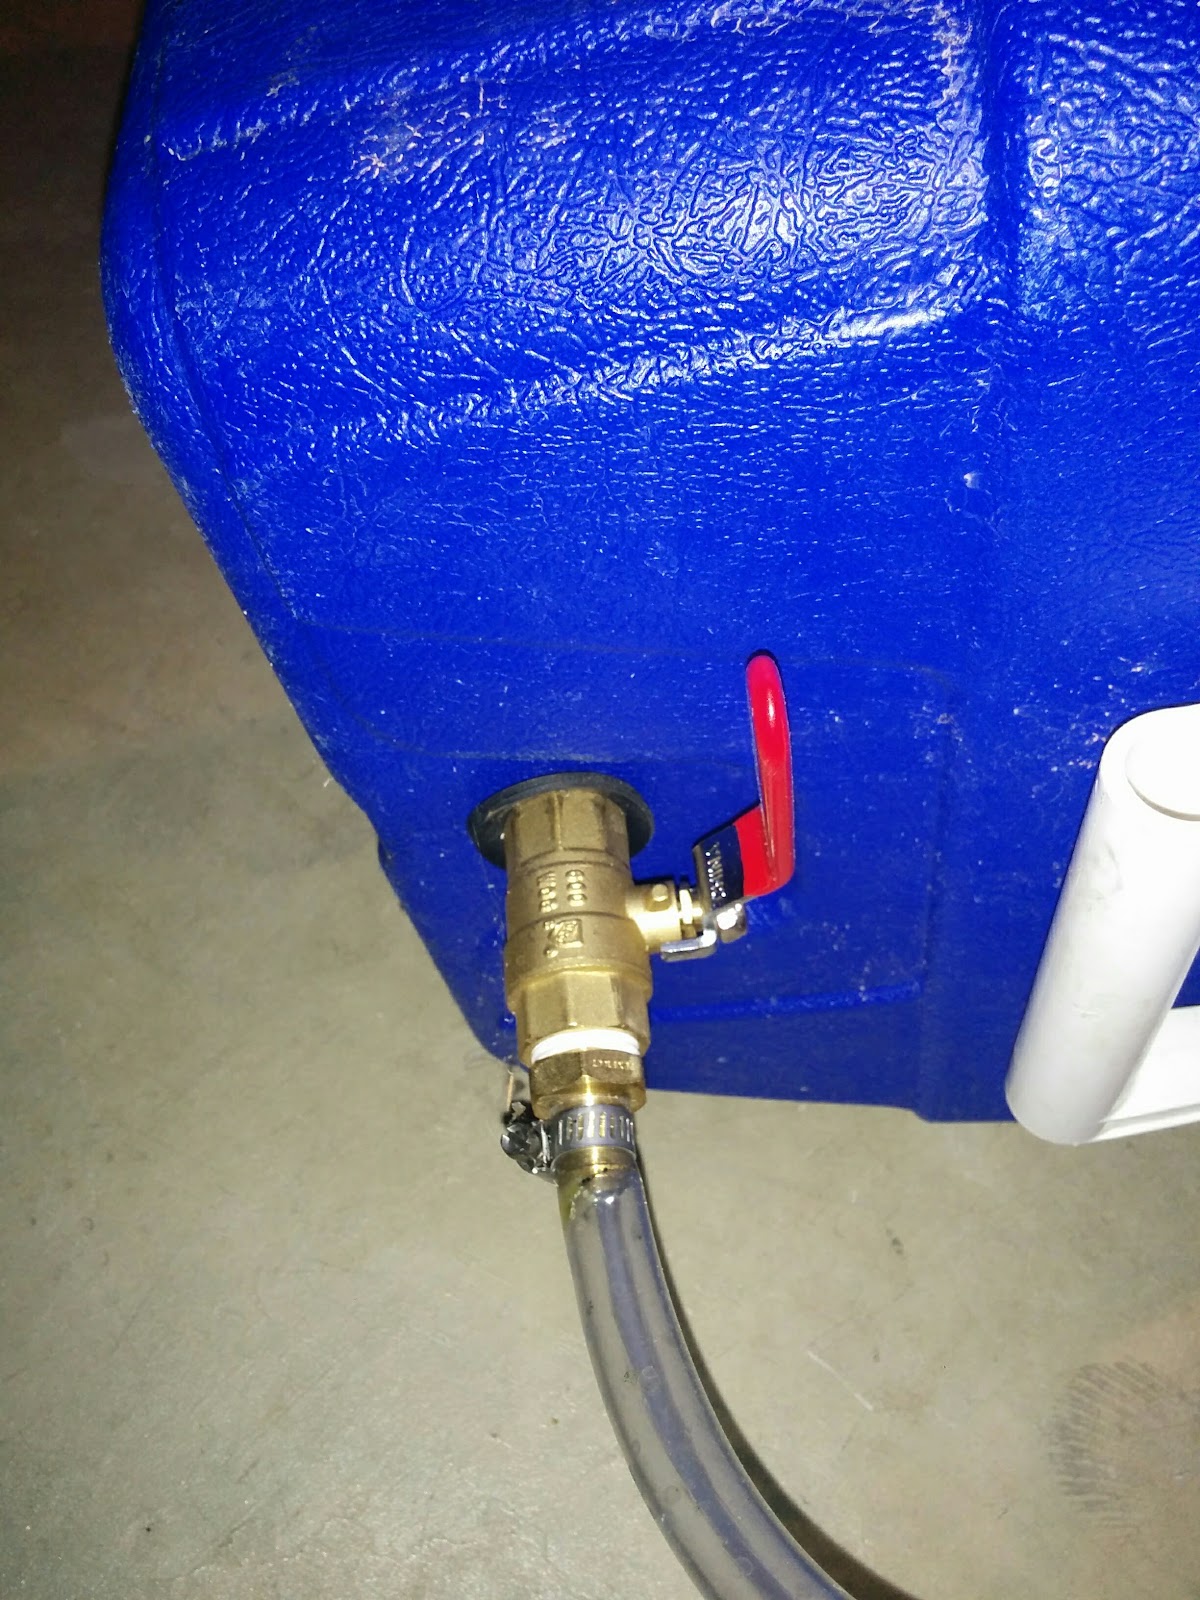
I realized as I was doing so that the rubber washers I had were slightly too small, and even though I doubled them up, they are stretched too far. As a result, if I’m too rough opening or closing the valve it leaks a little. It doesn’t seem to drip any other time, so I think it will do for the time being.
To create my filtration system, I paid a visit to my local hardware store and picked up a cheap braided washer hose, a copper plug, and a couple hose clamps. When I got home I cut the ends off the hose and struggled to pull the steel braid off the rubber hose without stretching it too much.
Ultimately, I was successful and then it was simply a matter of attaching one end of the braid to the drain and fitting the plug in the other.
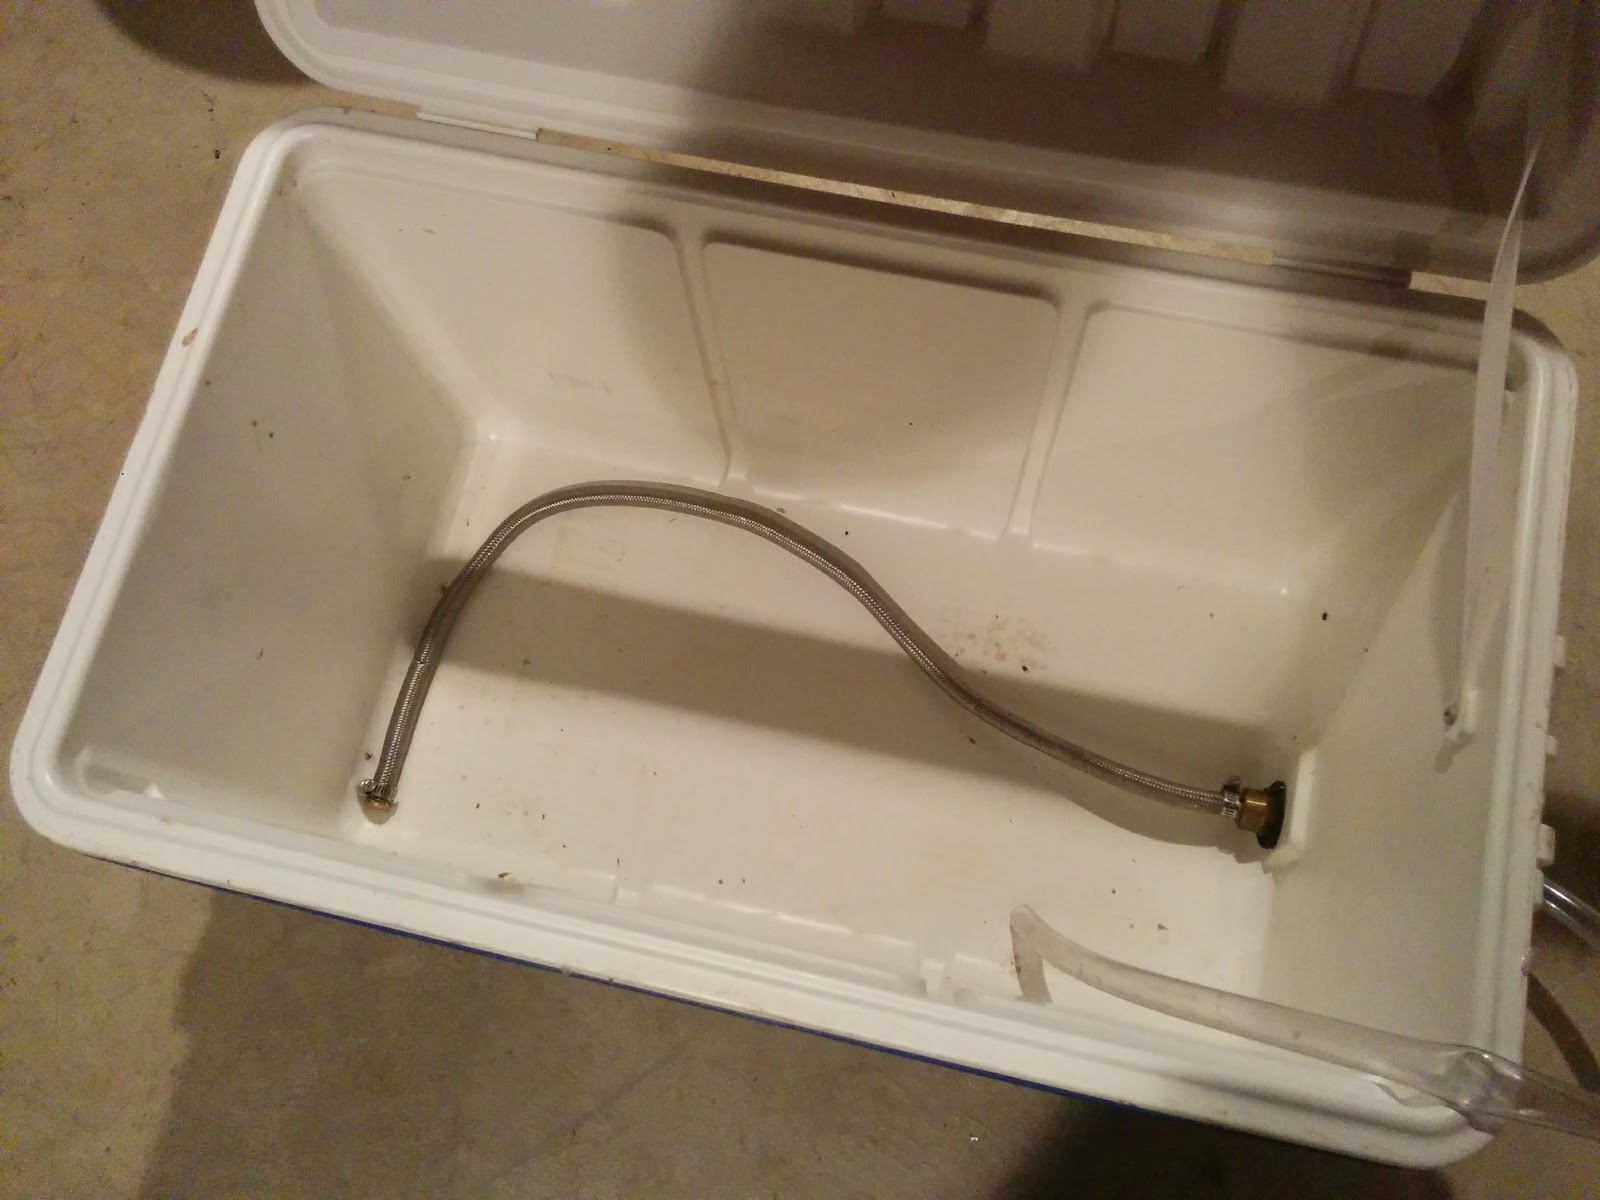
With that done (and obviously a good clean), it was time to start brewing.
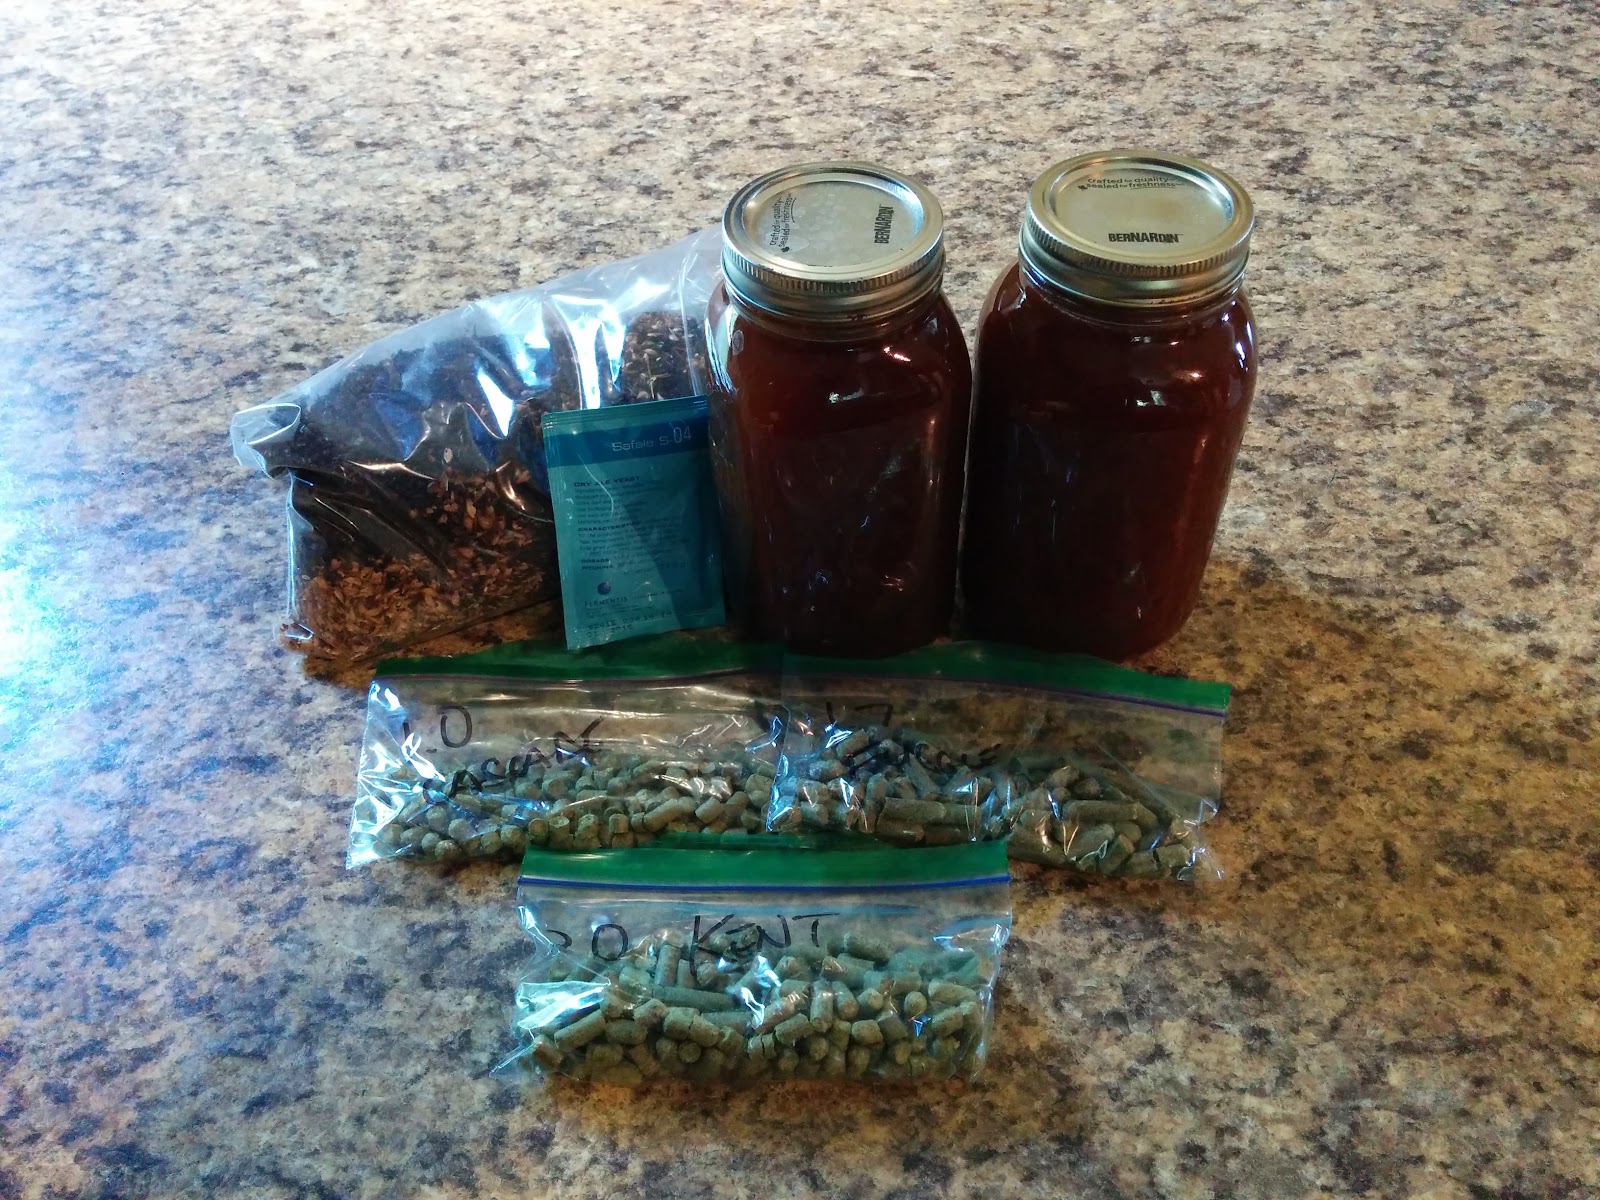
My first attempt I bought a preassembled kit and followed a recipe made by the awesome Rob at Short Finger Brewing. It was easy and meant for beginners. It didn’t have too many different ingredients or complicated timing.
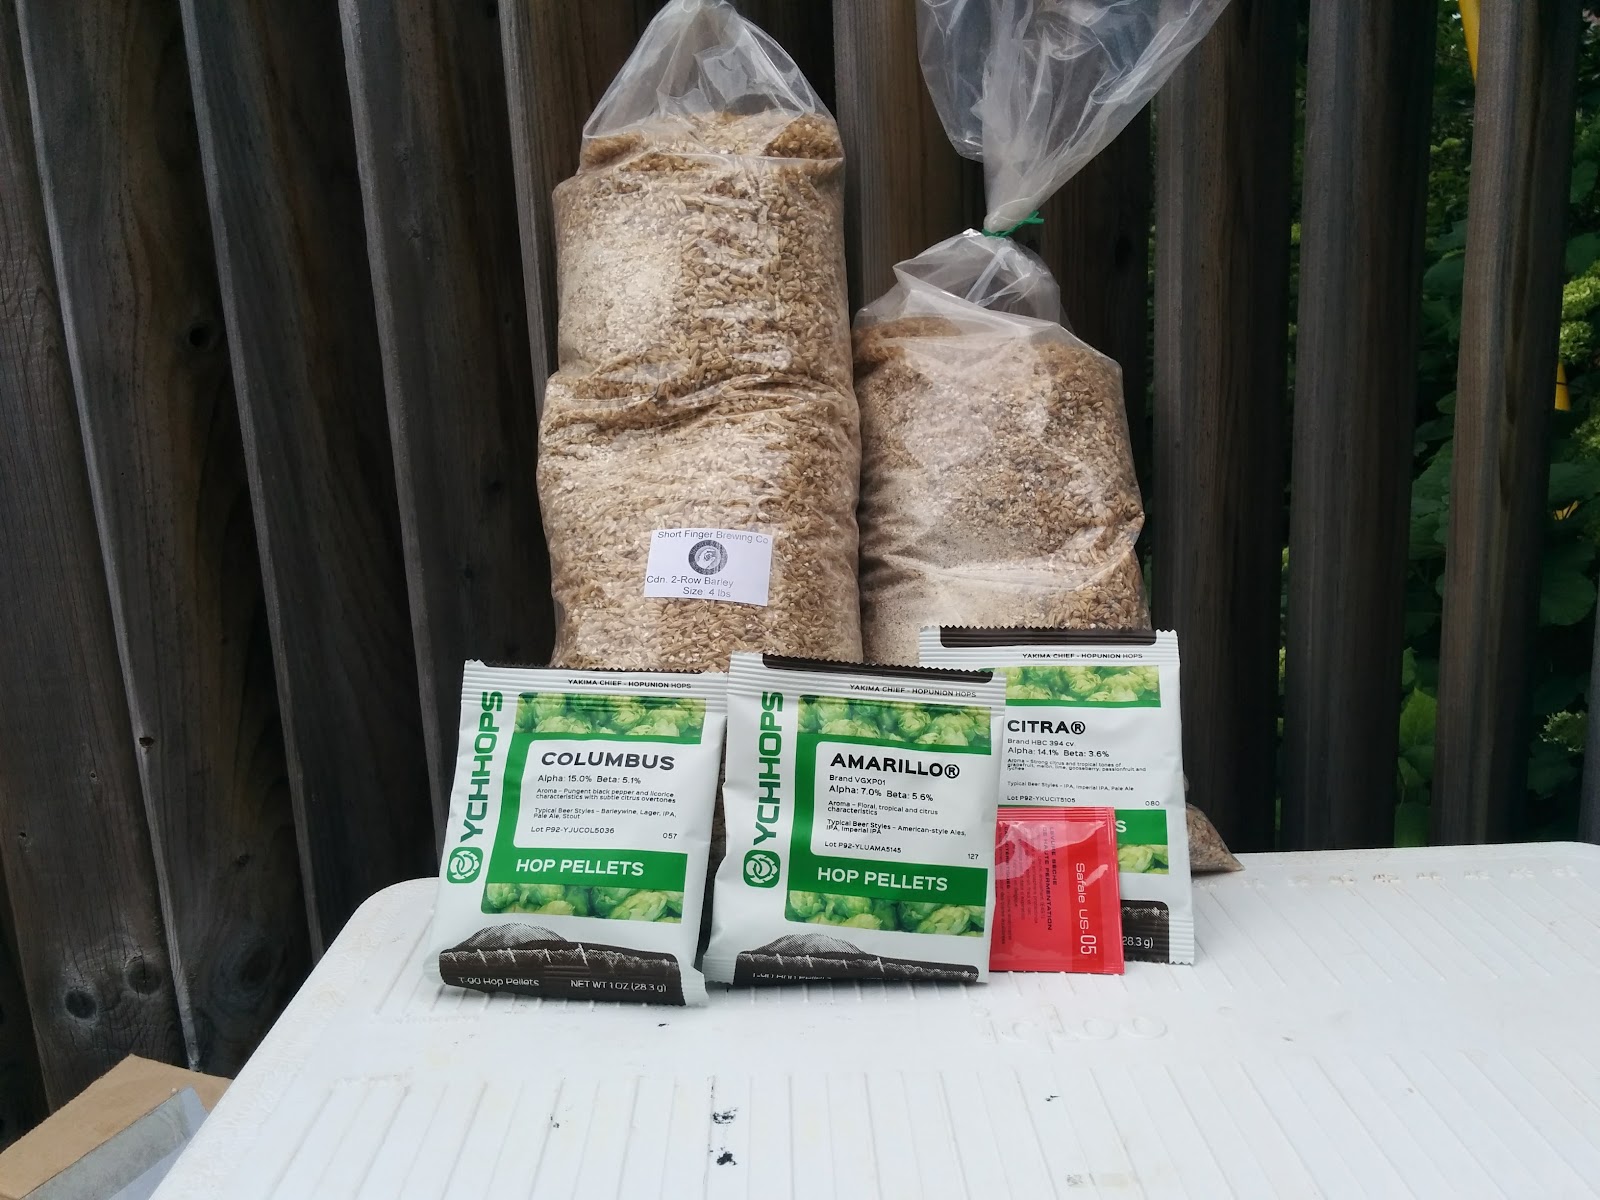
To start, I heated the strike water in my small pot. When it was the right temperature according to the recipe, I dumped it into my mash tun and poured all the grains on top of it. After a good stir to make sure there were no clumps of grains, I closed the cooler, set the timer and walked away. It was almost too easy.
I didn’t take too long of a break, however, as I needed to start warming my sparge water. I mentioned that I needed to batch sparge, which means I simply add more hot water all at once and then drain off as much liquid as I need.
Eventually I would like to build myself a system that will allow me to fly sparge, meaning I could be draining from the mash tun into the brew pot at the same time as the sparge water was going into the mash tun. Fortunately, there is no significant disadvantage in the way I do it for this recipe, so it is what it is for now.
Since the pot I am using to heat the strike water is half the size of my brew pot, I needed to sparge in two batches. I was worried about this, but I was told that it would be okay.
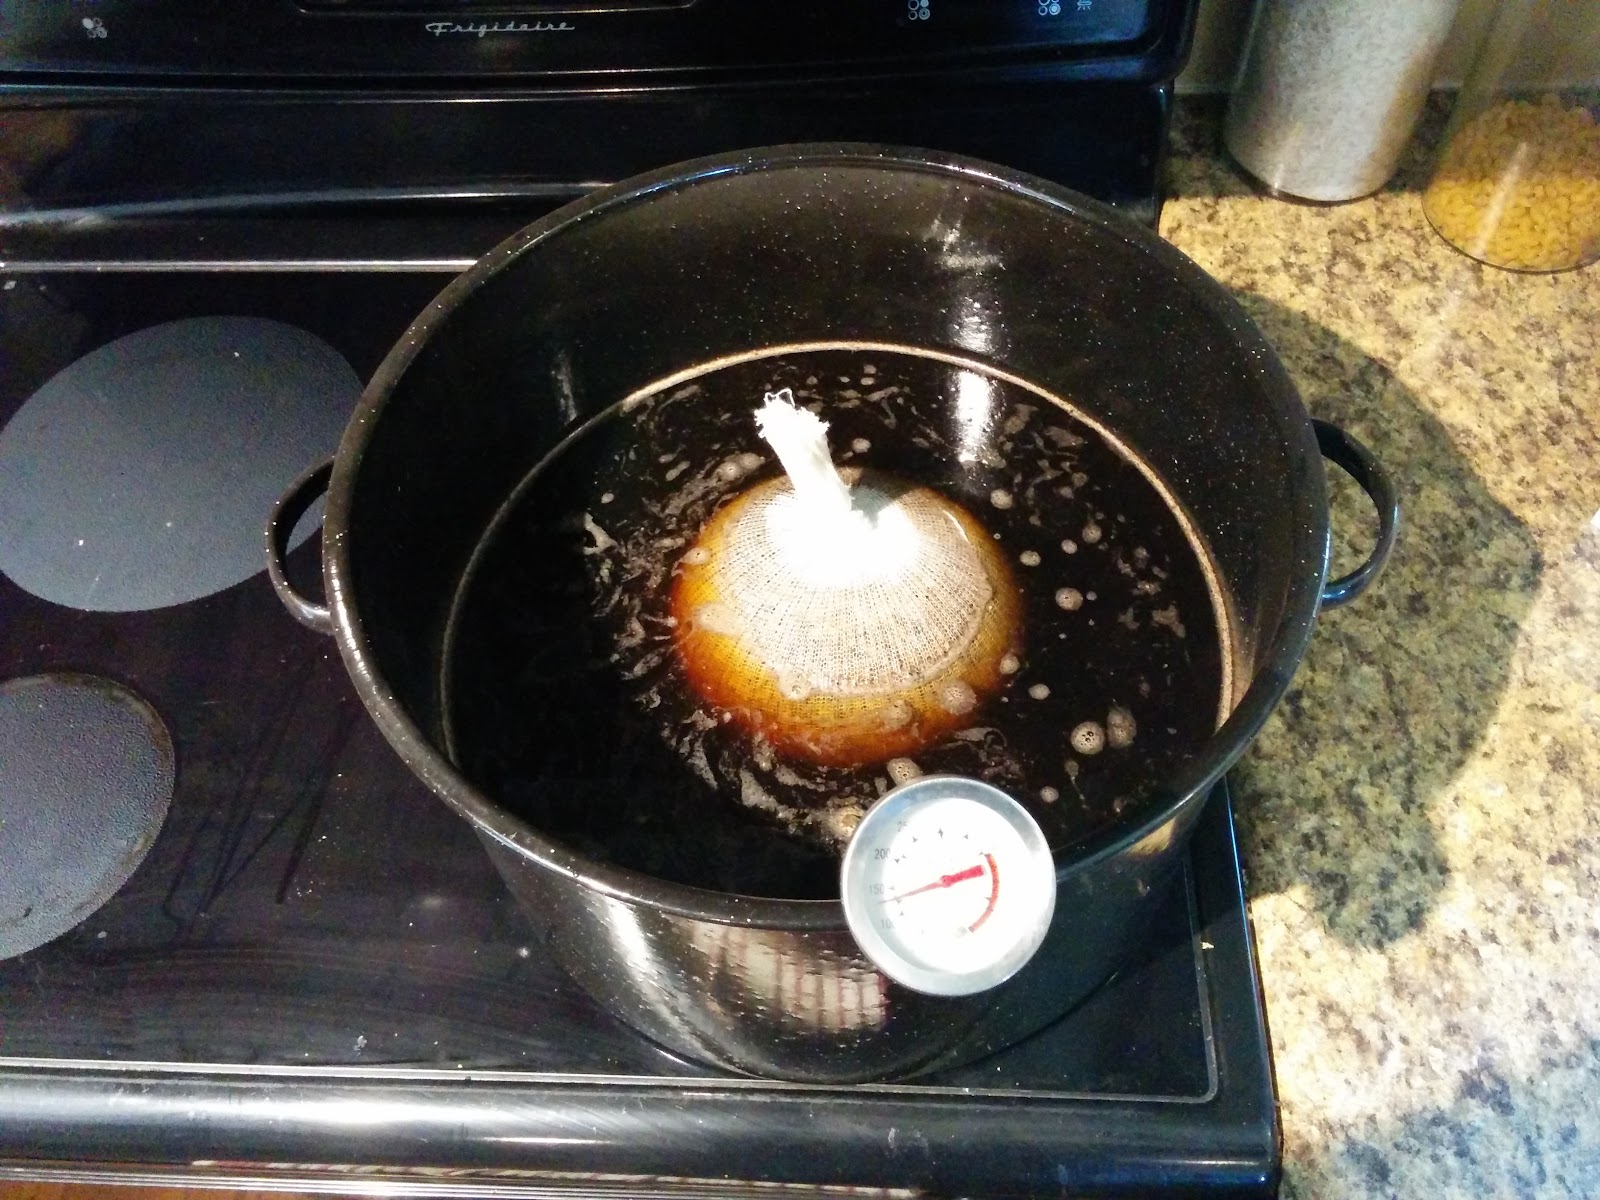
Here’s how the mash looked after the first sparge:
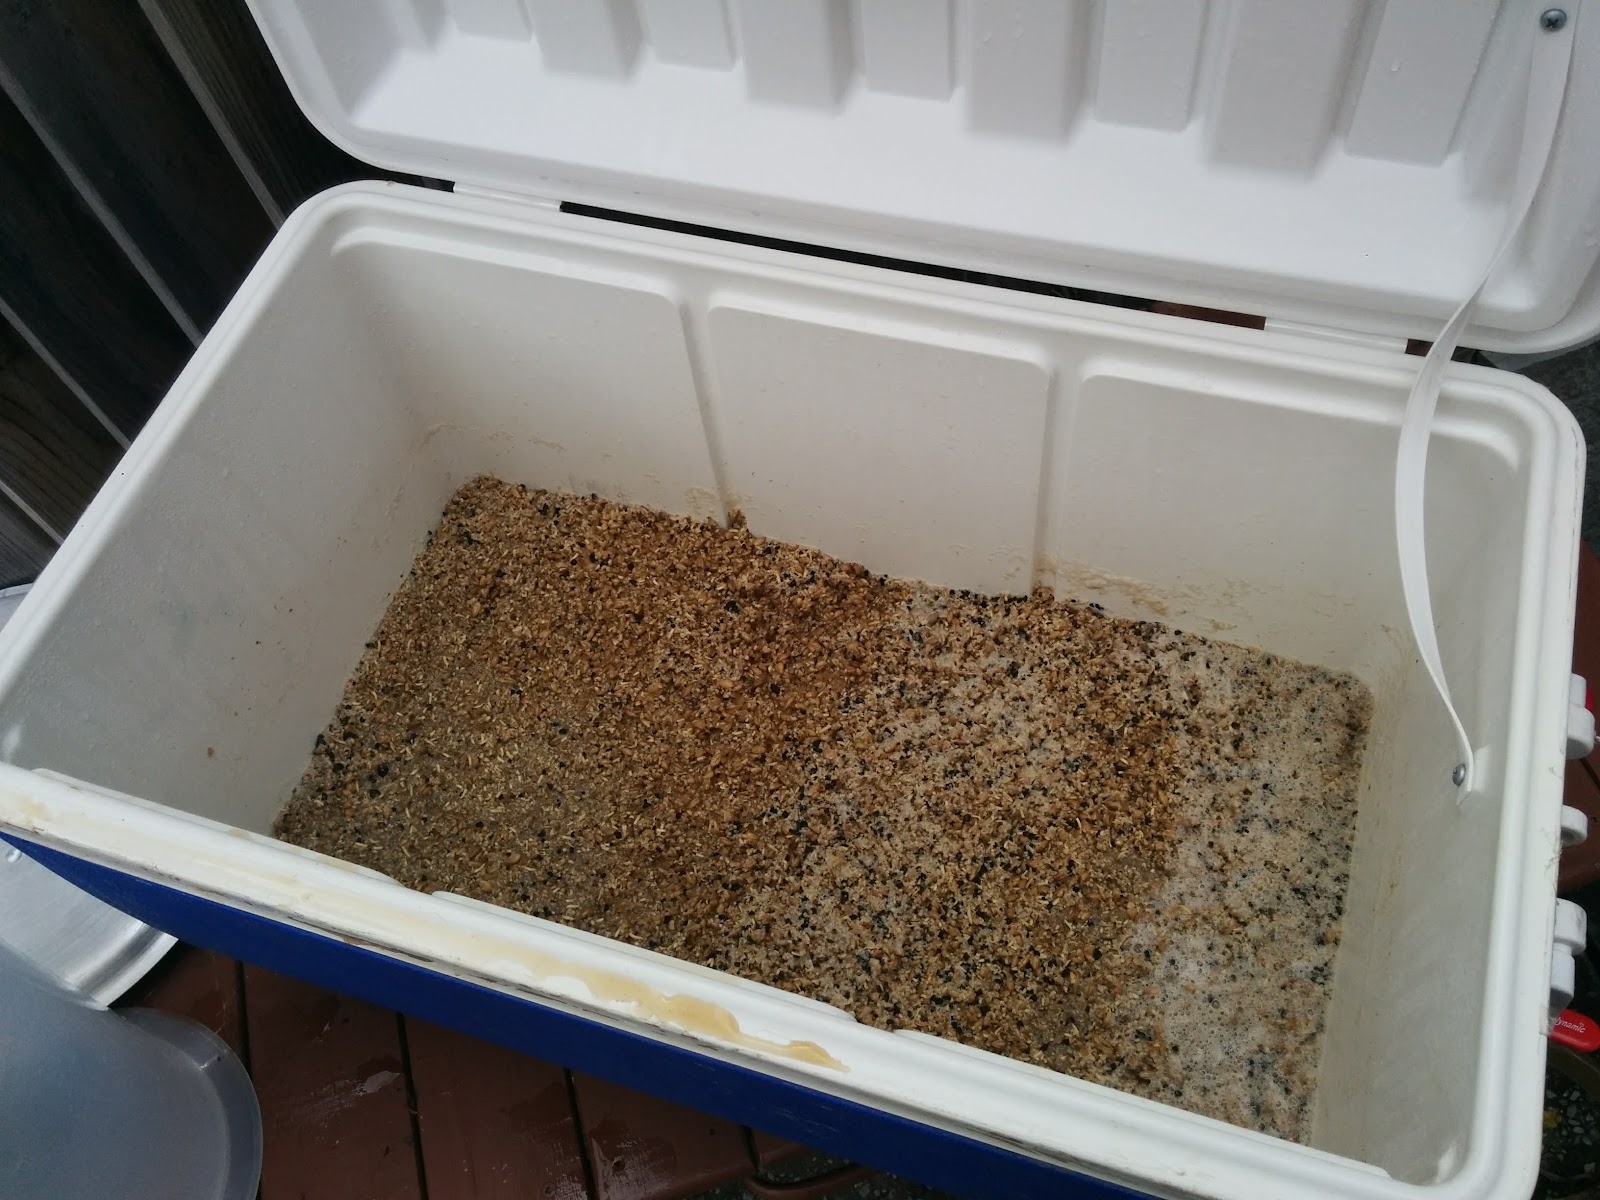
I felt my filter worked quite well and I didn’t have to vorlauf too long before I was getting clear runnings.
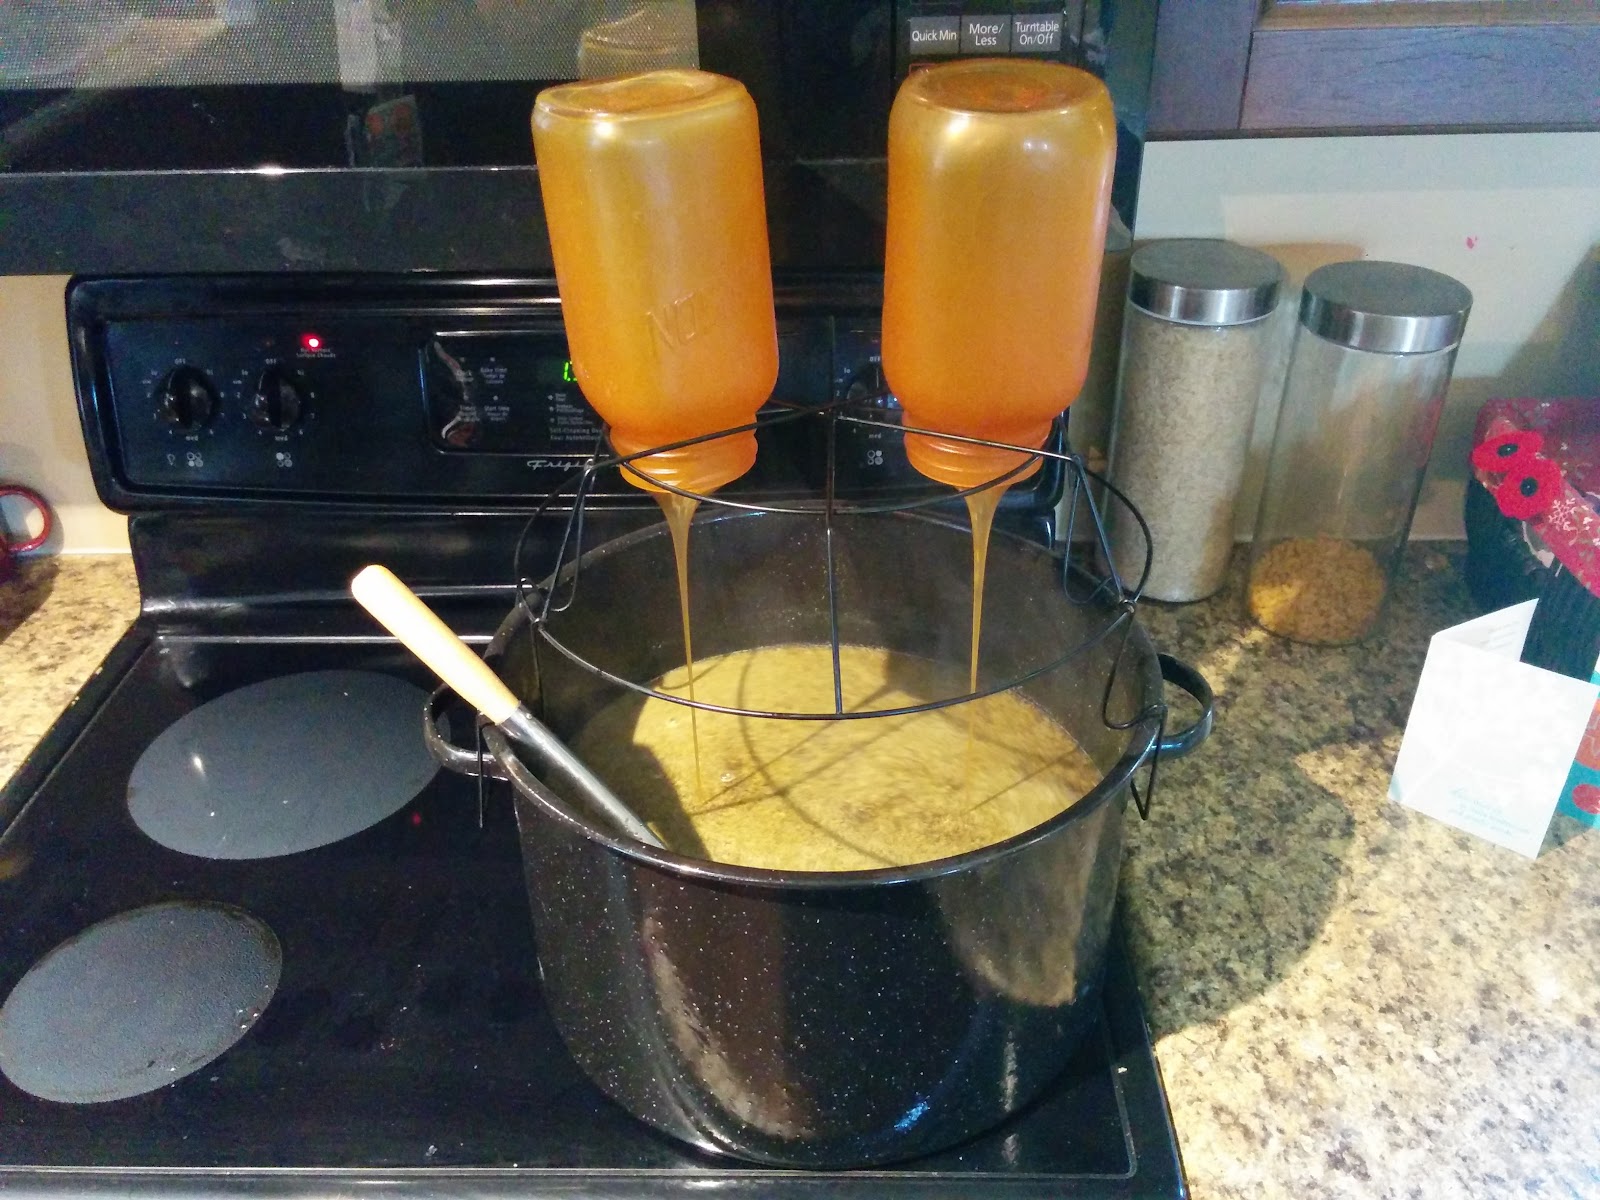
And here you can see my poor setup and my brew pot half full of wort waiting for the rest of the sparge water to heat up:
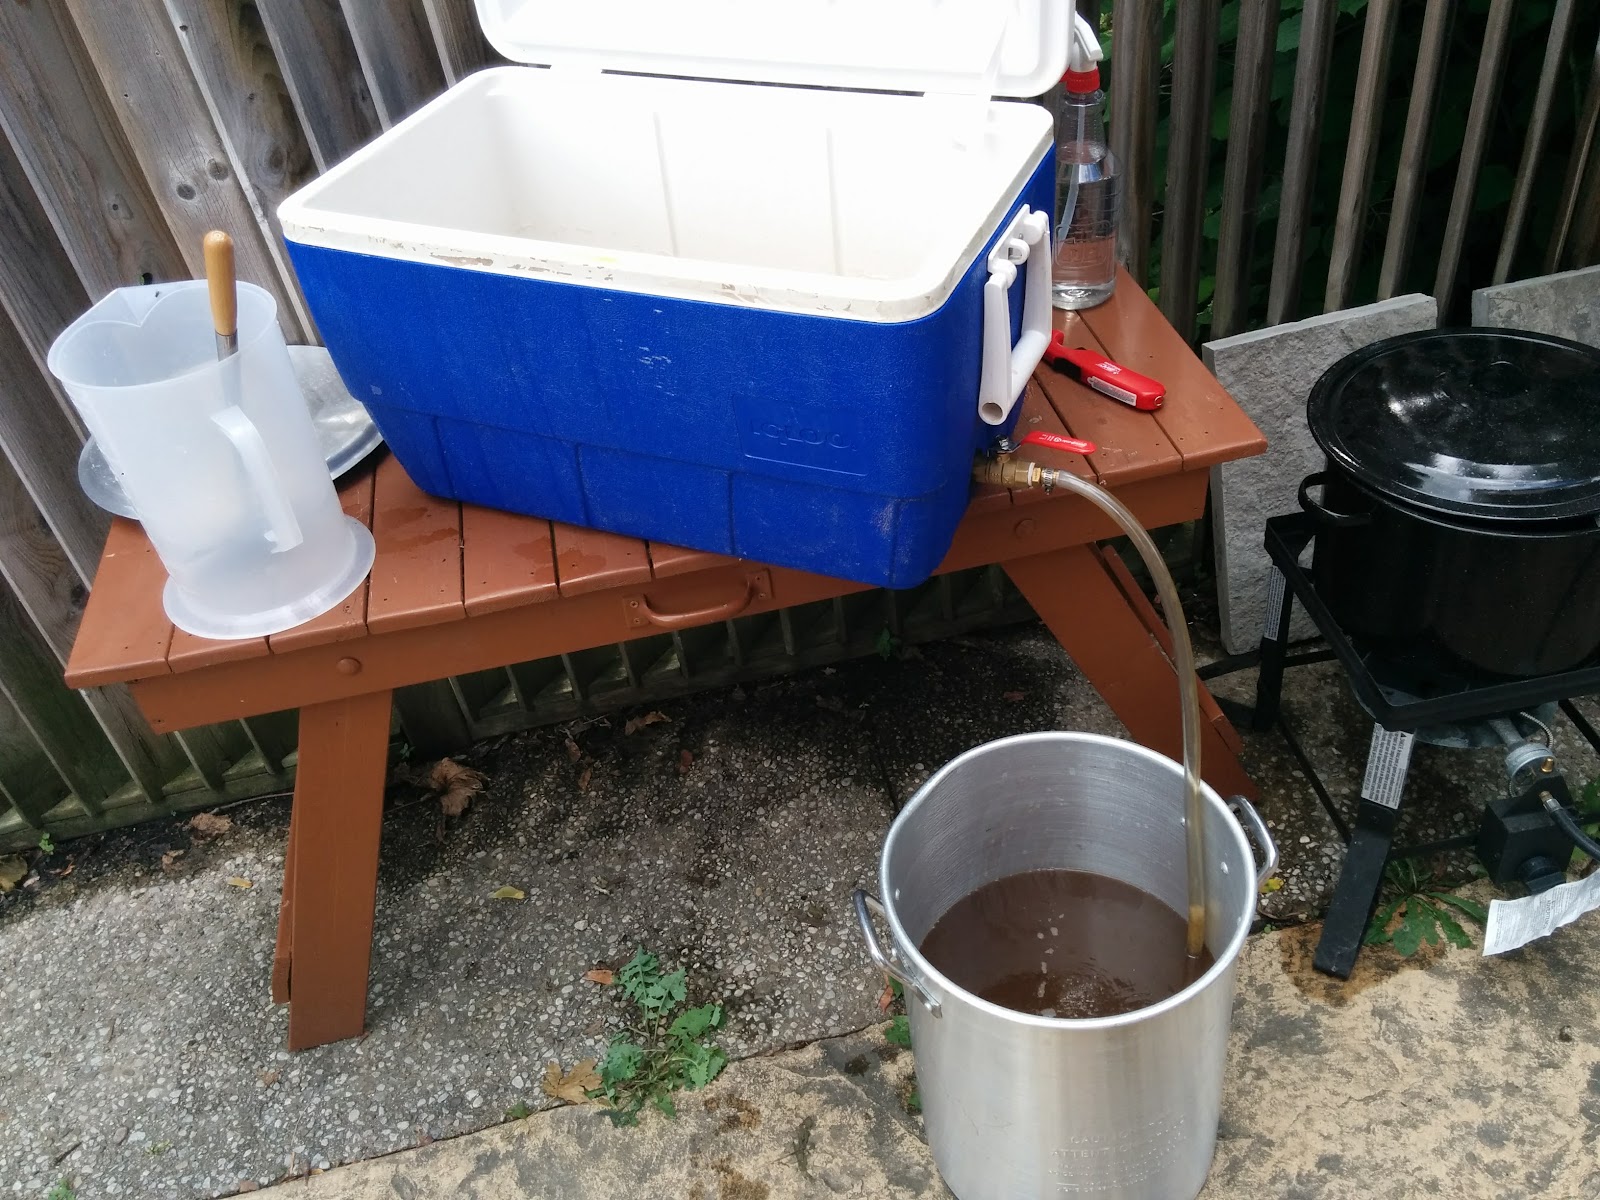
Eventually I had enough sweet goodness to start the boil.
You know the saying, “a watched pot never boils?” Well, I changed it to “a watched pot never boils over.” I hovered over my wort, spray bottle in hand, making sure I had as little sticky mess to clean up as possible until the hot break occurred. It felt like hours, but without too much drama I was eventually able to toss in the first hop addition.
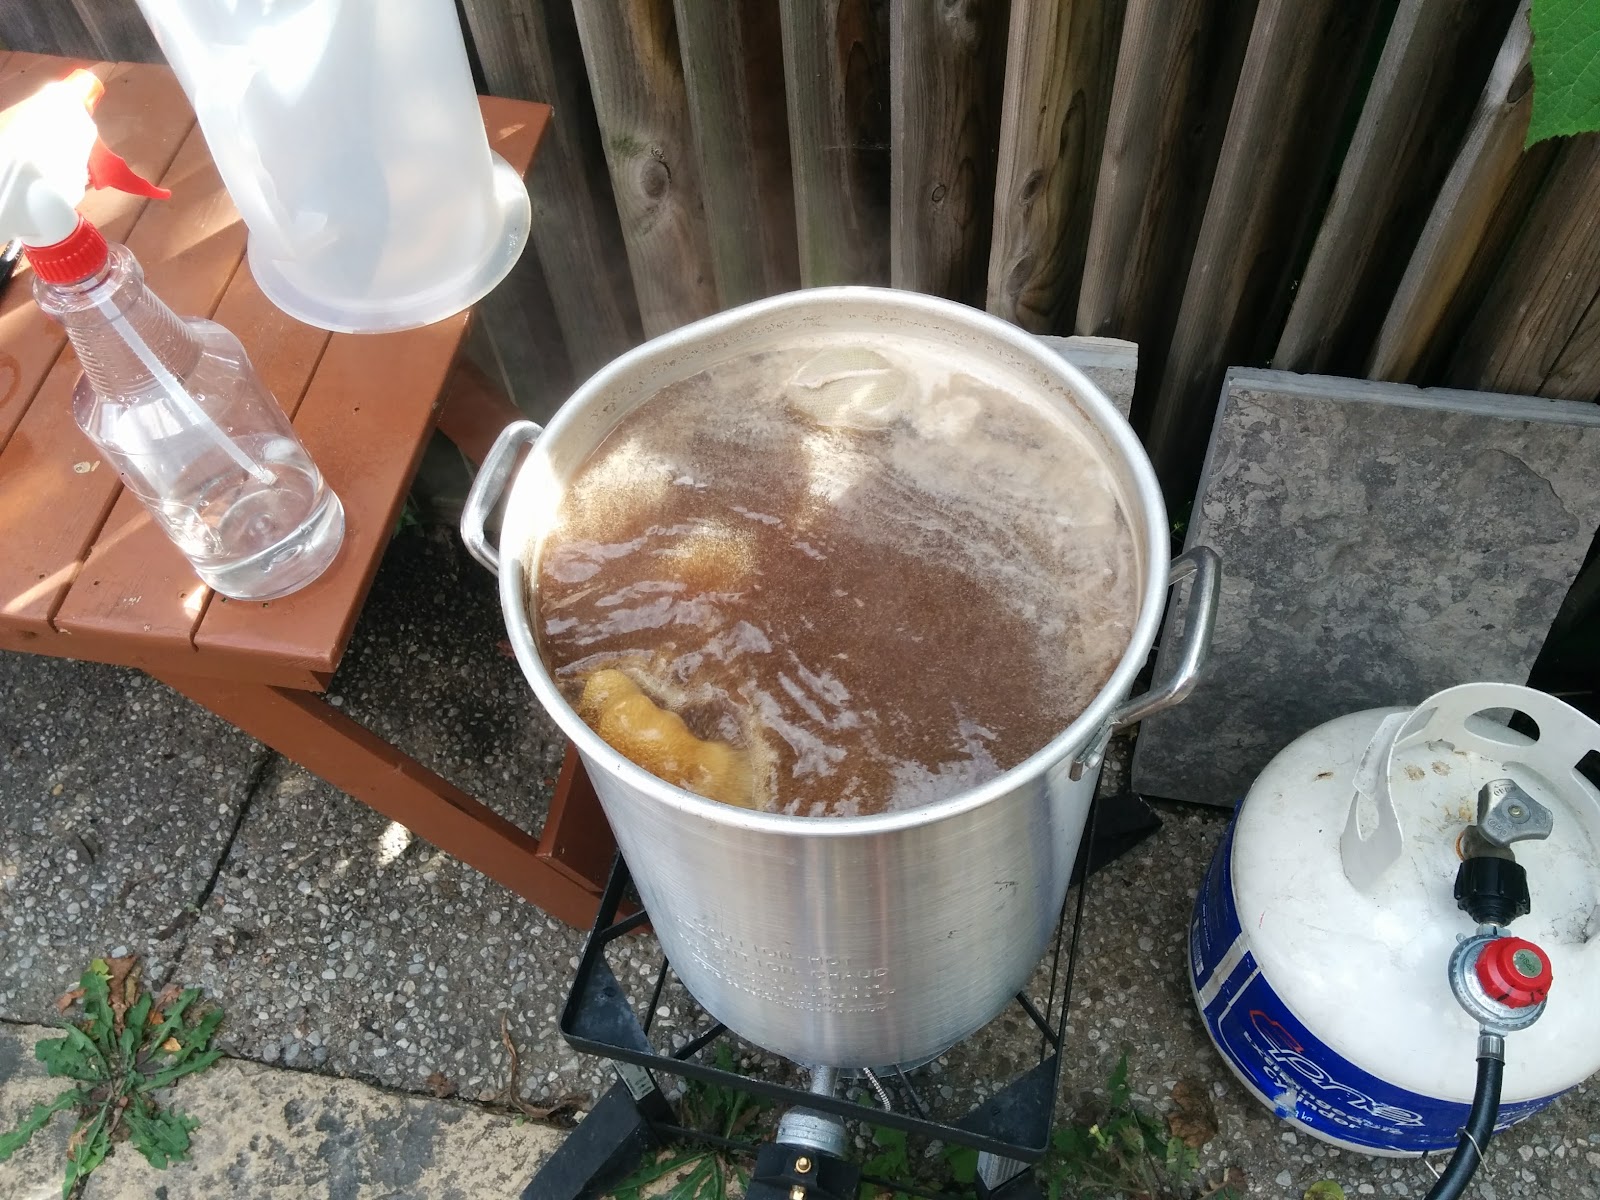
As I said, this recipe wasn’t too complicated and pretty soon all the hops were bathing in deliciousness. However, the next step was the most worrisome for me.
The boiling wort needs to be cooled quickly so it can be transferred to the fermenter without breaking it or picking up any nasty bacteria that would be all too happy to enjoy my soon-to-be-beer before me. I like to share, but that’s not the company I want to keep, so I tossed in my sad, handmade wort chiller and hooked up the garden hose.
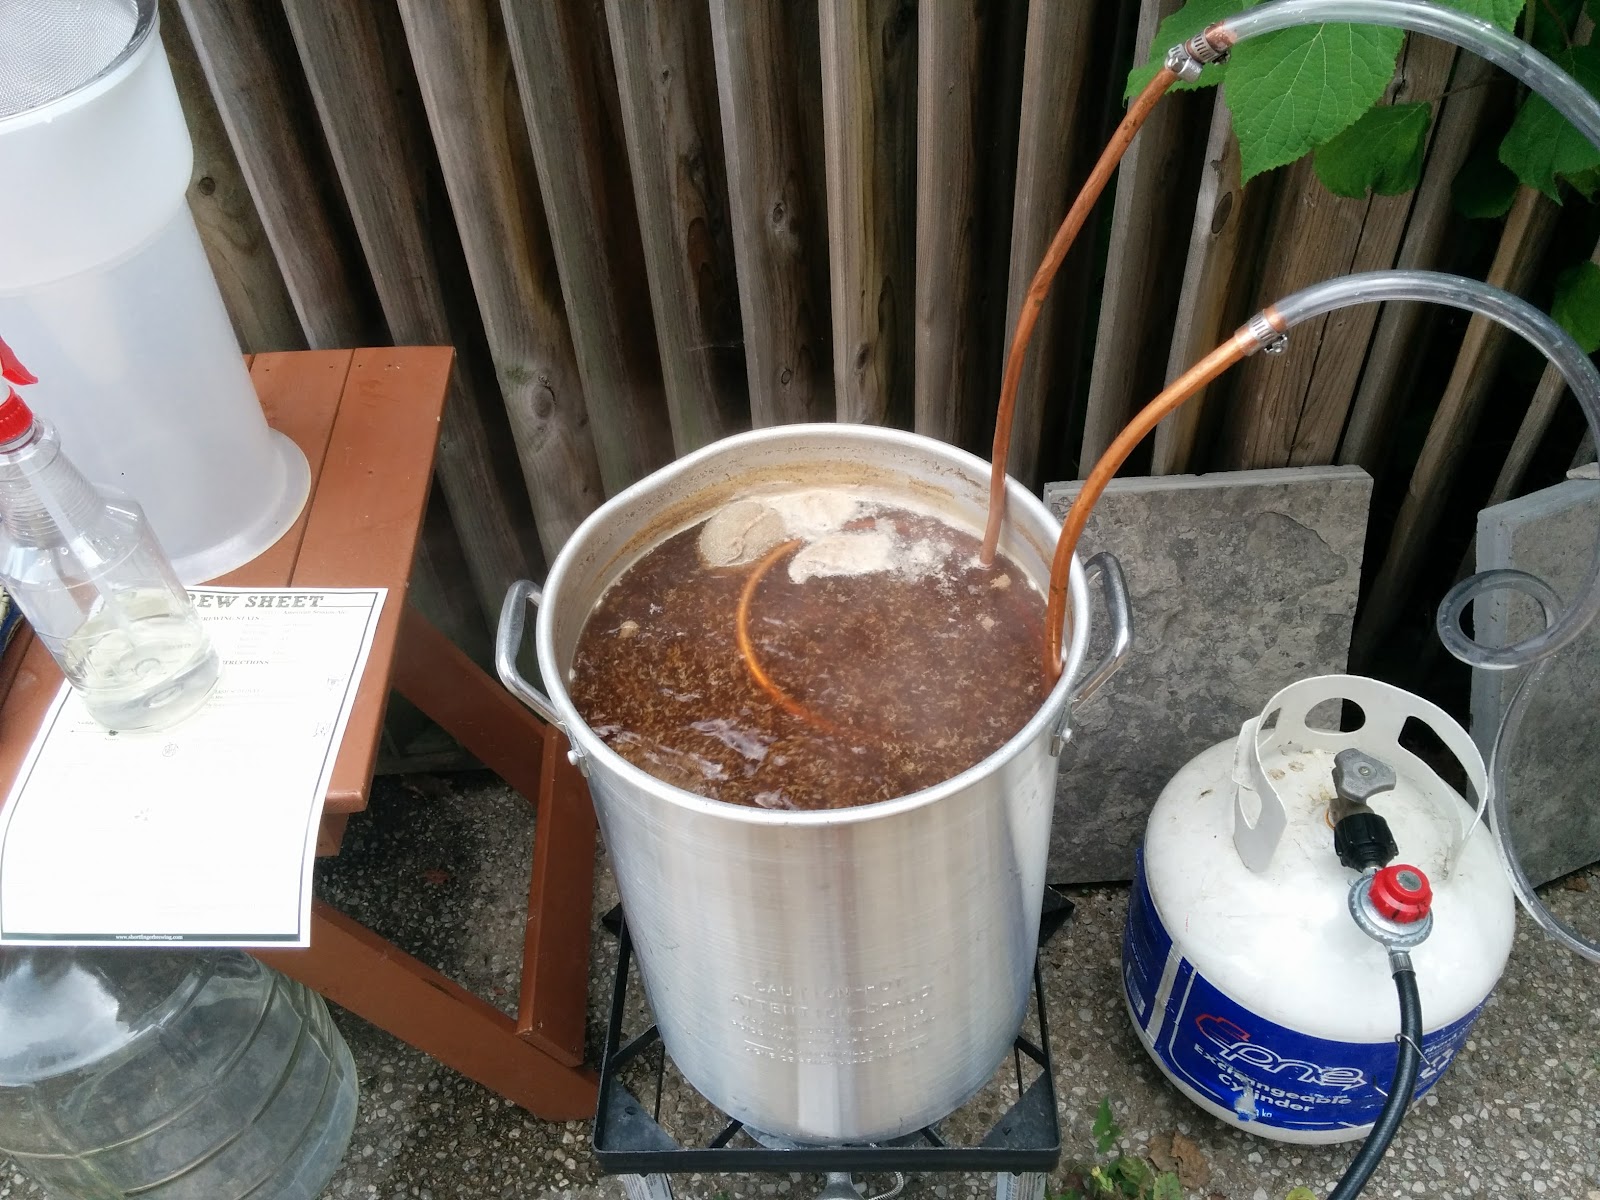
Again, it’s far from pretty, but it did its job.
After that, all-grain brewing is exactly the same as extract. Put the wort in a fermentor, pitch in some yeast, wait, transfer to a secondary fermenter and add dry hops (optional), wait, bottle, wait...finally enjoy.
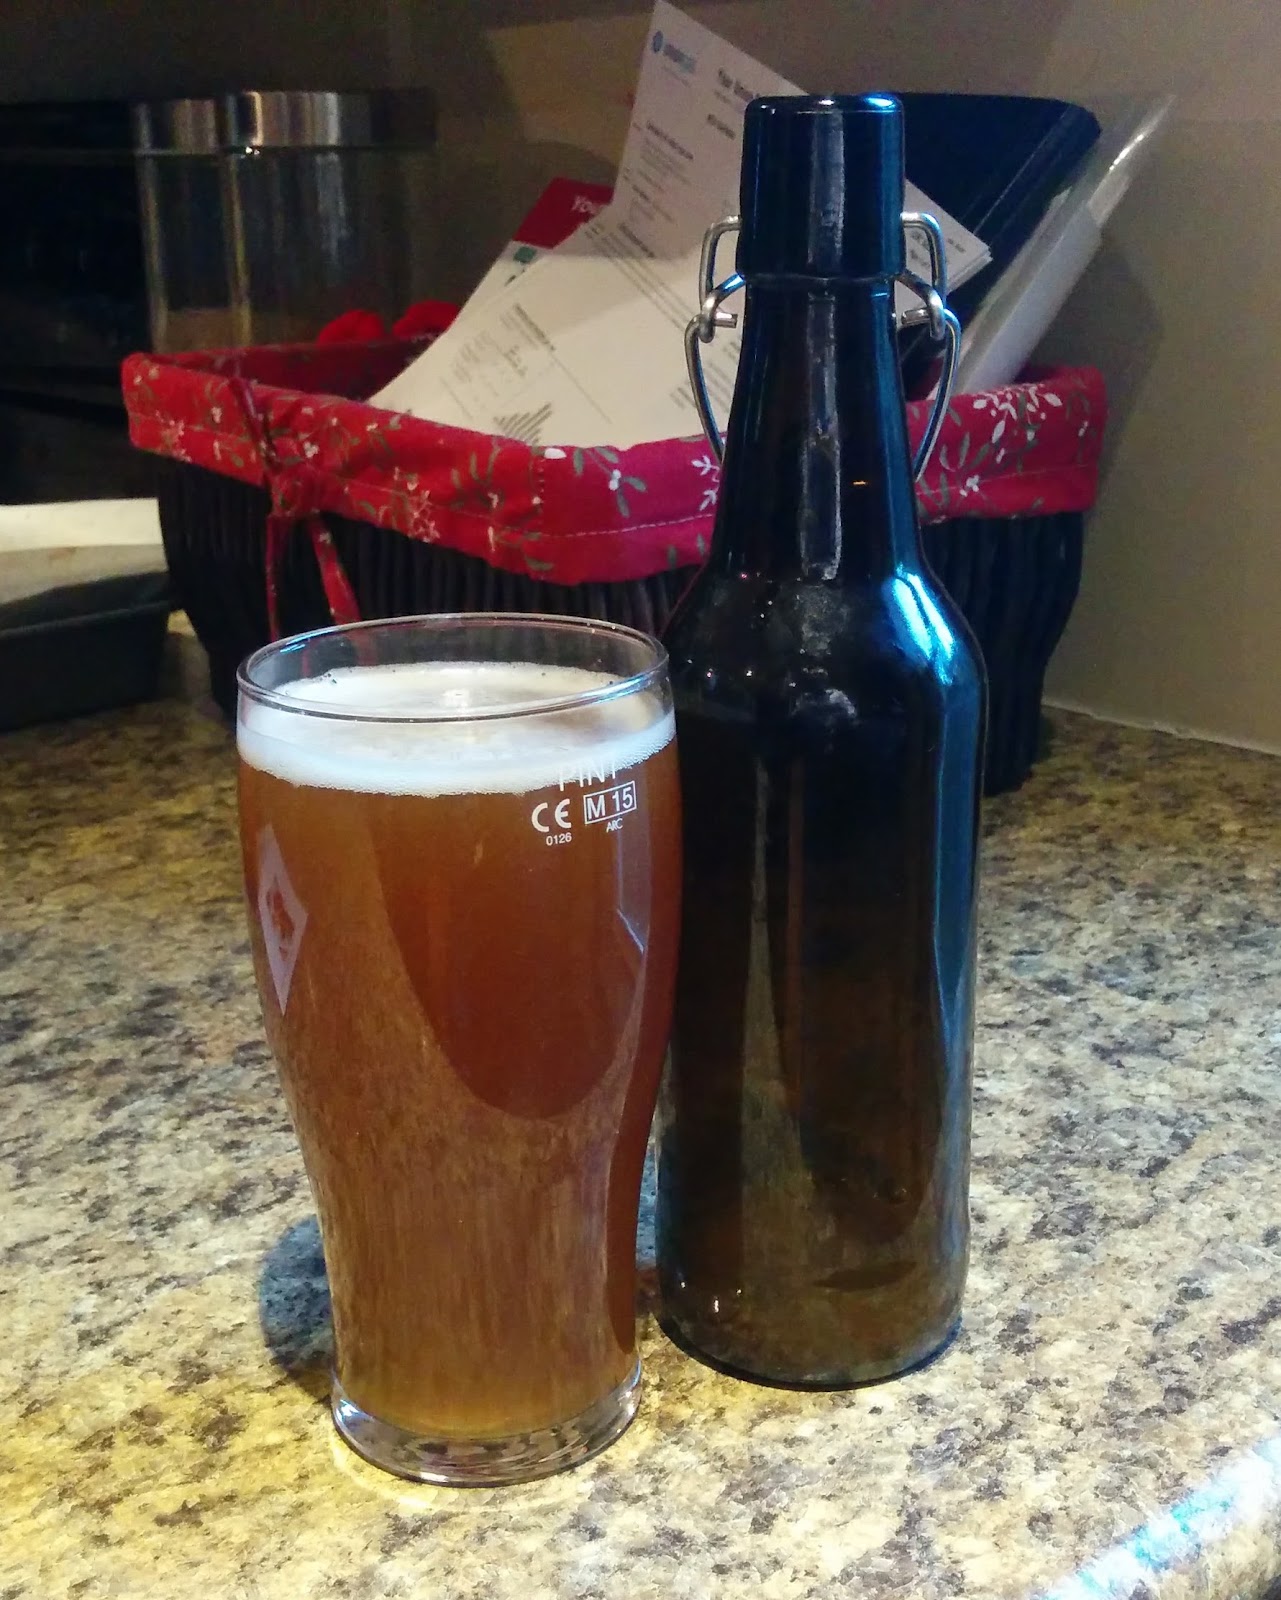
Cheers! Let me know in the comments below if you brew your own beer at home. Also, if anyone wants to donate another cooler so I can fly sparge and stay within my frugal budget of zero, I’d appreciate it.
[Update] I made a couple mistakes during my first attempt, but I learned from them and have found ways to correct them. My subsequent batches have been much better.
The first issue I ran into was relatively minor and had an easy fix.
I had trouble knowing the accurate temperatures with the thermometer that came with my turkey-fryer. From then on I use our meat thermometer which gives a much more precise digital readout.
The second mistake ruined the brew, but thankfully had an even cheaper, simpler fix.
As I was draining from my mash tun into my brew pot, I realized I had no way to measure how much liquid was going in the pot. I just guessed and was very wrong and ended up boiling an extra gallon of wort, which threw my gravity way off.
To solve this problem, I took a piece of dowel I had laying around and cut a notch in it at the level I needed. Not the least bit fancy, but it works. (I’ve since just marked different amounts on the outside of my brew pot in Sharpie and that does the job well enough.)
As I said, with these two adjustments my second batch tasted as it should. Now I’m just excited to try new, more advanced recipes.