Showing posts with label Style. Show all posts

Thursday, 11 August 2016

DIY Shampoo

Shampoo Title.jpg
Maintaining an awesome beard has become a daily passion of mine. At any moment, if you looked on my computer it’s not uncommon to find a beardcentric web page hiding in my taskbar.
It didn’t take me long to stumble upon sites and posts advocating dedicated beard wash. I was intrigued as I was just using the cheap regular shampoo I had always been using on my head. What was the big deal?
What I learned the more I read was that all modern commercial shampoo was bad for your hair - all of it. Instead of just cleaning and letting your natural oils do their job, common shampoos strip your hair of everything, good and bad, and then the conditioner coats it in silicon and other unnatural gunk to make it feel smooth and soft.
I found several respected makers of dedicated beard shampoo. But, as my name suggests, I’m too cheap to actually buy any of them. If you want a high quality, all-natural product to show up at you door without any work on your part, give one a try.
What I did do though was closely examine the ingredients. Since I was already making my own beard oil and balm (and hair wax, I guess), I checked with the good people down at the internet to see if I could make my own shampoo, too.
Here’s my trials attempting to make a quality shampoo:
Shampoo equipment.jpg
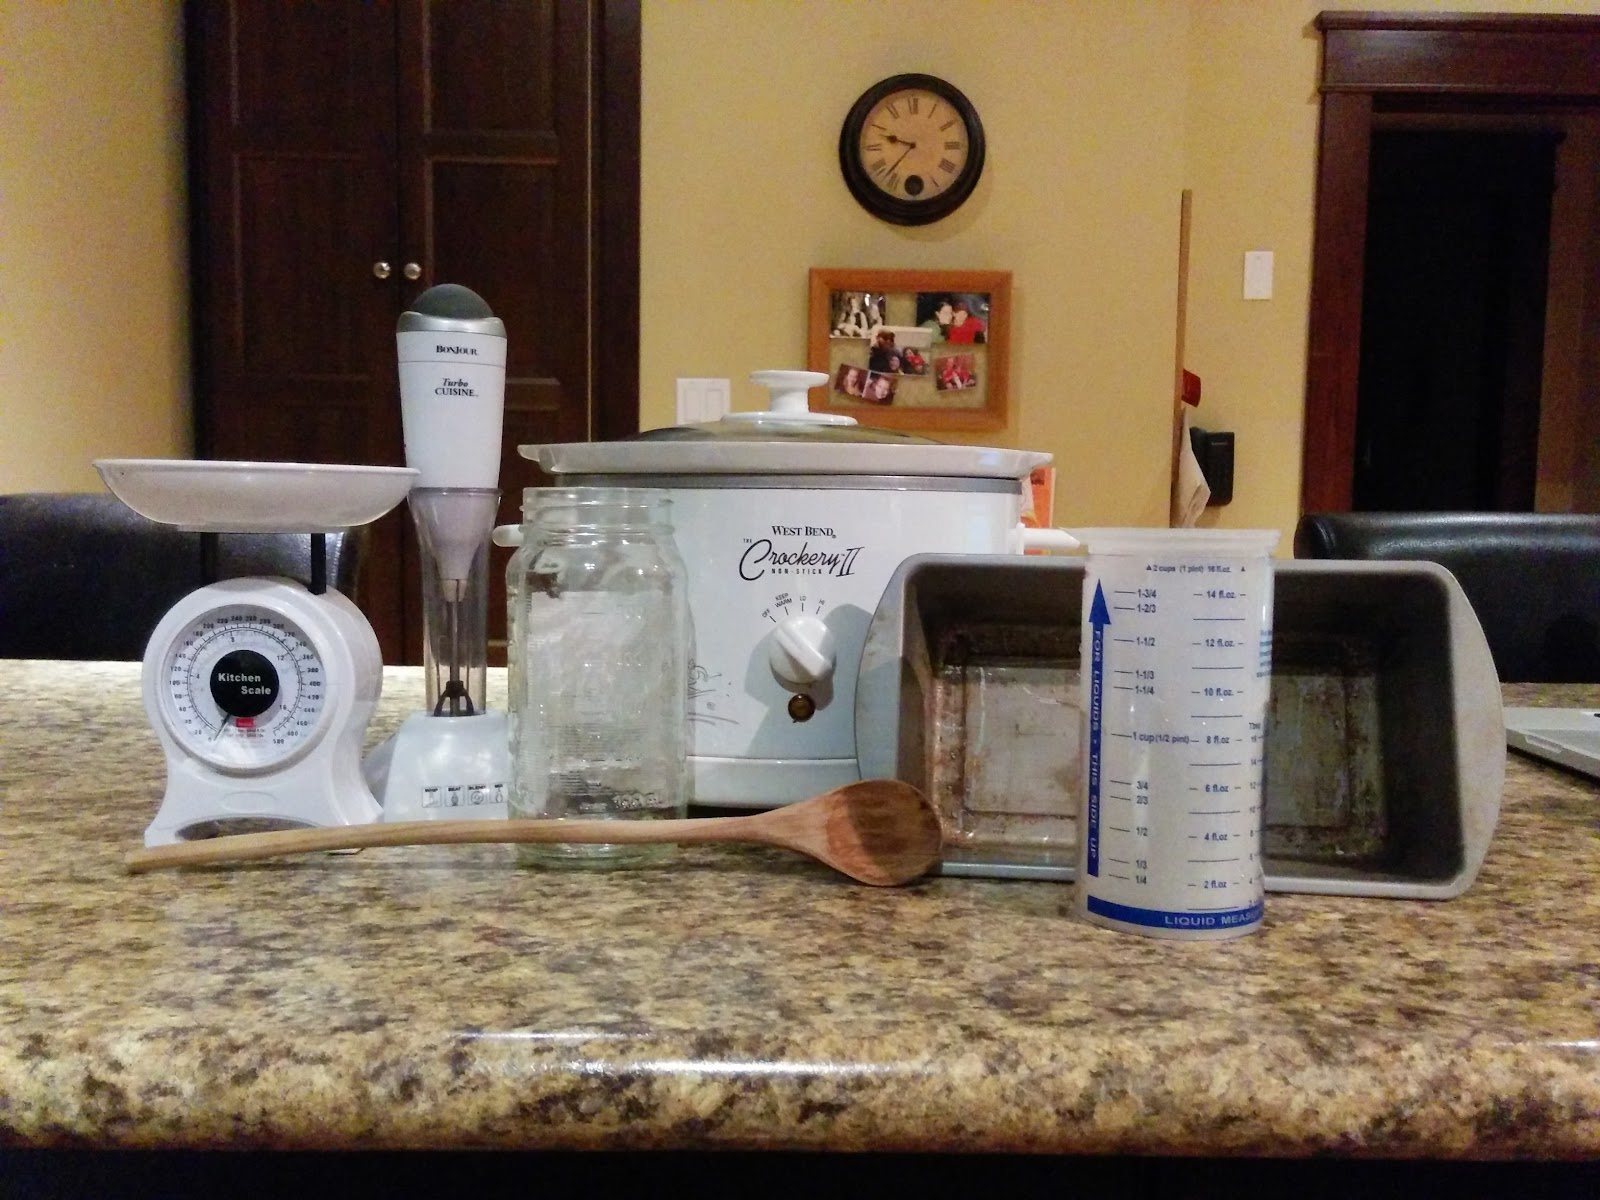
Initially, shampoo/soap-making seemed quite daunting. While my wife already possessed all the required equipment, she used most tools regularly to make our family meals and wasn’t too keen on me using them to make soap.
Thankfully, one day I happened upon an old crockpot at a thrift store for $2. The pot’s coating at the bottom was chipped off a bit, but since I wasn’t making anything that we were ingesting I was okay with that. (I also have ideas of finding out if I can repair it eventually.)
The other key tool is an immersion blender. Like the crockpot, my wife wasn’t willing to let me use her good blender for my beard shampoo...at first. I also found an immersion blender at the thrift store, but to be kind, it was more of a toy.
It was this fact I made two attempts using two different recipes pretty early in my soap-making career, but more on that later.
The other items needed to make shampoo are just various mixing and measuring tools. As for a mold, you could really use anything, but I used an old bread pan my wife didn’t want anymore.
Instead of bowls, I just used an old mason jar. And, I bought my wife new wooden spoons (don’t tell her they were only 99 cents), so I claimed an old, cracked one and made it my dedicated shampoo/soap-making spoon.
I have a cheap food scale I use for beer-brewing, and I just reused it to measure my shampoo ingredients. It’s not as precise as some recipes would like, but I’m not worried about being accurate down to .01 of an ounce.
Shampoo ingredients.jpg
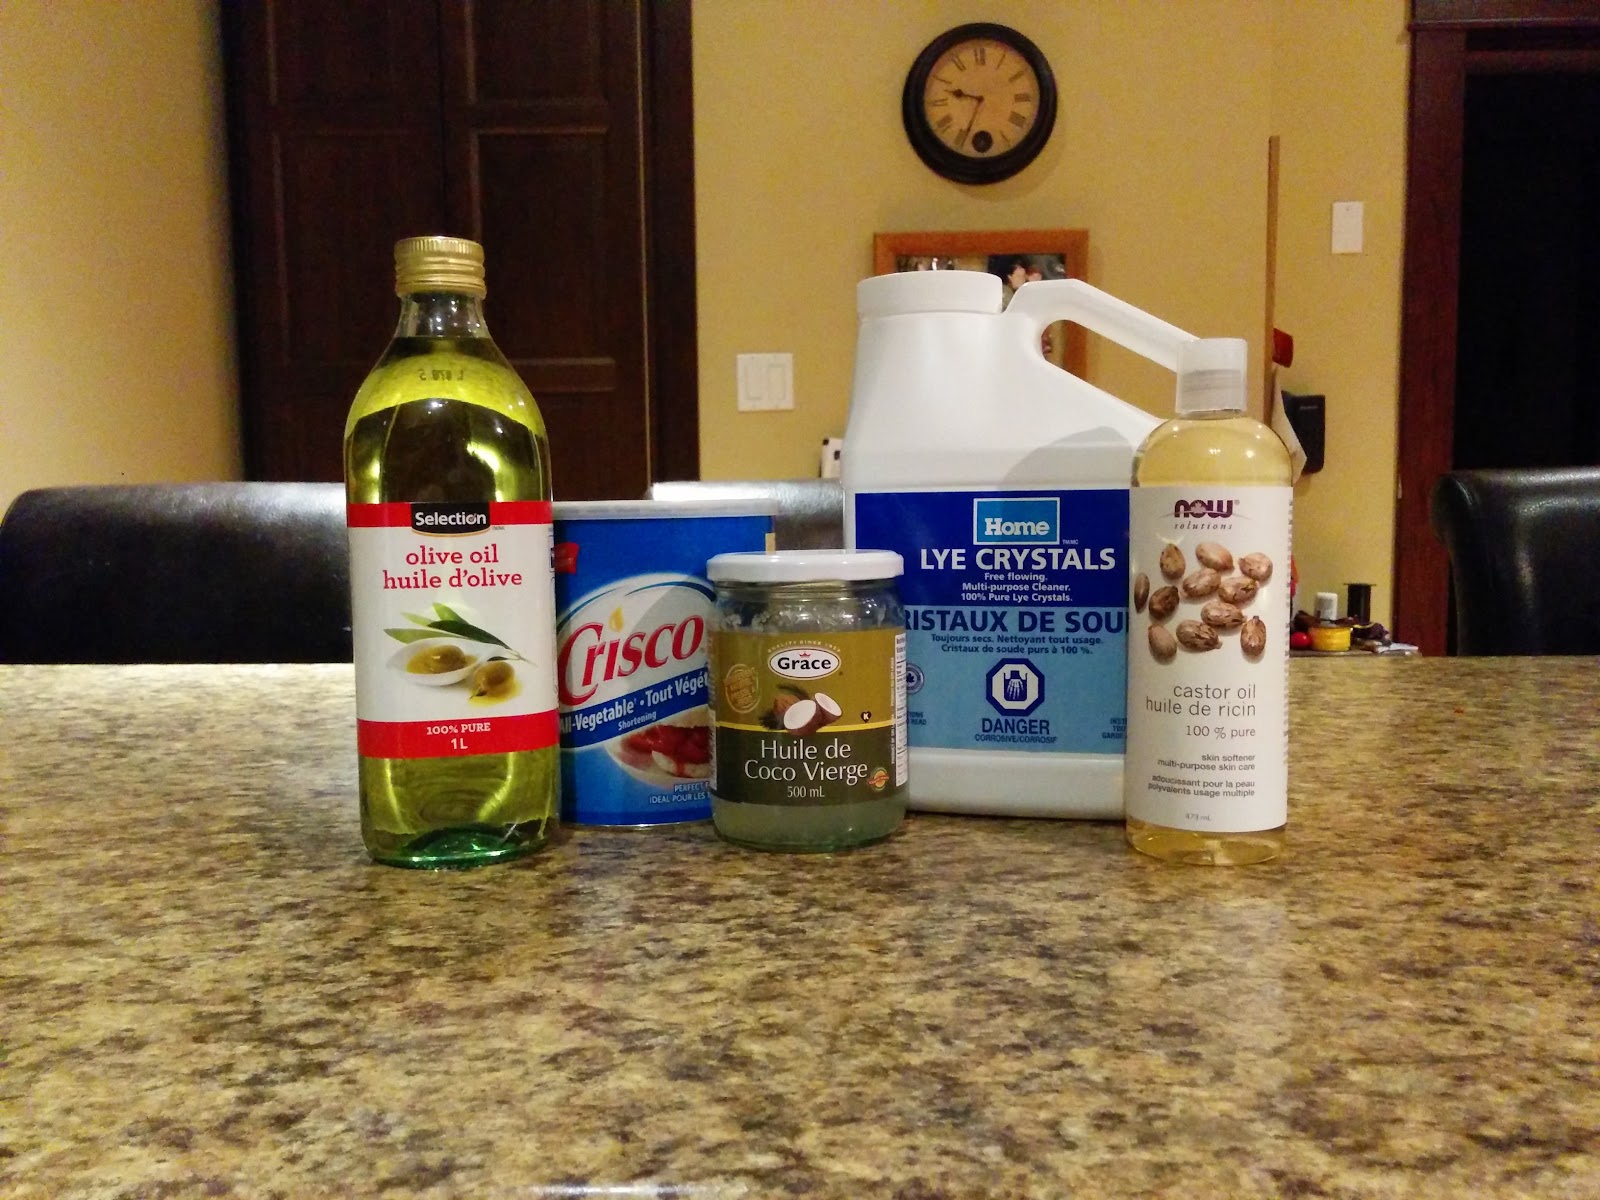
As mentioned, I made two different recipes. I have to admit, I didn’t fully read the first recipe - I just looked at the ingredient list and they closely matched a popular beard shampoo bar. That was good enough for me.
What I didn’t notice was that it was not a hot-process recipe. What that means is that instead of cooking the ingredients in the crockpot, you only warm them to make mixing easier. Then you need to let the shampoo bars mature for 4-6 weeks before you can use them in the shower.
Also, because my blender was tiny and designed more for whipping the Baileys into your coffee than turning liquid oils into a pudding-like consistency, my mixture never got as thick as I believe it should.
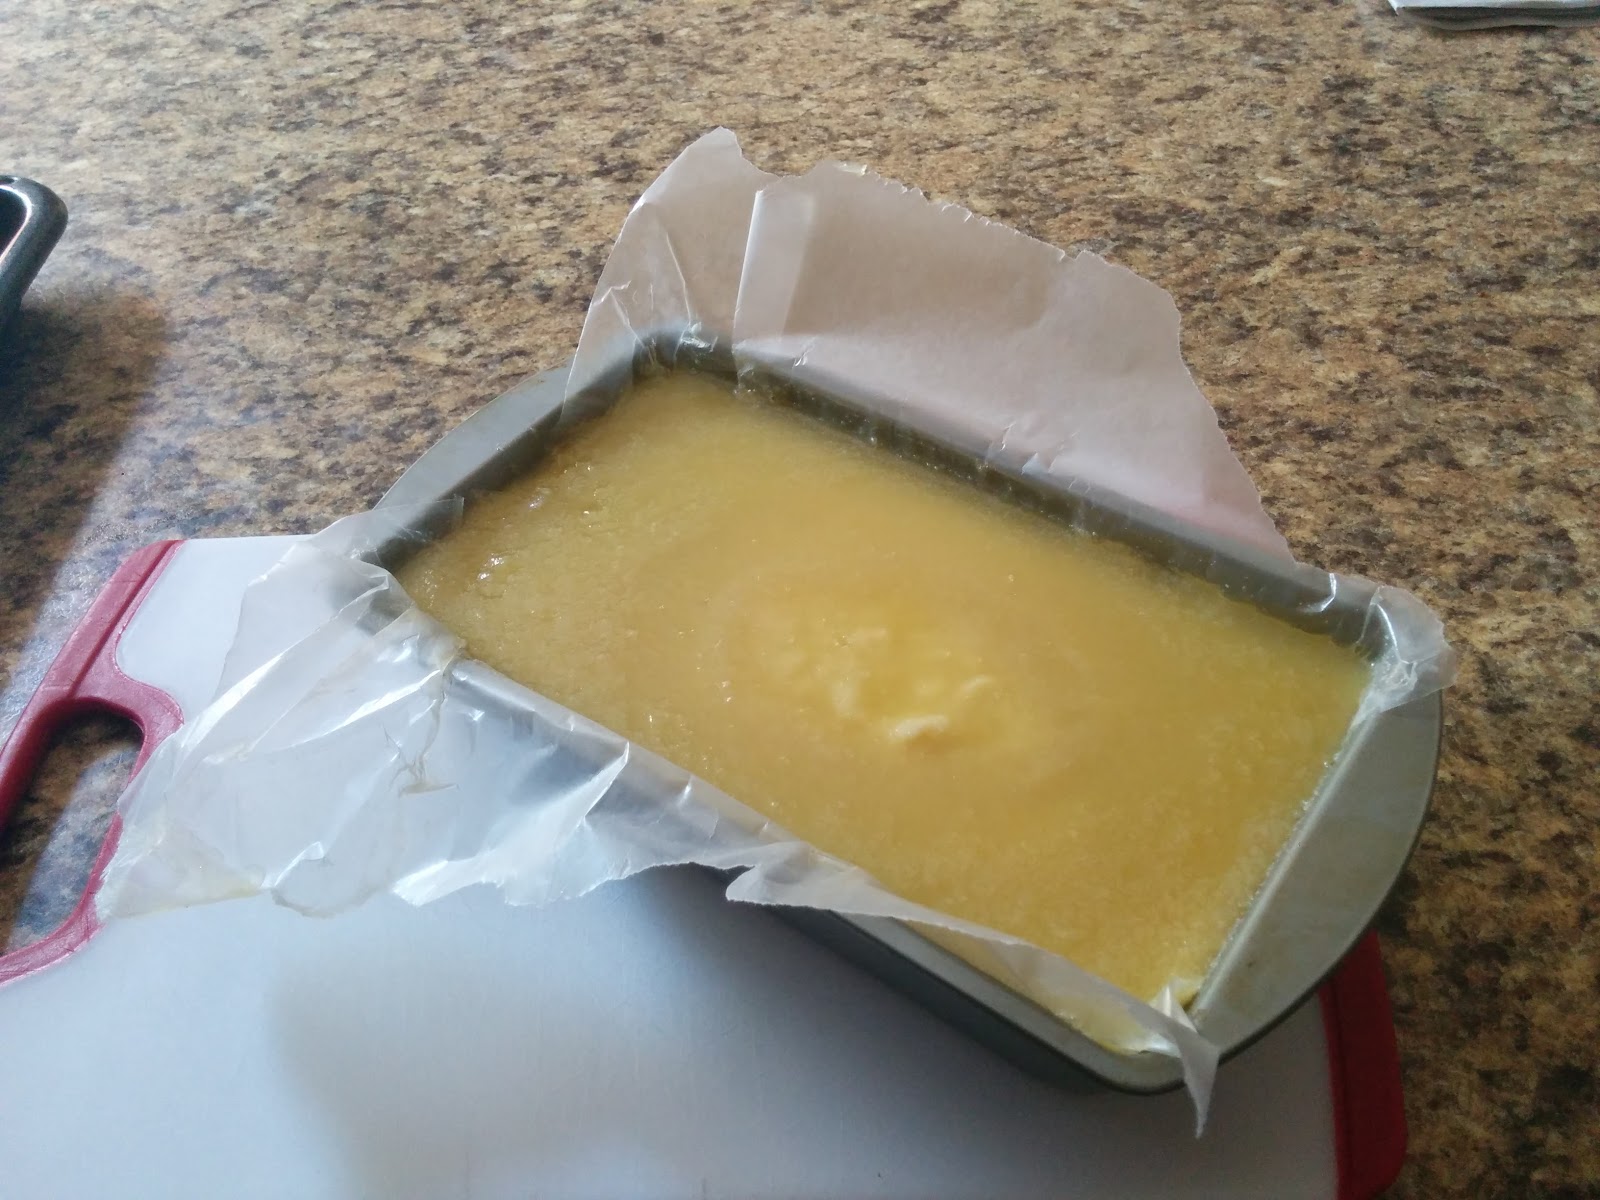
When my arm finally got tired, I gave up and poured it into my mold anyway and placed it in a cool, dark place.
Shampoo almost finished.jpg
While the recipe said it would take 24 hours to harden then I could cut it into bars, when I checked mine a day later it was still quite soft and oily. I waited another day, but it was still semi soft.
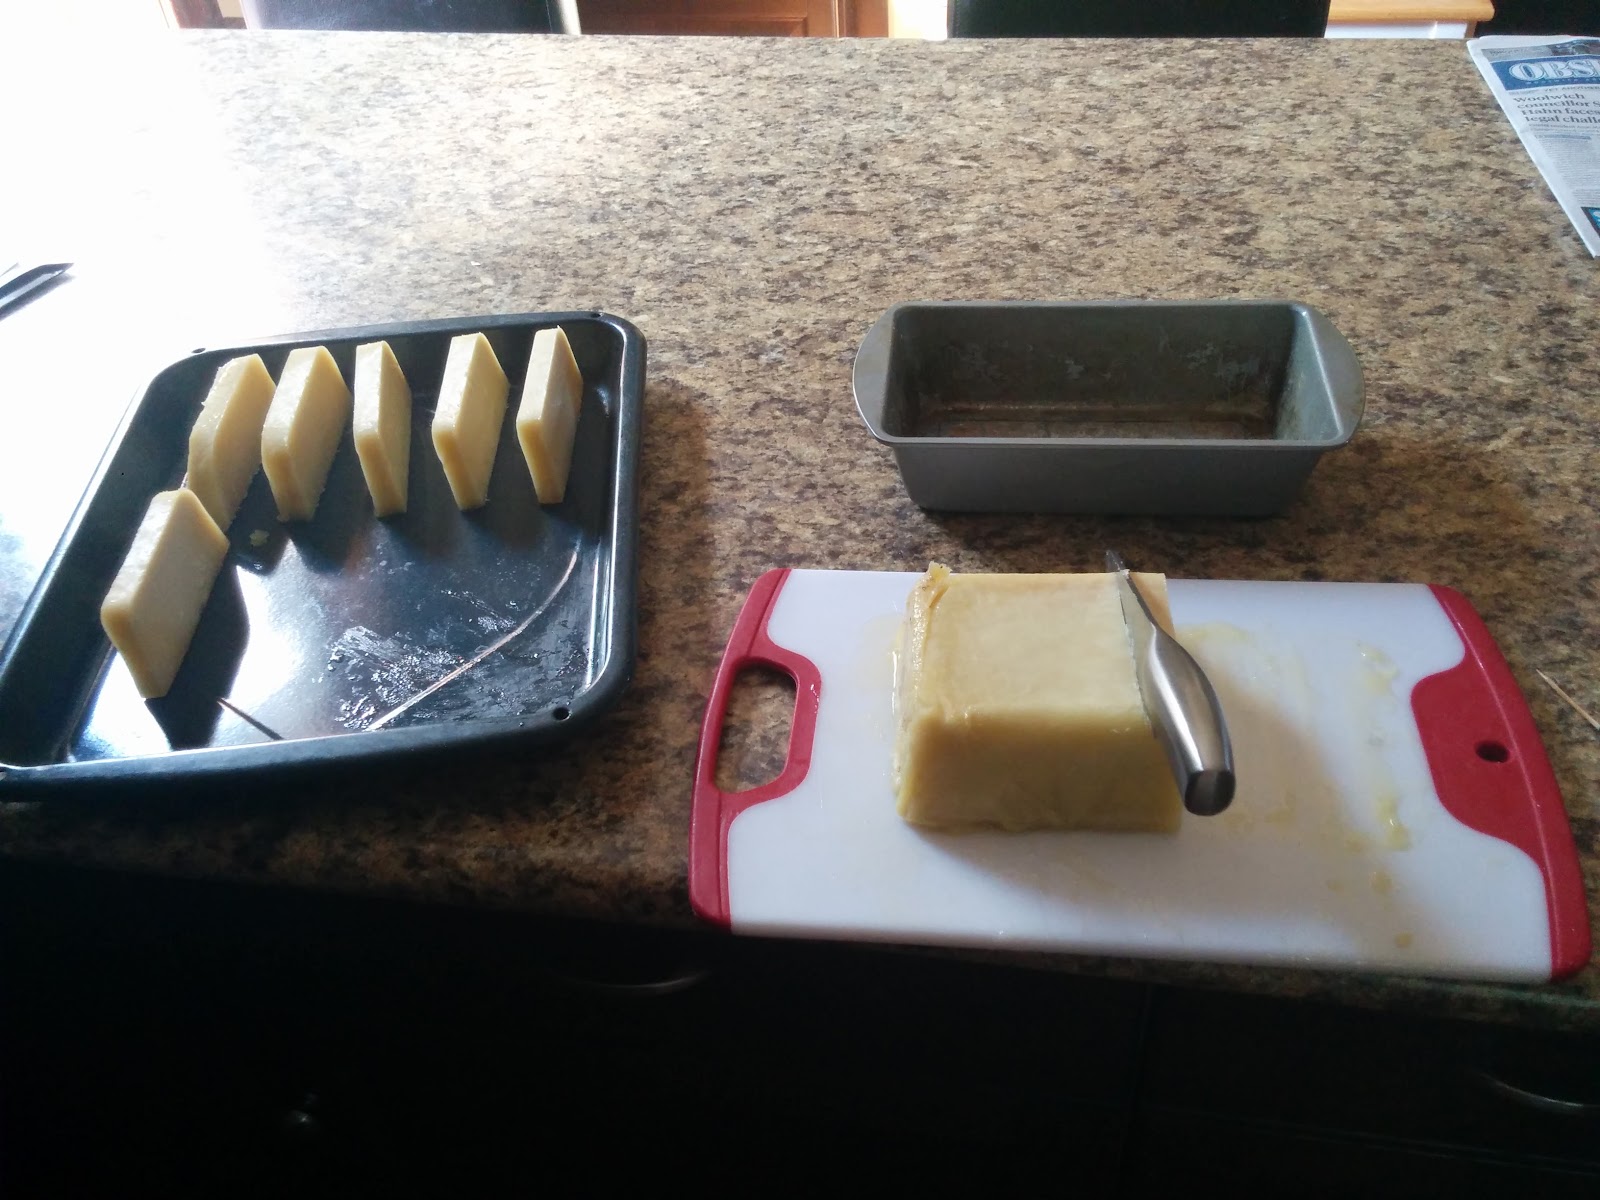
Thinking I had failed, I dumped it onto a cutting board anyway to see what it looked like. Apparently it was only to top quarter-inch that wasn’t solid. I’m guessing my soap wasn’t mixed well enough and the oils separated.
Shampoo cutting.jpg
Taking that into consideration, I cut what I had into half-inch thick bars and placed them onto a baking sheet to let them dry. Maybe they would still be salvageable.
Still thinking I failed, I searched for a different recipe. I also gushed to my wife how easy all the equipment was to clean. I was angling to get her to let me use her good blender on my next attempt.
It was not difficult to find another, even easier recipe, and I scheduled a time to make a second batch. I liked this recipe because it only had 3 ingredients - coconut oil, water and lye.
At the last minute, I convinced my wife to let me use her blender, on the condition that I clean it very well. I managed to screw that up a bit, but everything was fine in the end. I still got a lecture, though.
This time everything went well and exactly as it should. Despite my anxiety, within minutes my shampoo looked like a coconut pudding.
After letting it bake for 45 minutes, it looked all fluffy and there were no puddles of oil.
At this point, I could have bought pH strips to ensure that all the lye had done its job, but, come on, I’m frugal.
Instead, I used the “zap test.” I let a small amount cool, and then put it on my tongue. If it were to zap me, then the soap was not done. But, mine just tasted like soap, meaning it was finished baking.
I don’t really know what would have been better, getting shocked or having the taste of soap in my mouth, but at least it didn’t cost me anything. And, a few swigs of homebrewed beer got rid of the taste quickly enough.
I was warned that this recipe solidifies quickly, and becomes very hard, so I only needed to give it a few hours before cutting.
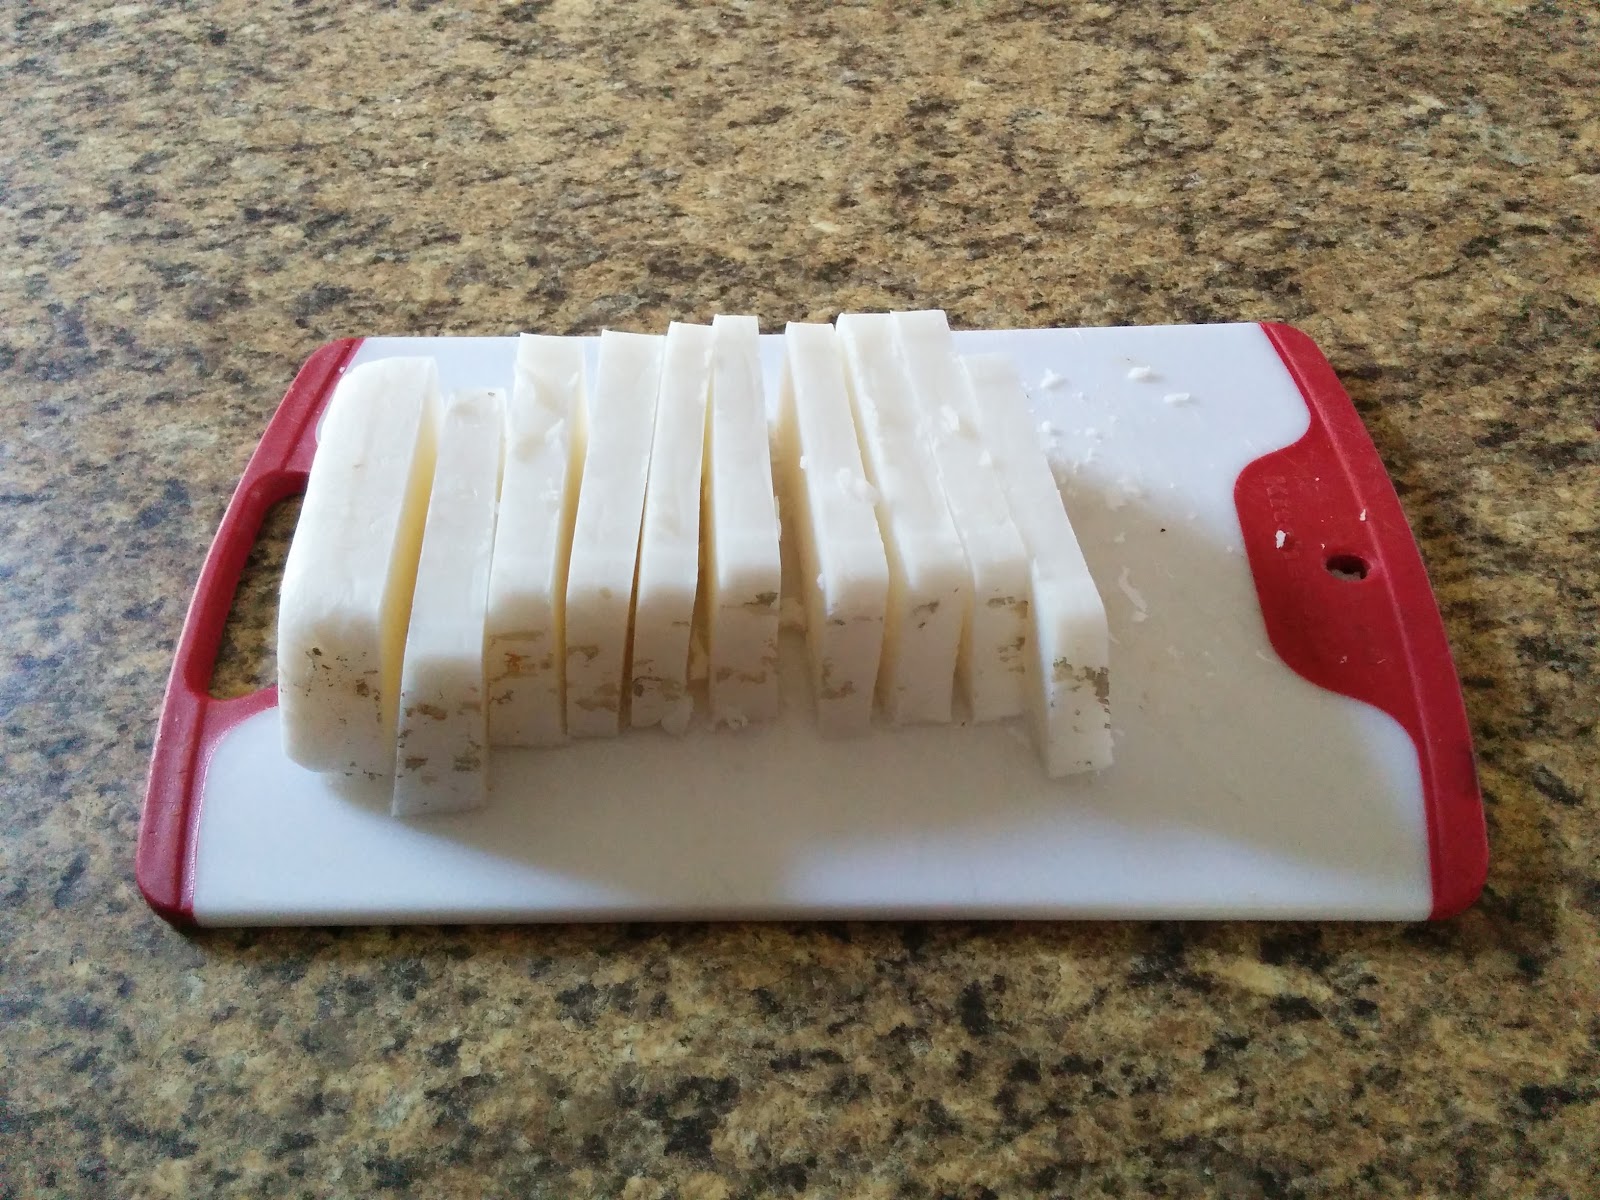
Shampoo attempt 2.jpg
It had been about a month since I made my first batch of beard shampoo. It had dried out quite a bit, but it still left an oily residue on my fingers whenever I checked on it. Regardless, I thought I would give it a try anyway.
Conveniently, I had the perfect conditions to test both shampoo bars on the same day. My family and I had just spent the week at a cottage, so needless to say, I needed a good wash. Also, my wife and I had a rec soccer game later that evening, so I definitely was going to need a shower after that.
After a quick beard trim, I hopped in the shower with a bar from attempt number one.
I didn’t know what to expect, but I was very impressed with how well it lathered. It was quite easy to use and my hair felt clean and smooth after I was done - it rinsed off completely with no fuss.
I finished my shower off with an apple cider vinegar conditioner I quickly mixed up - 1:5 ratio of vinegar to water.
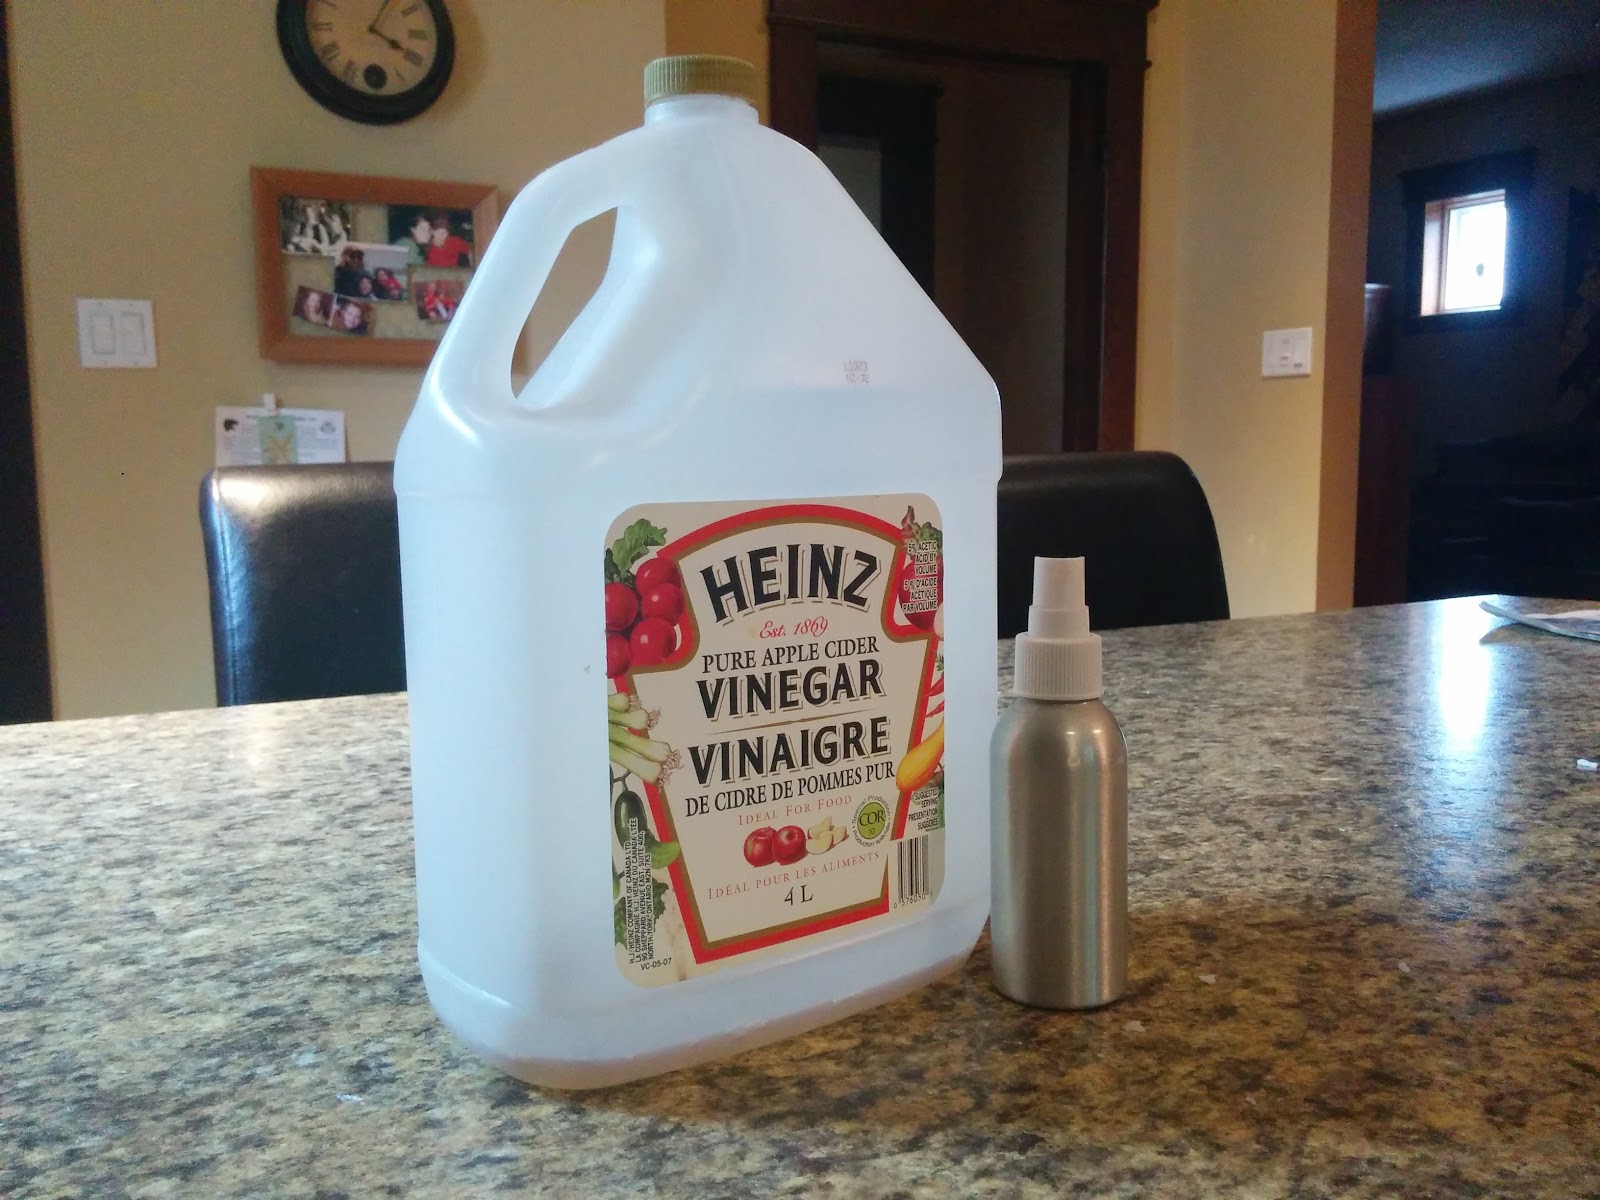
Shampoo Conditioner.jpg
To be honest, I was pretty amazed. Our soccer game wasn’t going very well, and I spent more time than I should have playing with my hair and stroking my beard because it was so soft.
I also have to confess: I’ve never been one to really use conditioner. It’s been over a decade since I’ve hair longer than a quarter-inch, so I never bothered. But, now that I’m letting my hair grow out, I genuinely enjoyed how my hair felt after the first wash with my homemade shampoo bar.
I also read that initially your hair can feel a little gummy as it takes time for the new all-natural shampoo to remove all the junk you’ve been putting on it for the past however long. I haven’t noticed that, but it could be that since I never used conditioner much, I have less bad stuff on it.
When I was finally finished embarrassing myself on the football pitch, and drowned my sorrows with a few wobbly-pops, I was back in the shower. This time I brought a fresh coconut oil shampoo bar.
Entering with the same hope as my last experience, I was surprised that this one lathered quicker and produced even more suds. That caught me off-guard, but ultimately this shampoo bar returned very similar results as the first one.
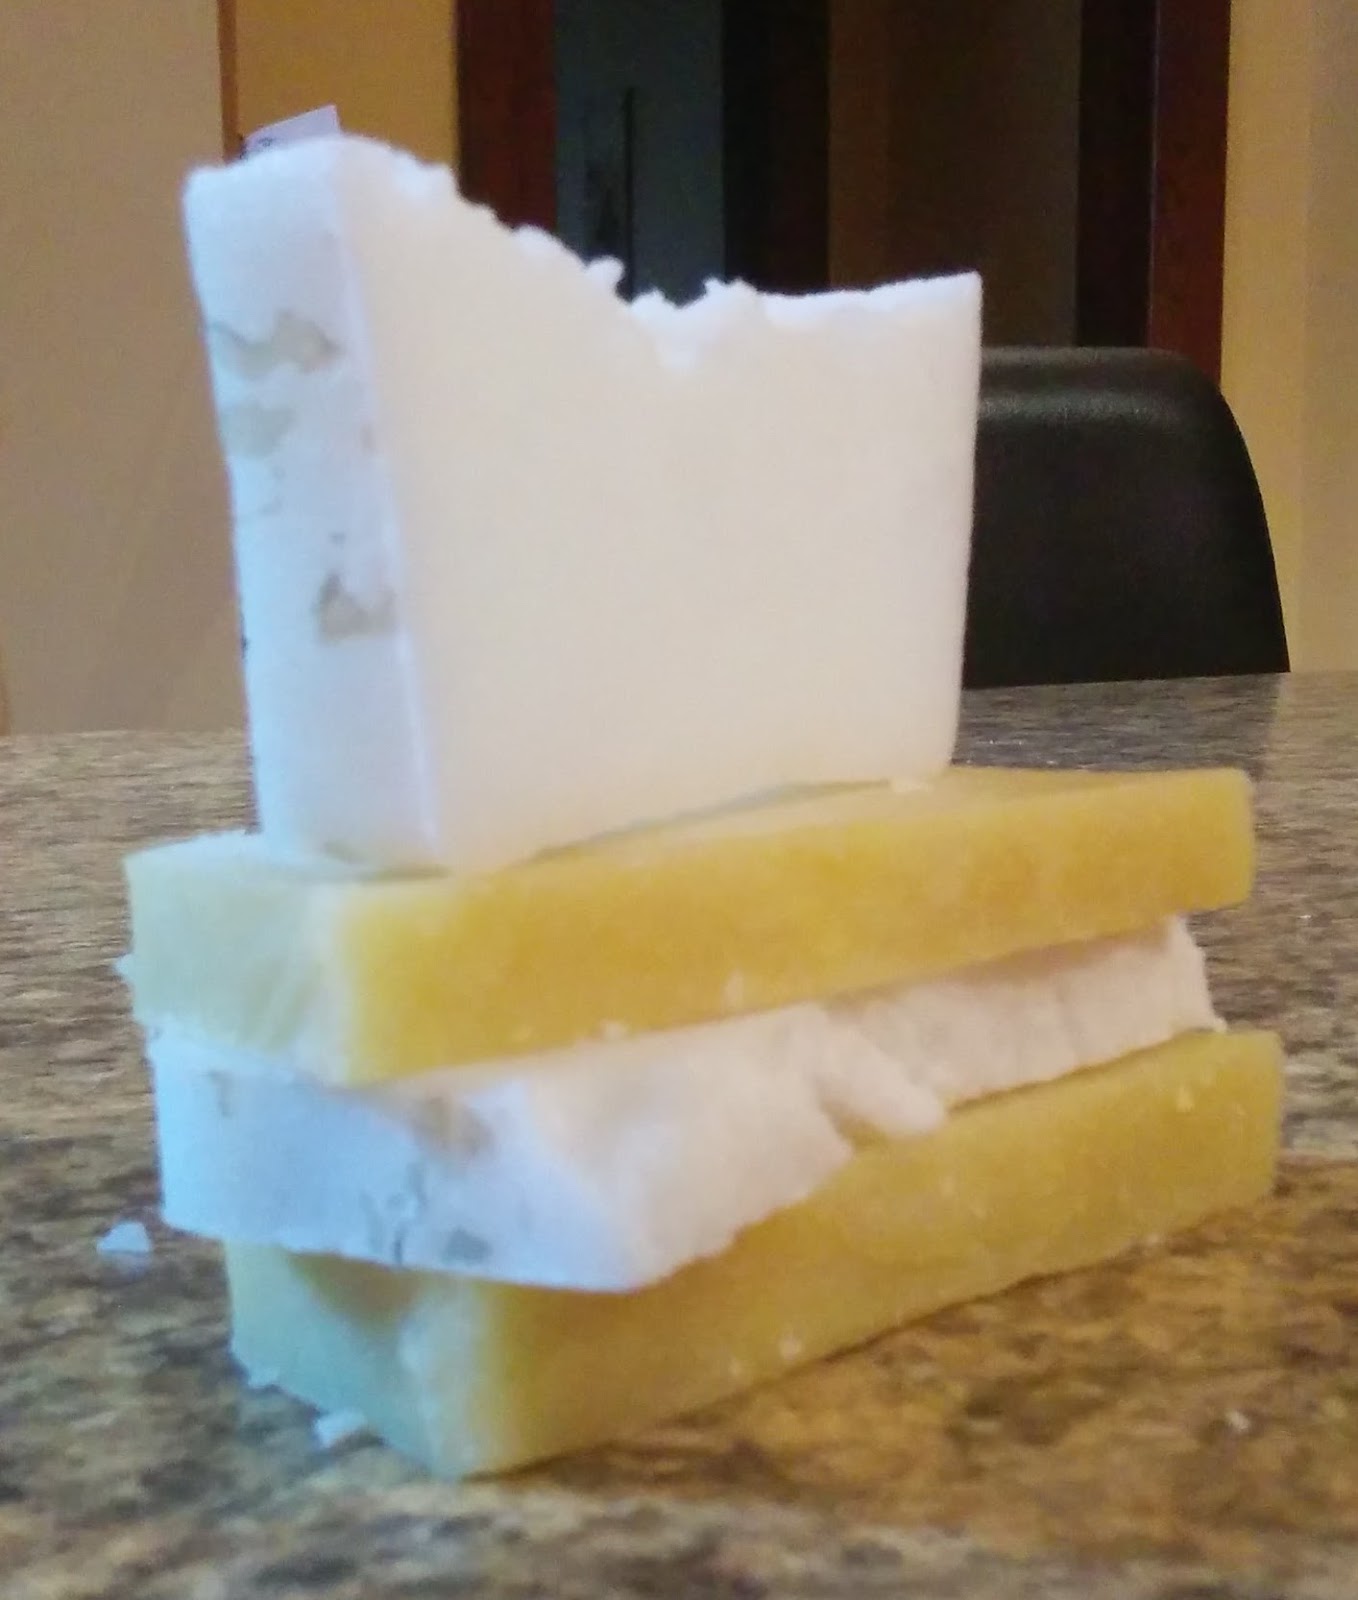
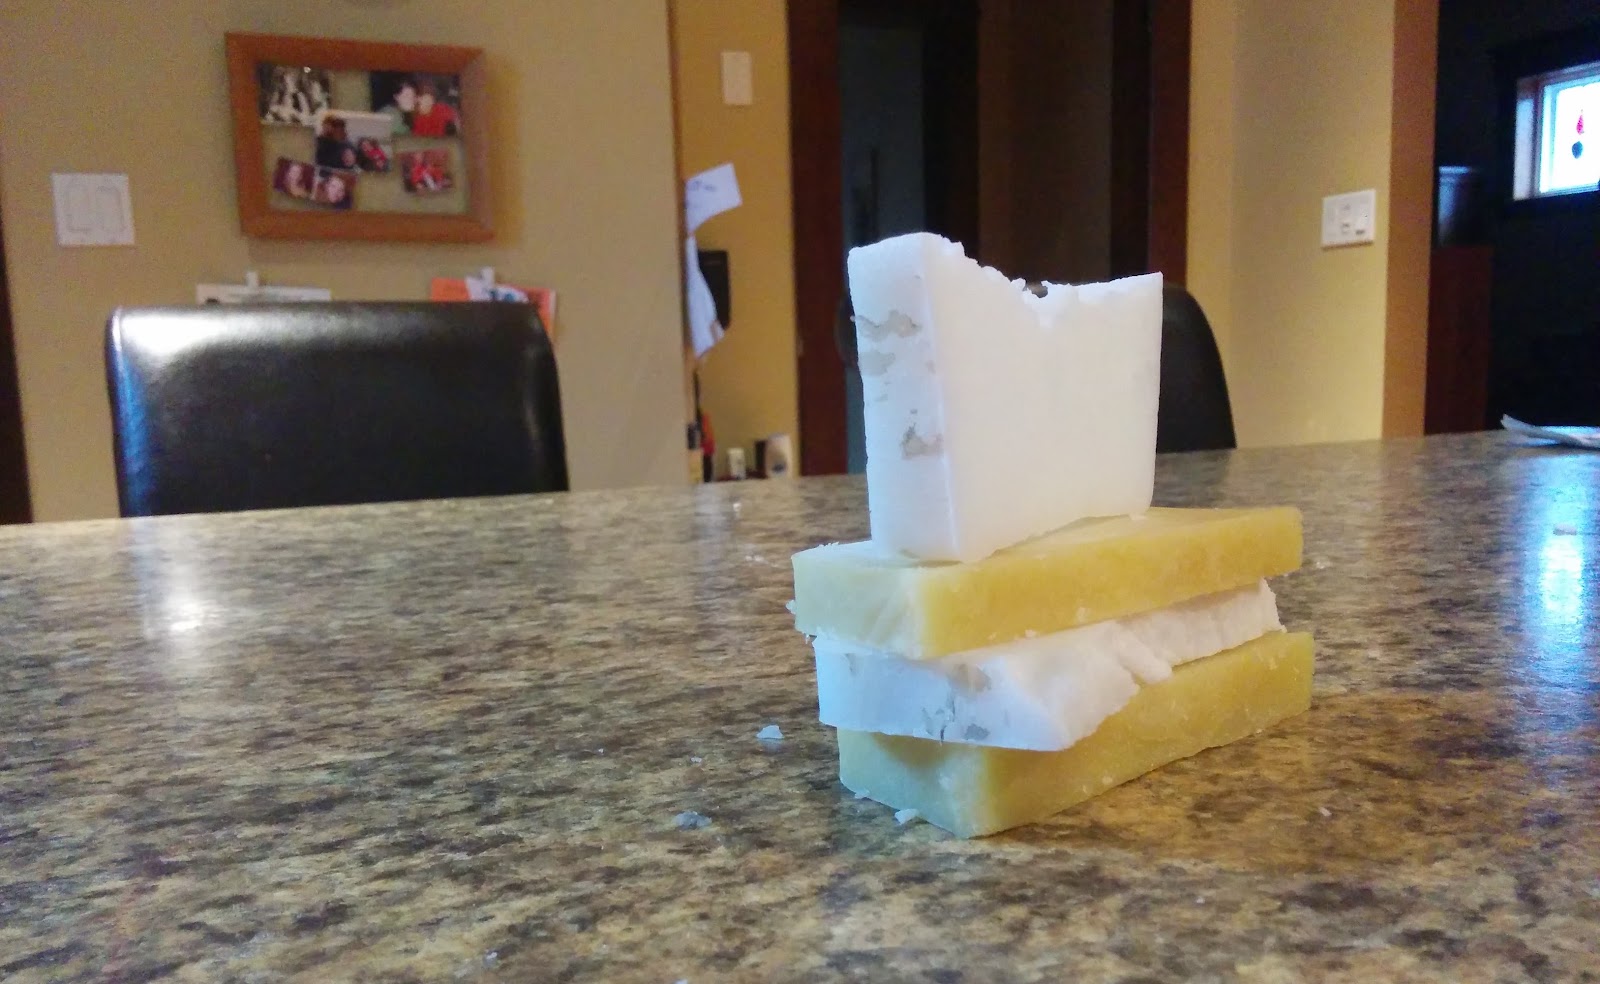
Shampoo finished product.jpg
I don’t know which one I like better. Since they work equally well, I think I’m leaning towards the all-coconut oil one, simply because it was easier to make and we can start using the first bar within a couple hours.

What do you think about my beard shampoo-making experience. Do you think you could make your own healthy beard wash?

Friday, 8 July 2016

DIY Beard Comb

I love my beard. But, I have to admit, maintaining this luxurious face forest takes quite a bit of work.
When I first started letting my beard grow longer, I found the best cure for the itchiness was regular combing. The tiny fingers of the comb scratched off the dead skin that the longer hairs were now holding in place.
However, constant combing with a cheap, plastic comb can damage the hair. This is bad for many reasons, but the two I cared most about were: 1) I’m trying to grow my beard out, I don’t want to pull any of it out, and 2) just like the hair on the top of your head, beard hair can get split ends, and then doesn’t lay flat or feel nice when you stroke it.
With that in mind, I started looking for a quality comb. But, if you know me, you will know I don’t like to spend money. Thankfully, the good people down at the internet showed me how I could make my own high quality wooden beard comb just from the scraps I already had laying around.
Here’s how I made mine, and the adventure I had and the errors I made:
Beard Comb Working Conditions.jpg
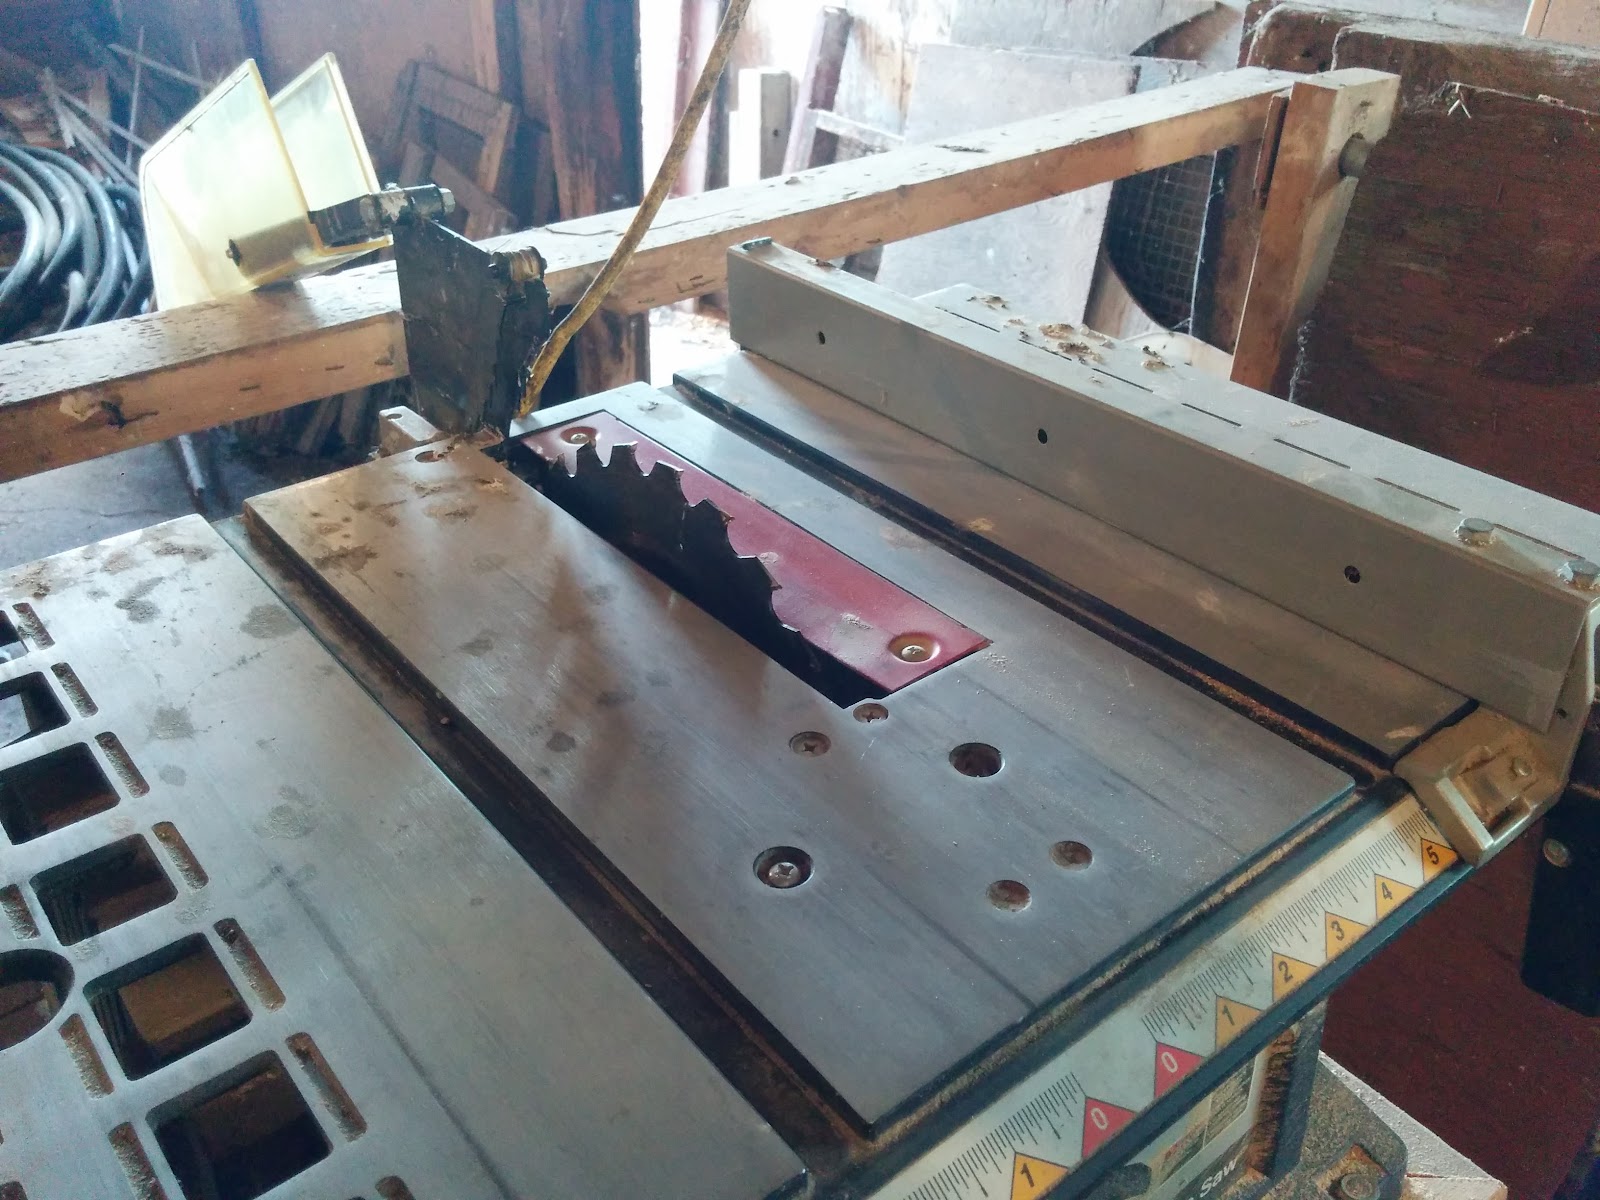
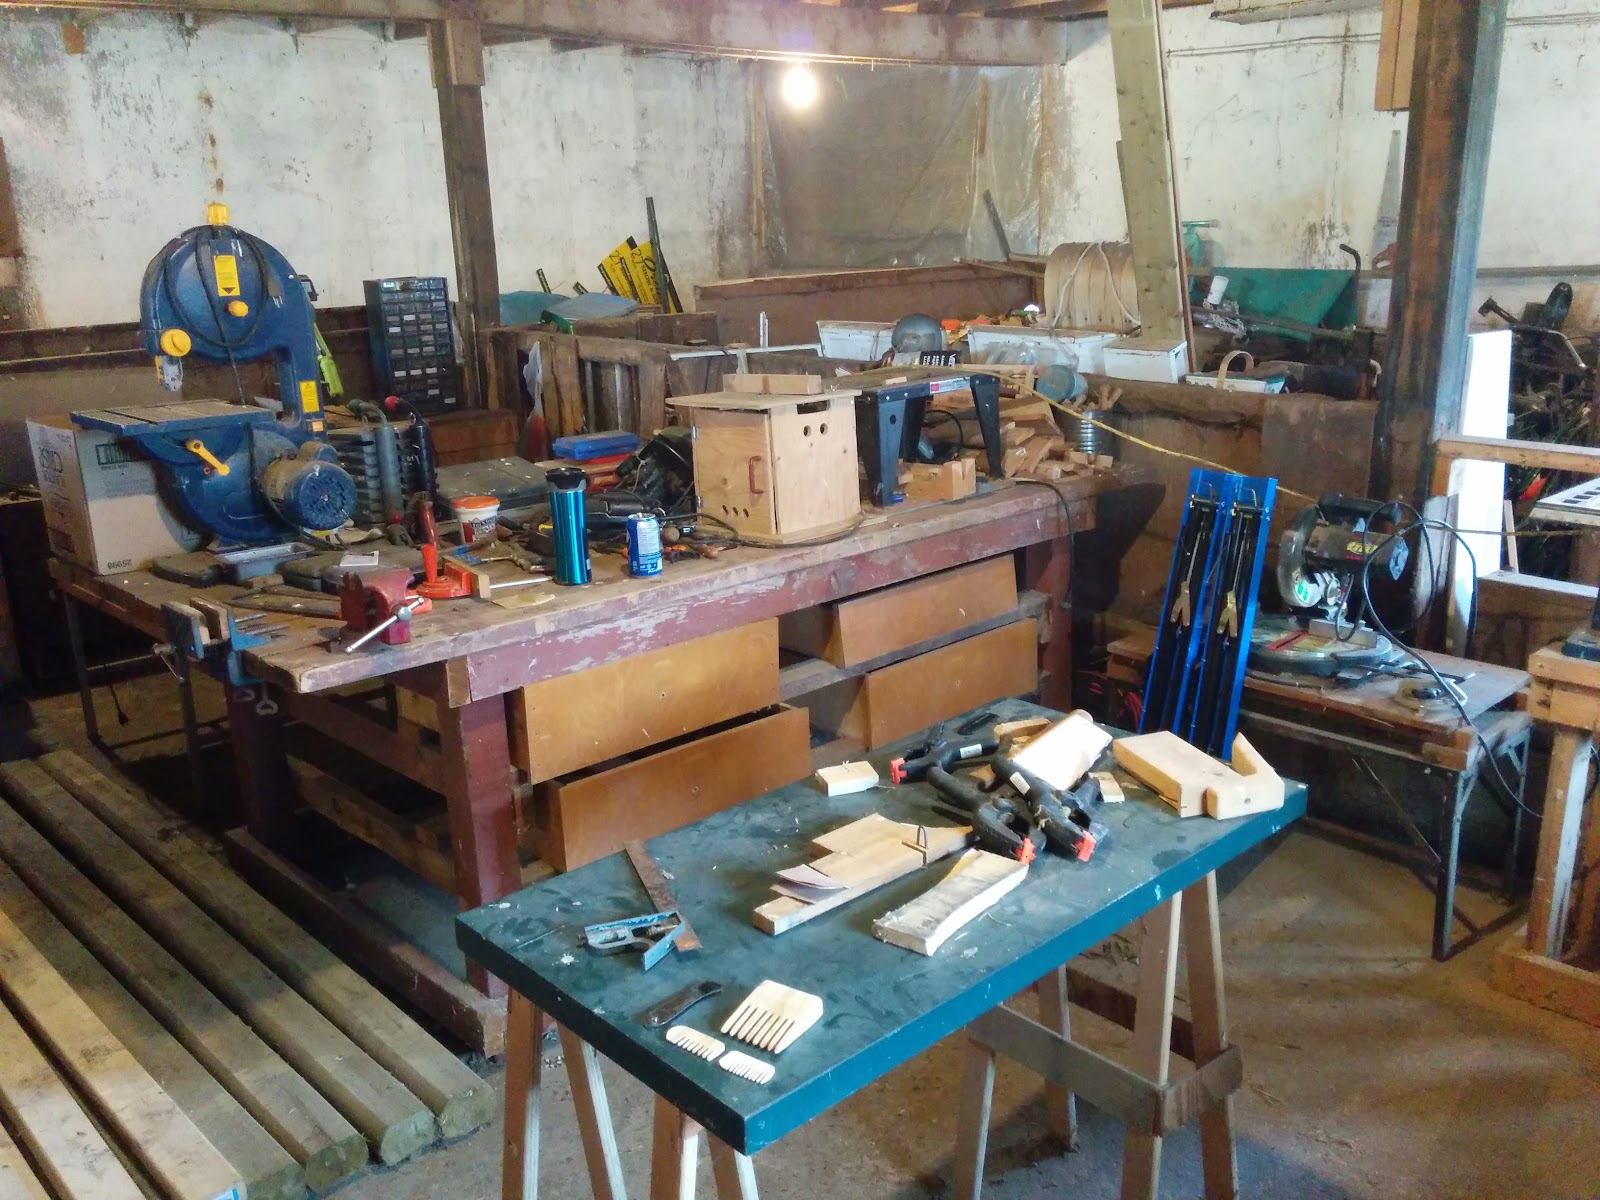
Unfortunately, the two major tools I needed to make my comb - a table saw and a belt sander - I don’t have. However, my dad does. The down side, his “workshop” is just an old barn and it’s as dusty and dirty as an old barn can get.
There is a whole flock of swallows living in the barn, and they do not take too kindly to anyone disturbing their comfortable home. You know that saying, don’t shit where you eat? Well, birds don’t live by that mantra. Therefore, there is bird crap on everything in my parent’s barn.
Also, my dad is not the most organized person in the world. So, finding tools, or even just walking around, can sometimes be impossible.
Another fun quirk about old barns, there are no outlets. To power the tools, my dad just runs one extension cord across the rafters and just throws it around or over everything else. And, since he doesn’t work in there very often anymore, thick cobwebs cover everything.
Everytime I work here, I’m amazed I don’t start a fire or get E. coli.
Beard Comb Raw Materials.jpg
After taking a deep breath and clearing a spot to work, this is what I started with. These are the broken ends of pallet boards.
The biggest requirement for this project is that you need to start with hard wood. Pallets need to hold a lot of weight and therefore they use strong hardwood. They are obviously made quickly and cheaply, which means the wood is not finished and can be in rough shape if the pallet was well used. Since I was going to be doing a lot of shaping, I wasn’t bothered by that.
I have made several projects using pallets and will share them with you soon.
Since this was my first attempt, I was expecting to make many mistakes which is why I have 3 boards that are far longer than I needed.
One thing to keep in mind: you need to make sure the comb teeth run in the same direction as the grain of the wood. If not, they lose all their strength and will likely break. For me, with the wood I had, that meant my comb was going to be narrow but I could make the teeth fairly long.
Beard Comb Table Saw.jpg
First, I cleaned off the table saw. I then hacked off most of the jagged, broken parts of the wood so I had a relatively square block.
Next, I set about making a jig to hold the block while I make the many cuts for the comb teeth.
Beard Comb Cutting Jig 1.jpg
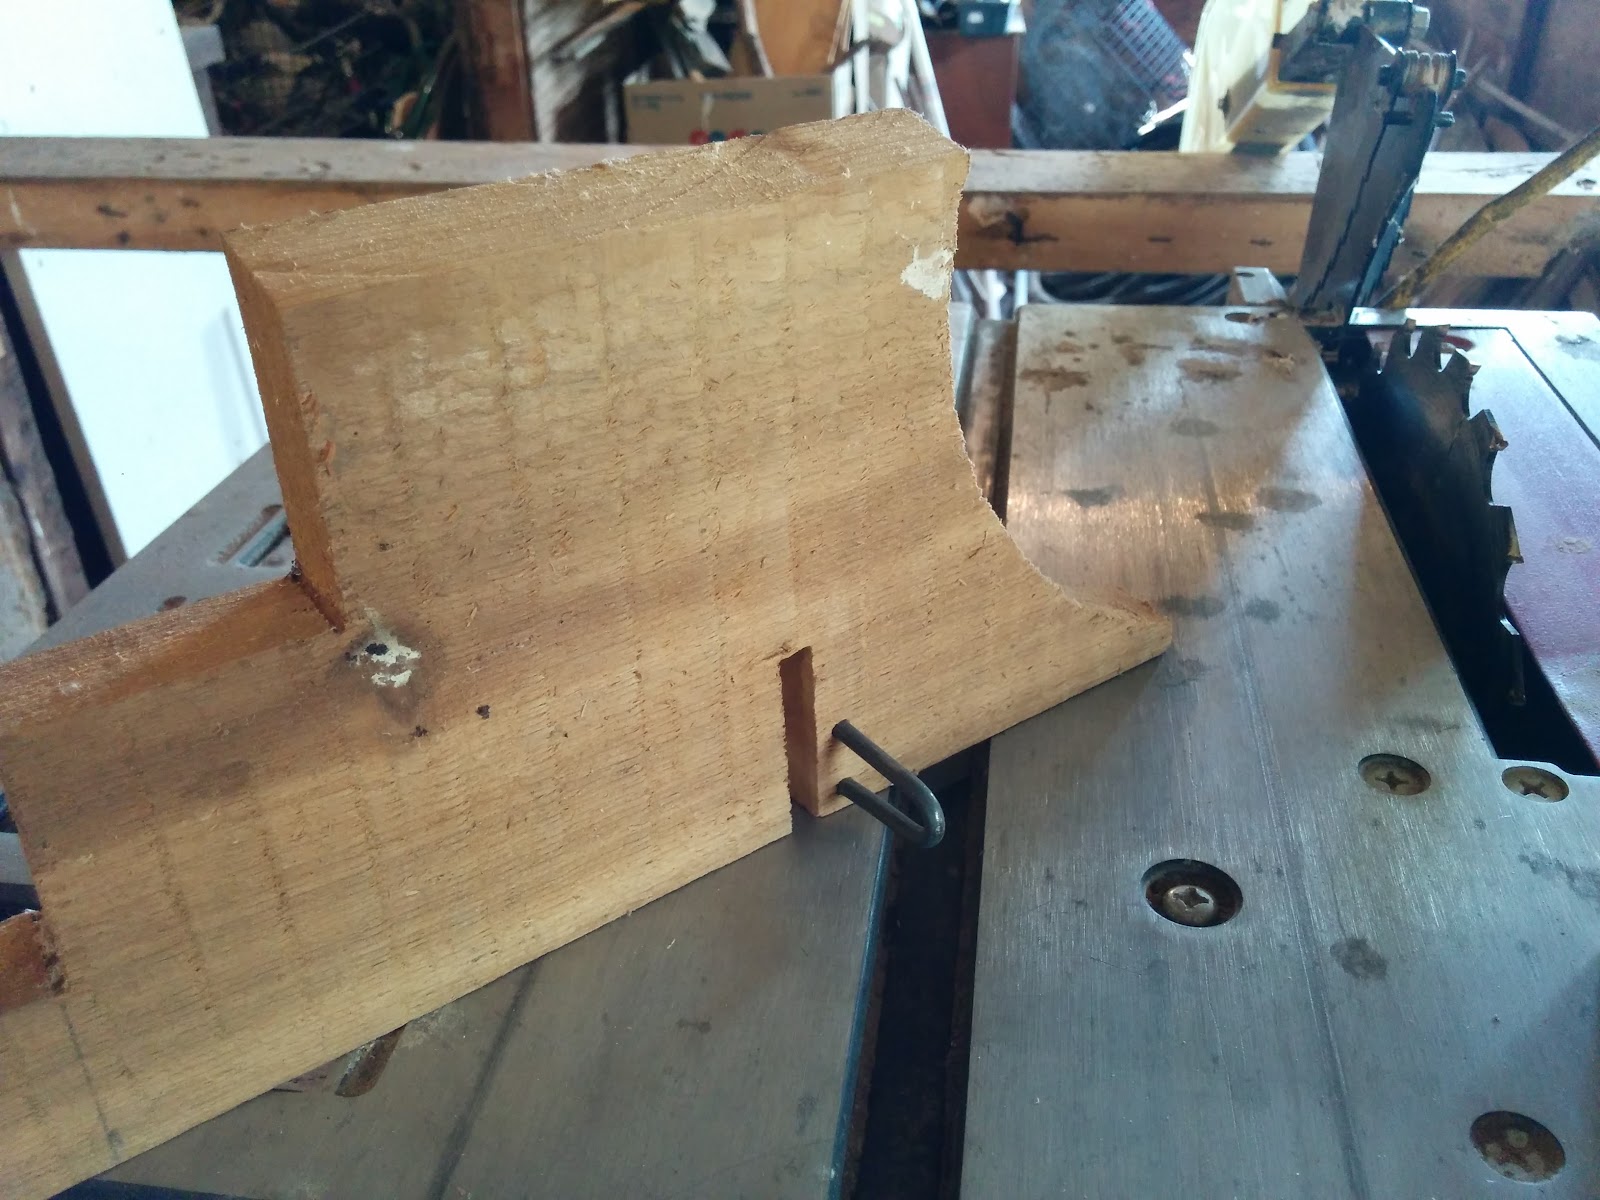
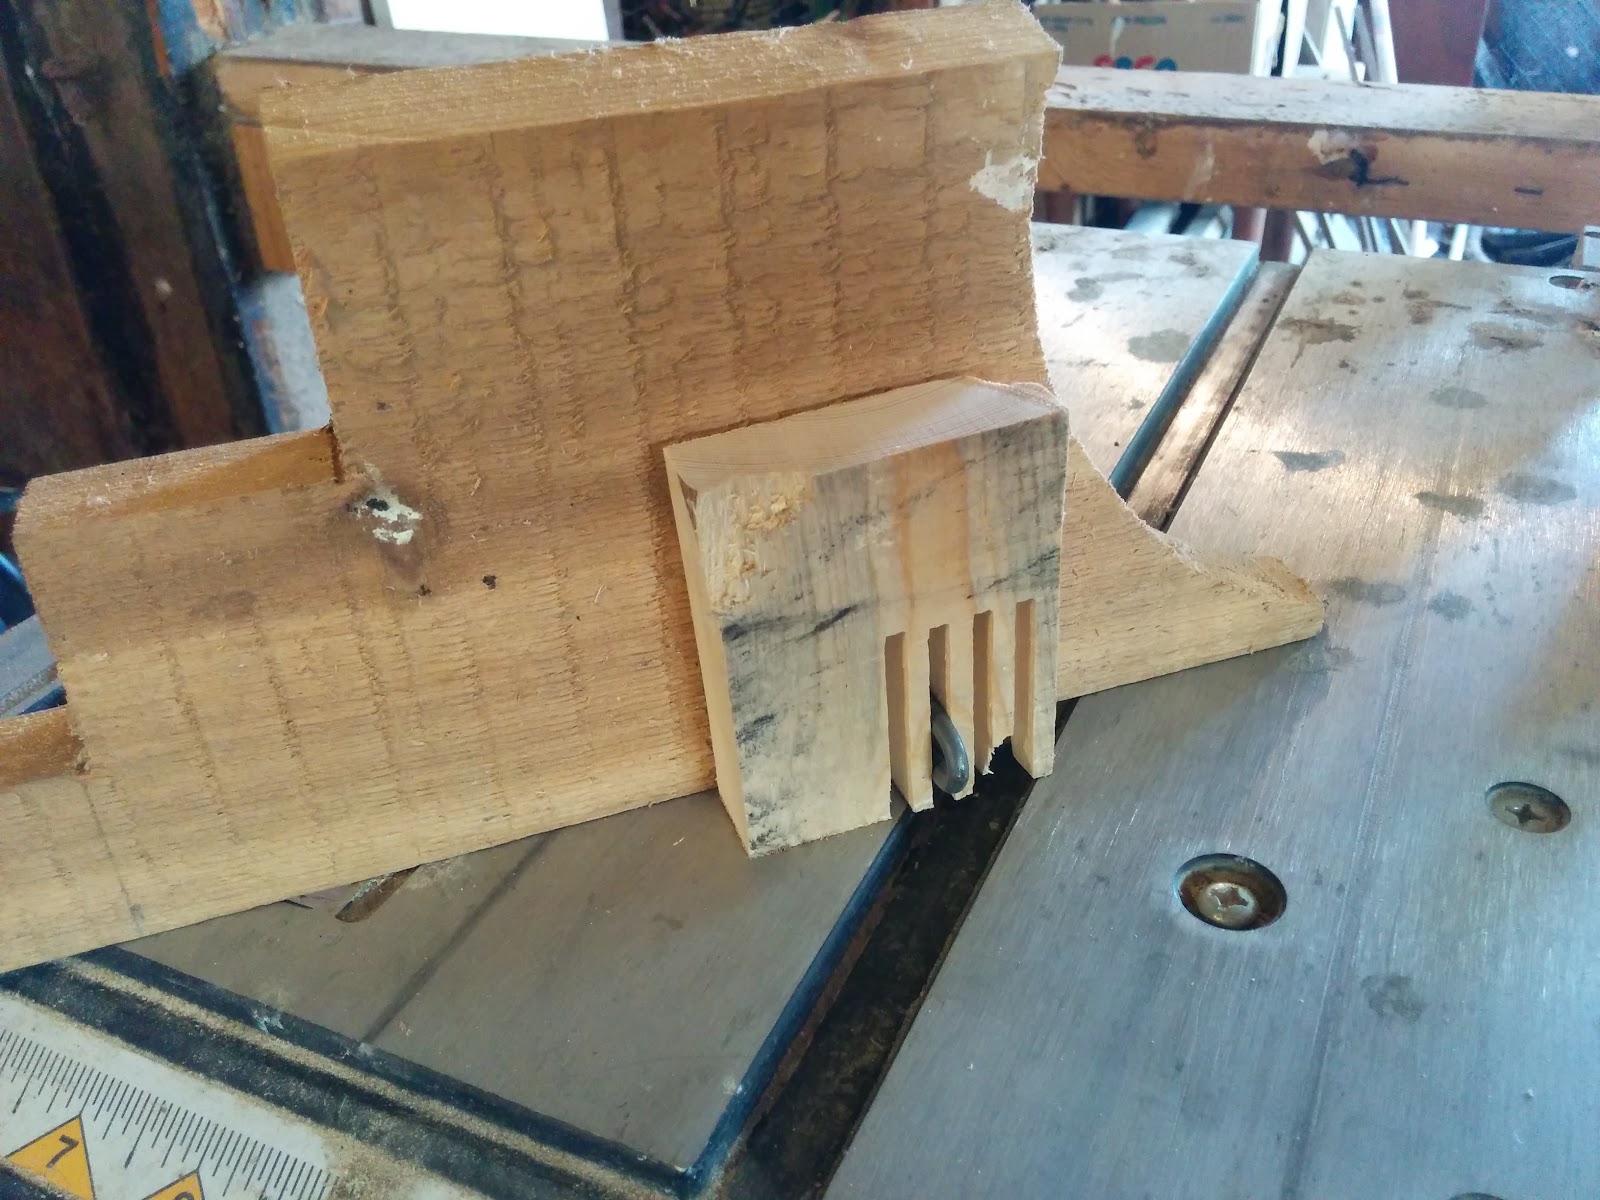
I discovered a package of fencing staples while spelunking through my dad’s collection of random hardware. To my amazement, the staples were the exact same width of the saw blade. Using a larger piece of scrap, I nailed a staple vertically roughly in the middle. Now, I could ensure my cuts would be evenly spaced.
Beard Comb Cutting Jig 2.jpg
Here’s how it looked during testing. I didn’t like having my fingers so close to the blade and was experimenting with different clamping mechanisms until my mom showed up and helped me find a smaller hand spring clamp. After that I was ready to make a real attempt.
Now that I knew what I was doing, I could work much faster. In a matter of minutes I had a rough square comb cut out.
Beard Comb Belt Sander.jpg
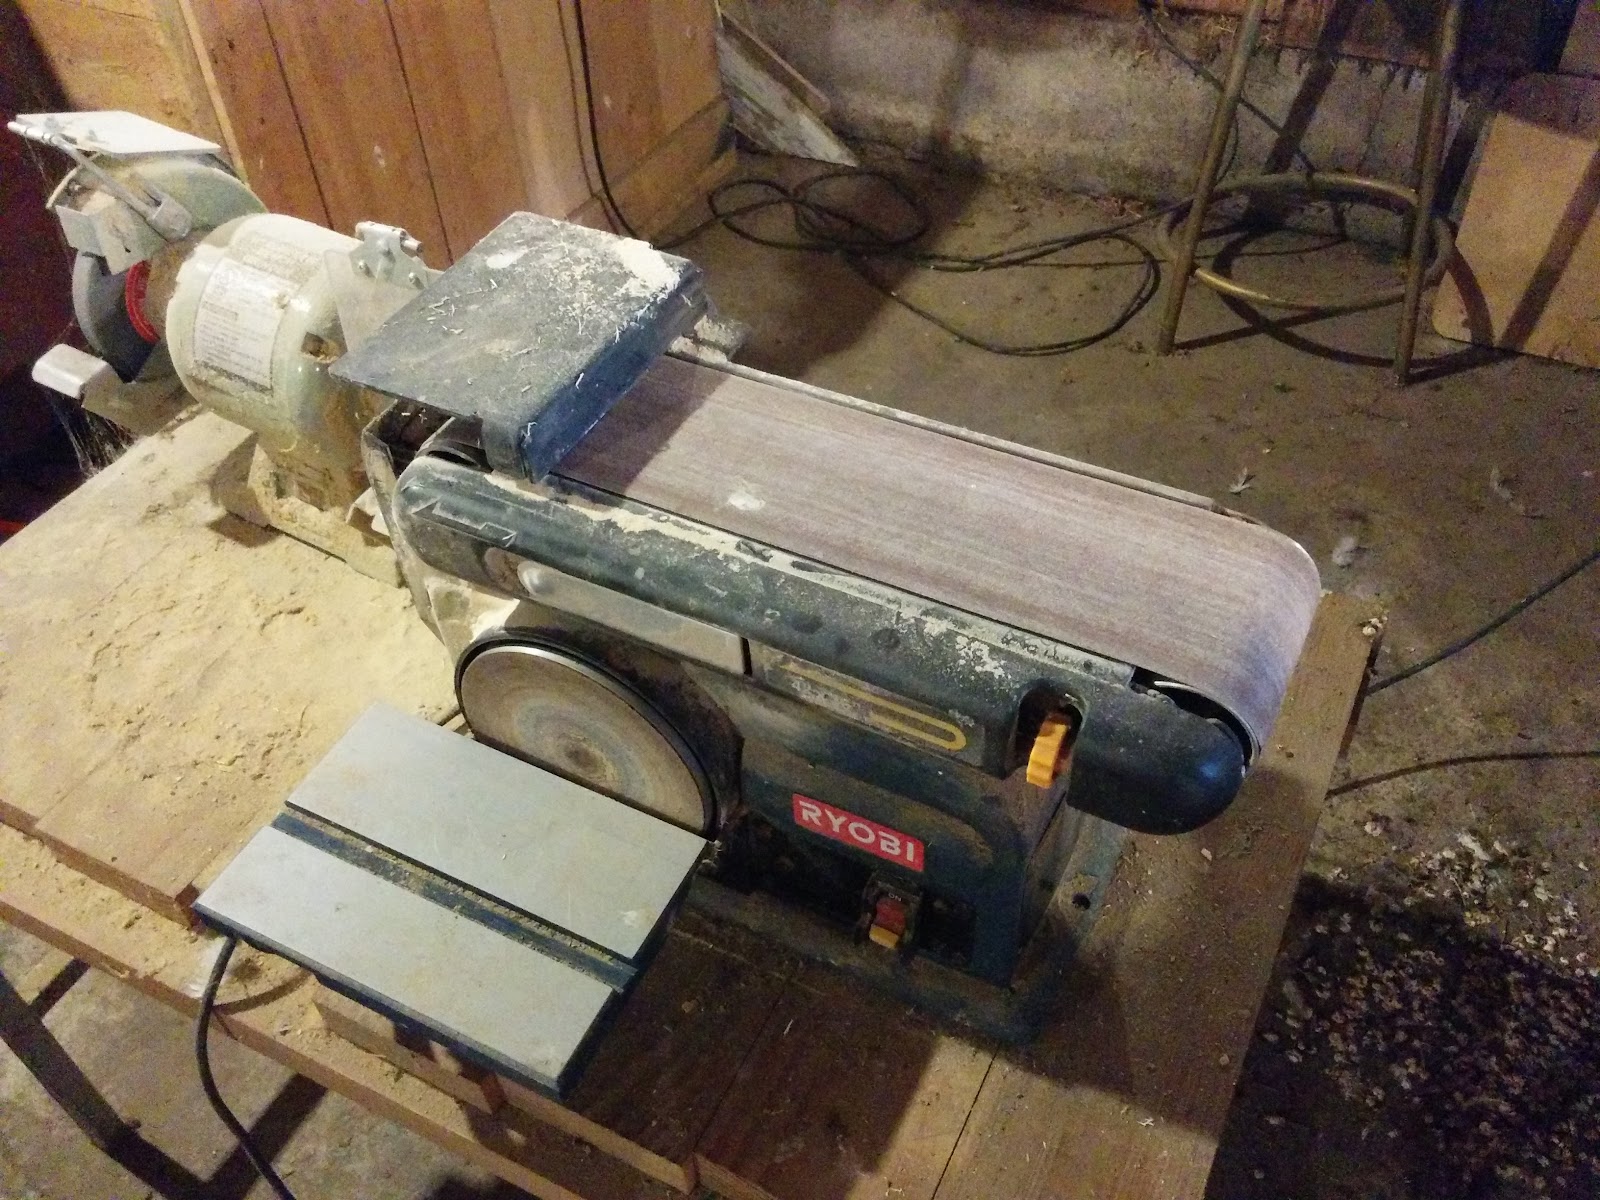
It was now time to throw the extension cord over the work table and fight my way to the belt sander. In the picture you can kind of see a big pile of bird poo on the ground. There is obviously a nest directly above it and that became the biggest challenge of this project.
Sanding is what takes the most amount of time when making a comb, and doing so while constantly ducking aerial assaults and trying to not step in shit certainly ups the difficulty level.
Eventually though, I was able to get my comb into a shape I was happy with. It was now starting to look like a comb. All that was left was the finishing touch ups.
Beard Comb Sandpaper.jpg
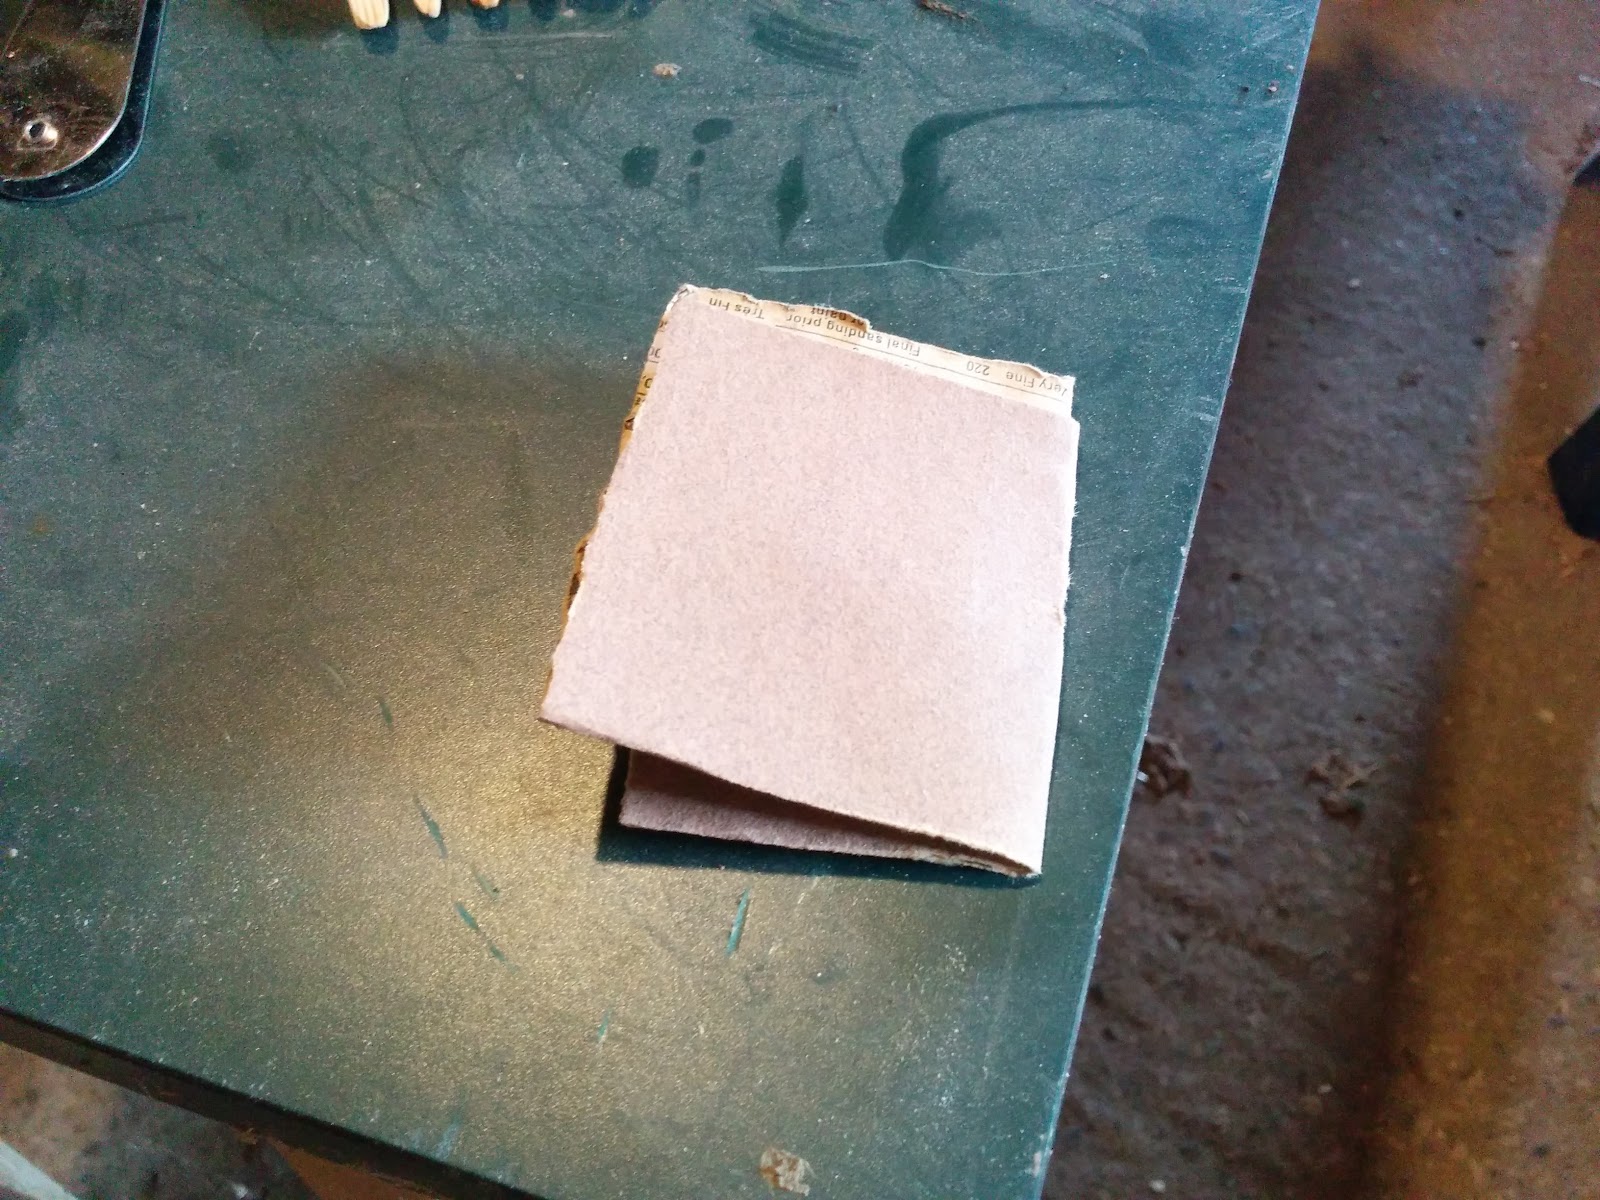
While it looked like I was close to being done, and could move to a safer location, there was a lot more sanding to do. Using different grit sandpaper and good ol elbow-grease, I set about making the spaces between the teeth as smooth as possible. This doesn’t require any amount of talent, but it does require a lot of patience.
Eventually, I was holding something I was happy with. To finish it off, I made a real simple mix of olive oil and lemon juice and dunked the comb in it and let it dry. I waited until I got home to do that, though, as I didn’t want to trap in any of the nasties floating in the air in my comb and then put it on my face.
Beard Comb Finished Product.jpg
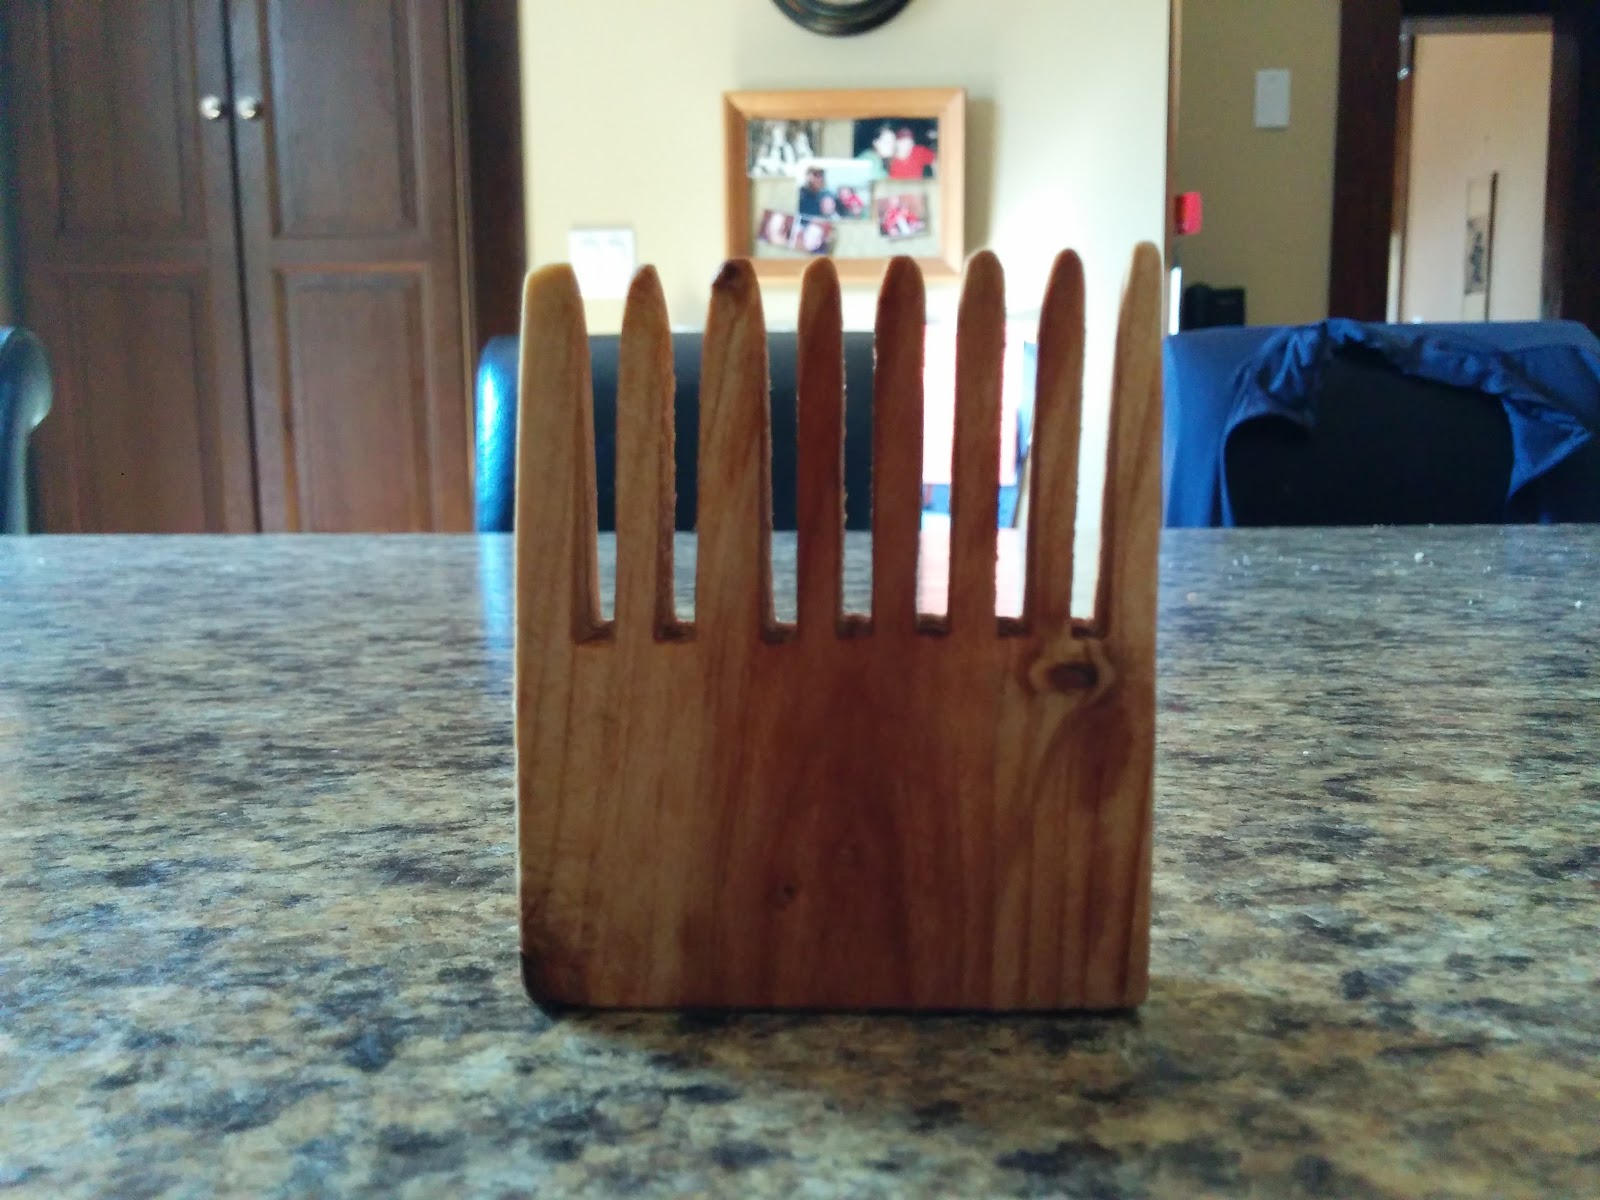
This is the finished product. I’m happy with how it turned out, but I want to try and make a few more and see if I can’t make one even better.
I’m also impressed how well it works. After only a week of using it, I feel like my beard is smoother and still tangle free. It also works on my hair upstairs as well, which I was a little worried about as I have pretty fine hair on my head.
Overall, making my first comb went quicker and more smoothly than I expected. If I can do it, standing in poop and dodging attacking birds, anyone can.
That thought filled me with undeserved confidence. Now my string of mistakes began.
Feel free to stop reading here, but if you want a laugh at my expense, carry on.
I decided to try and make a thin folding pocket comb. I had a real cheap, crappy plastic one which I took apart and used as a template.
I started by cutting a 1-inch strip off the end of a piece and then split it in half using the table saw. I was left with 2 pieces about ¼-inch thick.
Using the old plastic comb a guide, I started marking the general shape of the comb and spaces between the teeth on one of the wood pieces. What happened next brought back one of my recurring childhood nightmares.
While leaning over close so I could see, I noticed a small black dot on my piece of wood. At first, I thought it was just an accidental mark from my pencil...until it started moving. Then I saw another...and then another. I must have been near a spider nest that just hatched.
When it was just one, I was fine as I just squished it with my pencil. But, now that there were five or six I tried to blow them off. Since the piece was still quite rough, that didn’t work.
Next, I picked the piece of wood up and was about to give it a good shake to try and get rid of the little critters. It was at this point I noticed one on my thumb. Dropping the wood, I realized the fear from when I was a kid was happening.
There were at least a dozen creepy crawlies all over my hand and moving up my arm.
To give myself some credit, even though I was alone, I kept my head about me and didn’t completely freak out. Reasonably calm, I walked outside, found a hose and soaked my arm until I couldn’t see anymore baby spiders...and then I sprayed it some more.
Finally getting back to the work I was there for (I moved my workstation to try and avoid disturbing any more bugs), I finished marking out my pocket comb.
Beard Comb Jigsaw.jpg
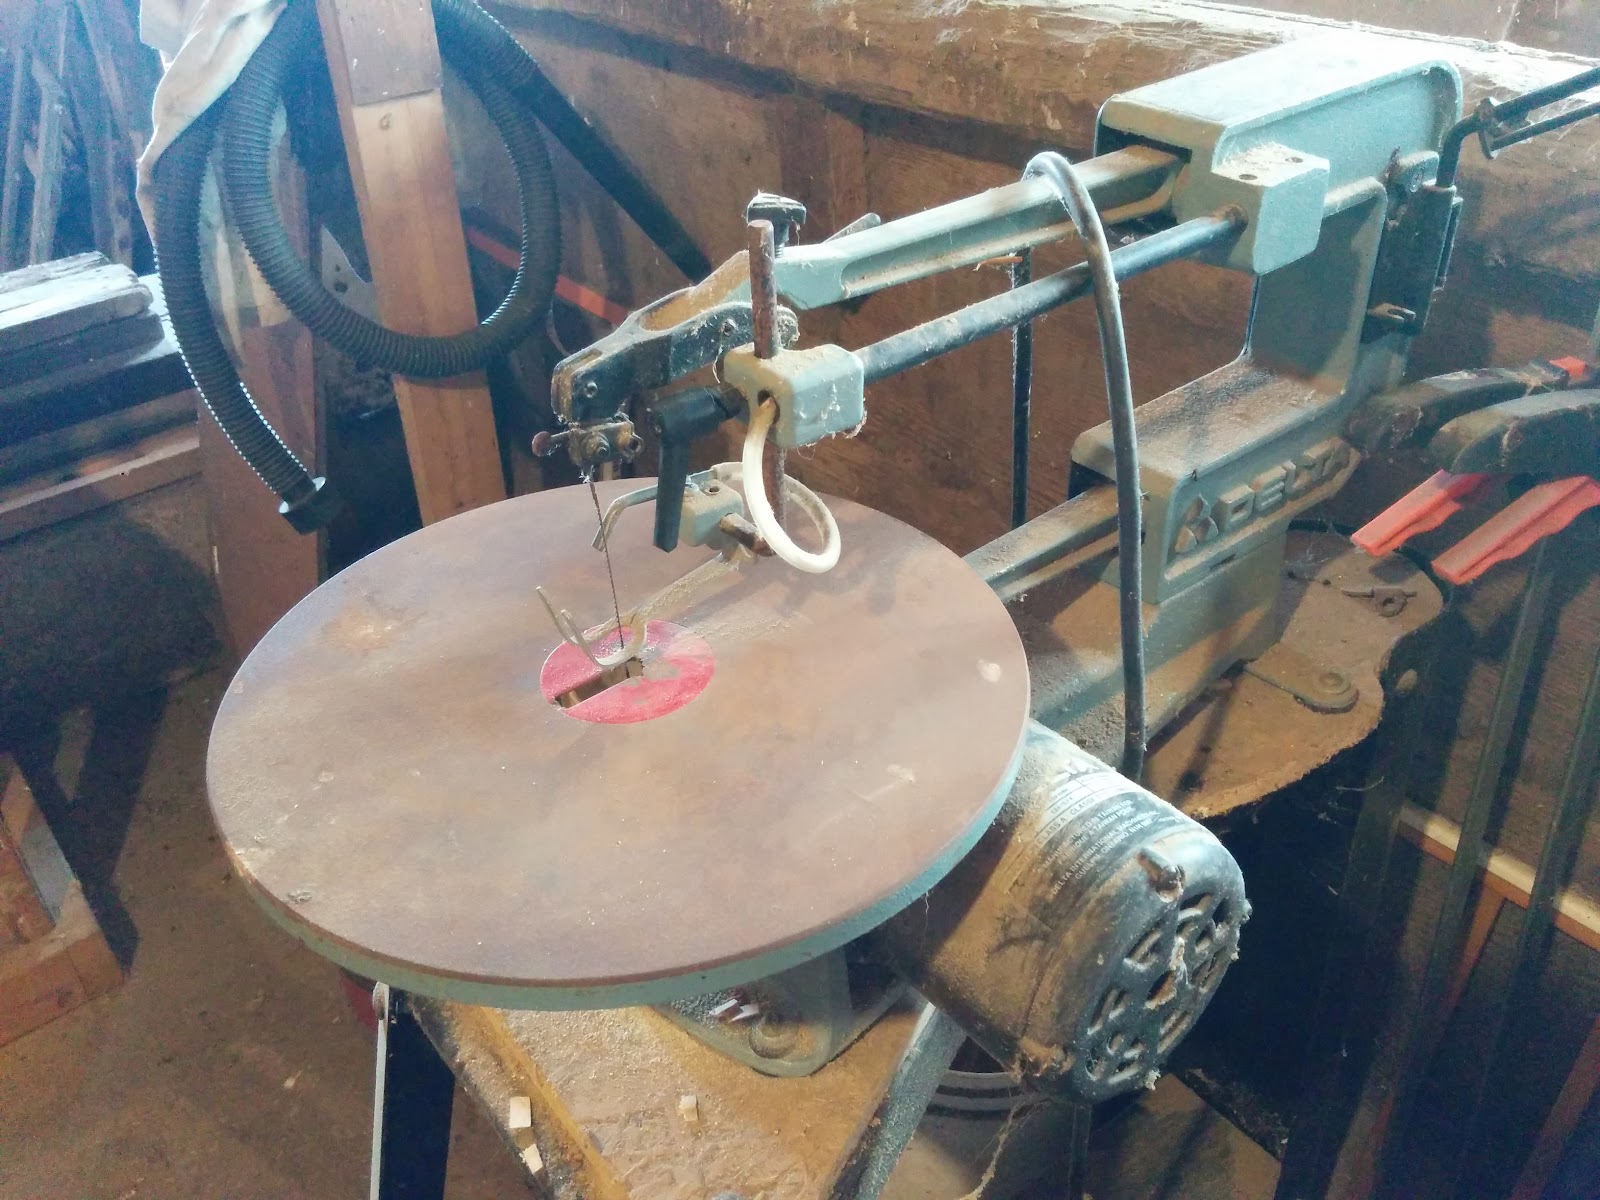
I moved to the jigsaw because I thought it would be more delicate on the thinner pieces of wood. I was mostly correct. However, my test piece had a knot in it and when I got close to that, the rest just fell off. Since it was just my test piece, I wasn’t too upset.
Relatively happy with how the rest of the test went, I grabbed my “good” piece of wood. I cut slow and steady and everything went quite well. With all the teeth cut out, I had the idea I would just trim the corners a bit to make them more round. Mistake number two.
Because I cut the wood too thin and the adjustment on the clamp on the jigsaw was rusted closed, the last few teeth snapped off. Frustrated, I rounded the new end off and went to the sander again. While I was there I cleaned up my test piece, too...just because I could.
Beard Comb Almost Finished.jpg
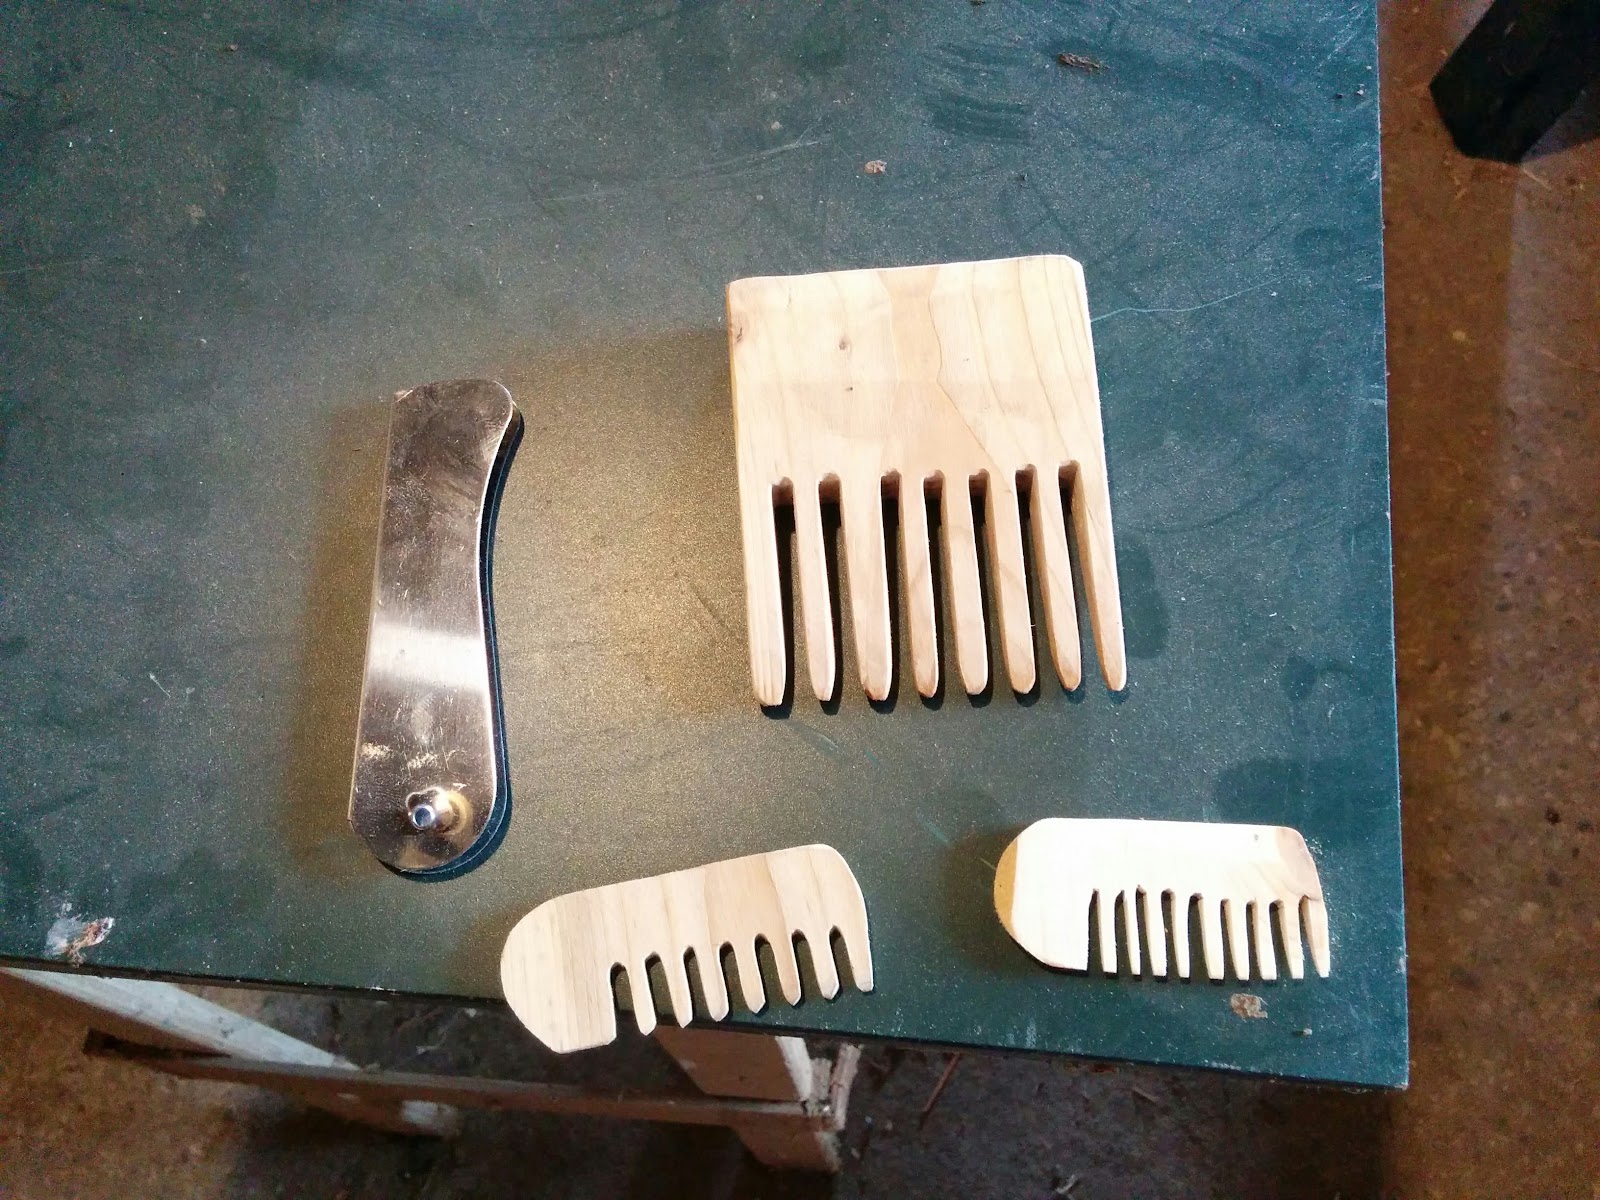
Though it was shorter than I wanted, I figured it might pass as a moustache comb. However, my frustrations were not over yet.
While I was trying to drill out the hole on my “good” comb, it split and broke apart. Now I was really annoyed. At least I still had my test piece that was sanded mostly smooth, so I successfully drilled a hole in that one.
Thinking I was in the clear, I finished sanding that comb and finished it with my olive oil and lemon juice concoction.
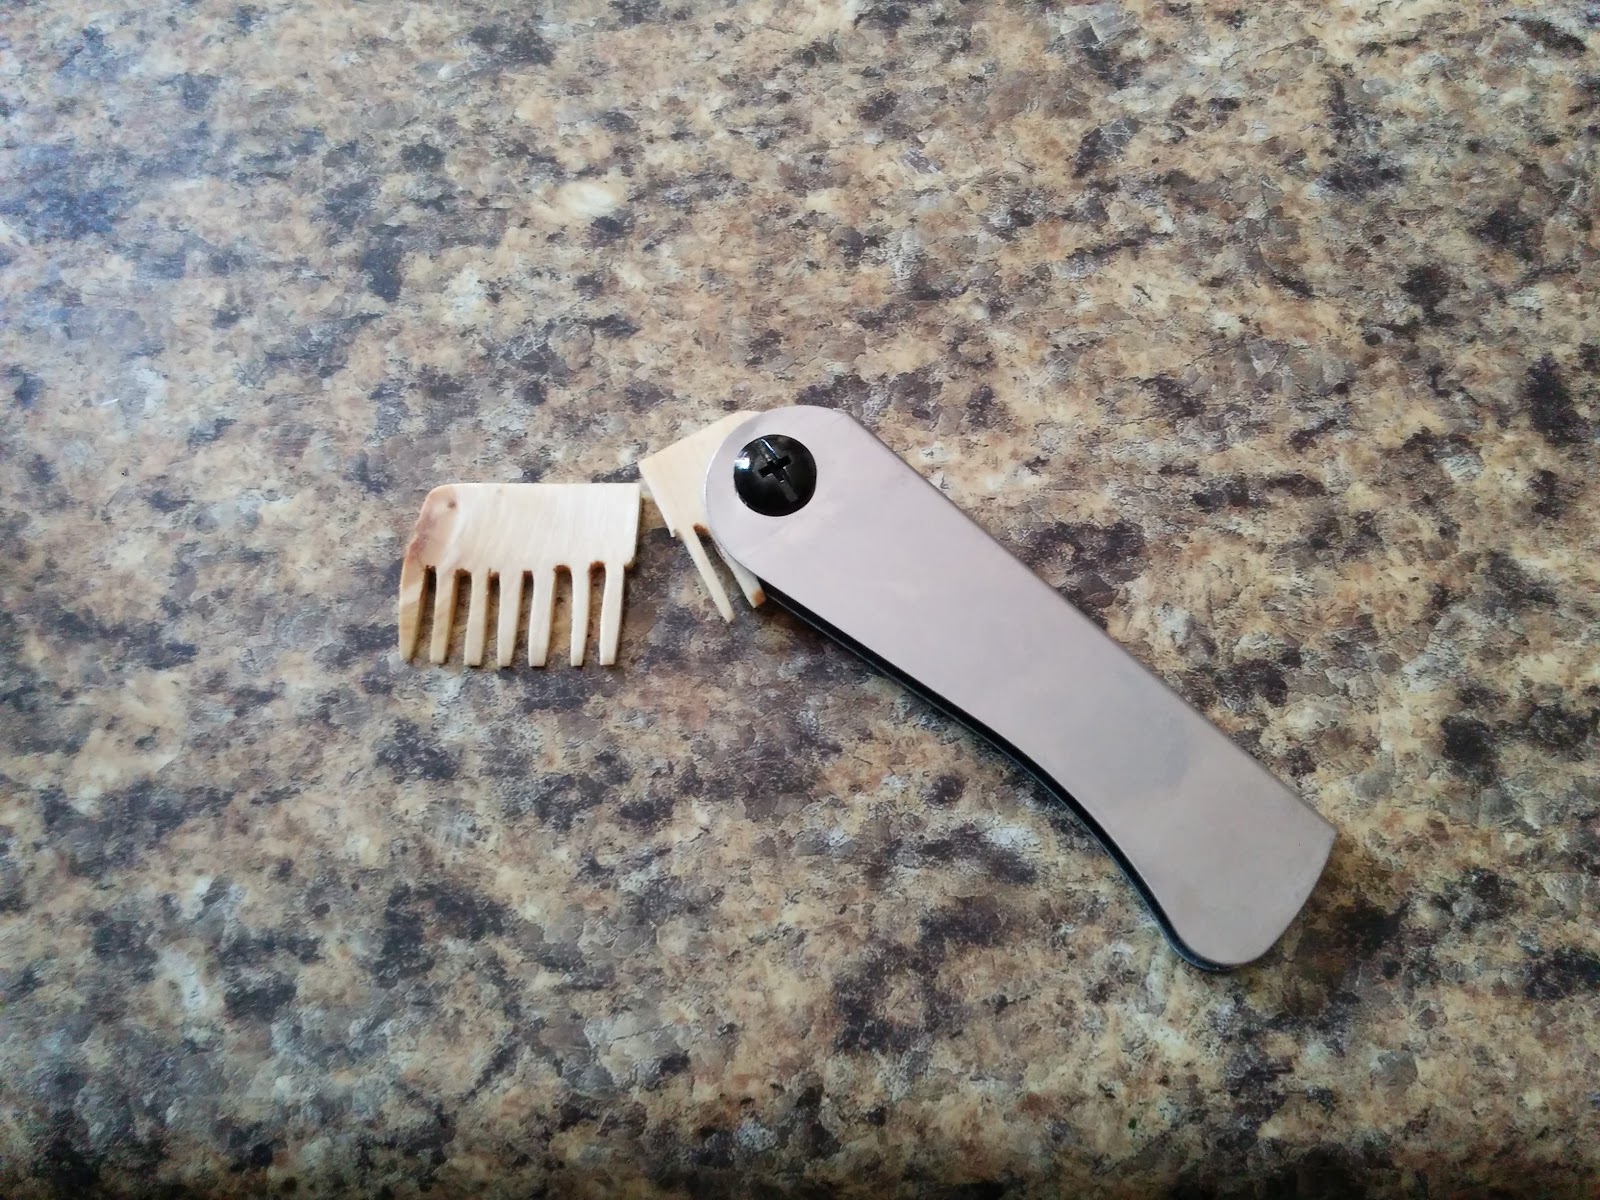
When it dried, I put in in the cover and slid the screw through. Either the finish made the hole slightly smaller, or I didn’t make the hole big enough to start with, but the first time I tried to open the comb it snapped in half.
Beard Comb Failure.jpg
It was then I admitted defeat and chucked it across the room. After such a promising start, the day ending poorly.
So, I won’t be trying make anymore combs this size, but I think I will try to make a few more thicker ones and see what I can come up with.
What do you think about my comb-making experience? Have you ever considered making one yourself? Have you had any childhood fears come back to haunt you as an adult? Let me know in the comments below.


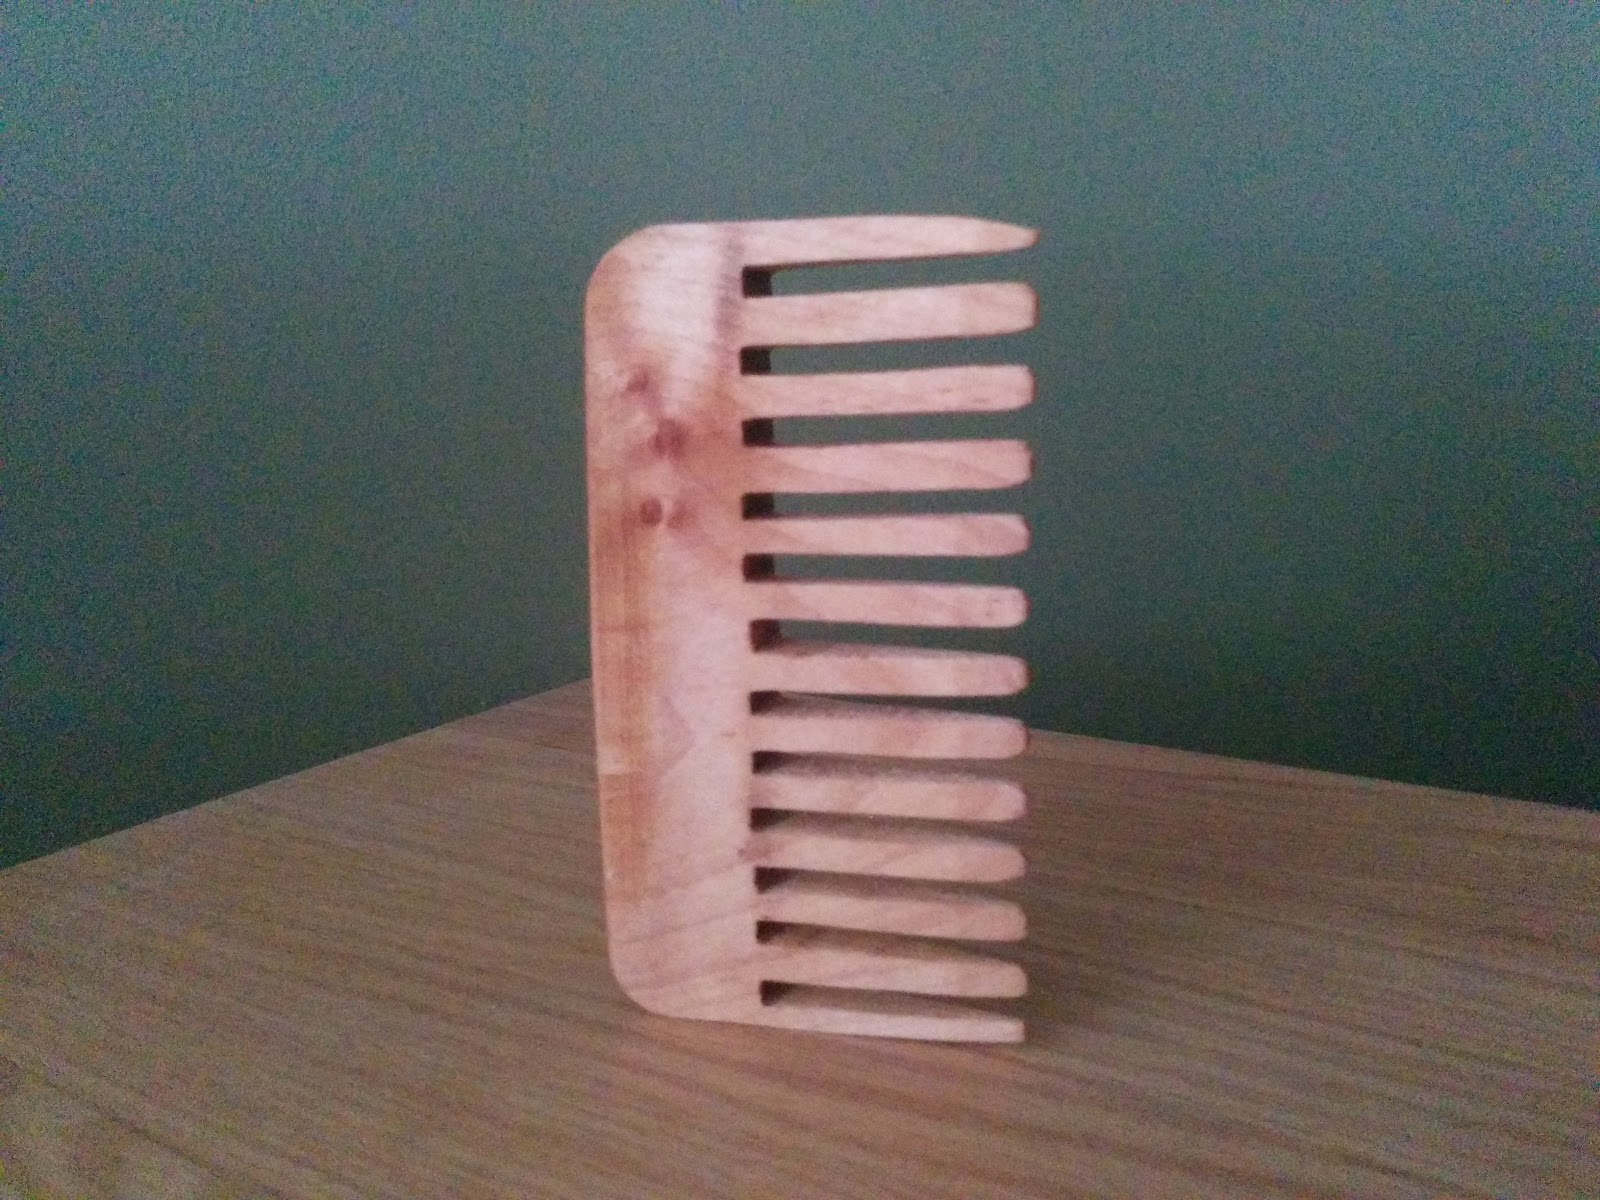
UPDATE: I found another piece of pallet board in my basement that was a little wider than the first one I used. Since I knew what I was doing, I made a second comb fairly quickly. I’m even happier with how this one turned out...and the board was also a little longer so I may make a couple more and give them away as gifts or something.
Here’s my new favourite comb:
Beard Comb finished product2.jpg

Tuesday, 5 July 2016

DIY Beard Balm

As my beard got longer, it started to get a little too wild looking. Thanks to my beard oil, it was soft and healthy, but it was becoming impossible to tame it.
I didn’t want to go crazy with the styling, but a product that could get my beard under control and conditioned seemed like a mystical serum. Thankfully, the good people down at the internet told me about beard balm.
Like beard oil, the guys who do that well also have a respected beard balm. If you want to save yourself the effort, don’t hesitate picking up one of their great products.
Beard balm uses many of the same ingredients as beard oil, but adds beeswax to give it a bit of hold. A form of butter, usually shea or cocoa, is also added to make it easier to spread, plus have healthy benefits themselves.
Since beard balm uses many of the same oils, you can be equally as creative. You can easily create a balm that smells the same as your beard oil, or you could try something different. As the cliche goes: you’re only limited by your creativity.
Keep in mind, I’m a cheap ass, but here is how I do it:
Beard Balm Equipment.jpg
Compared to beard oil, balm is much more labour intensive. But that being said, if you can reheat pasta sauce, you can make beard balm.
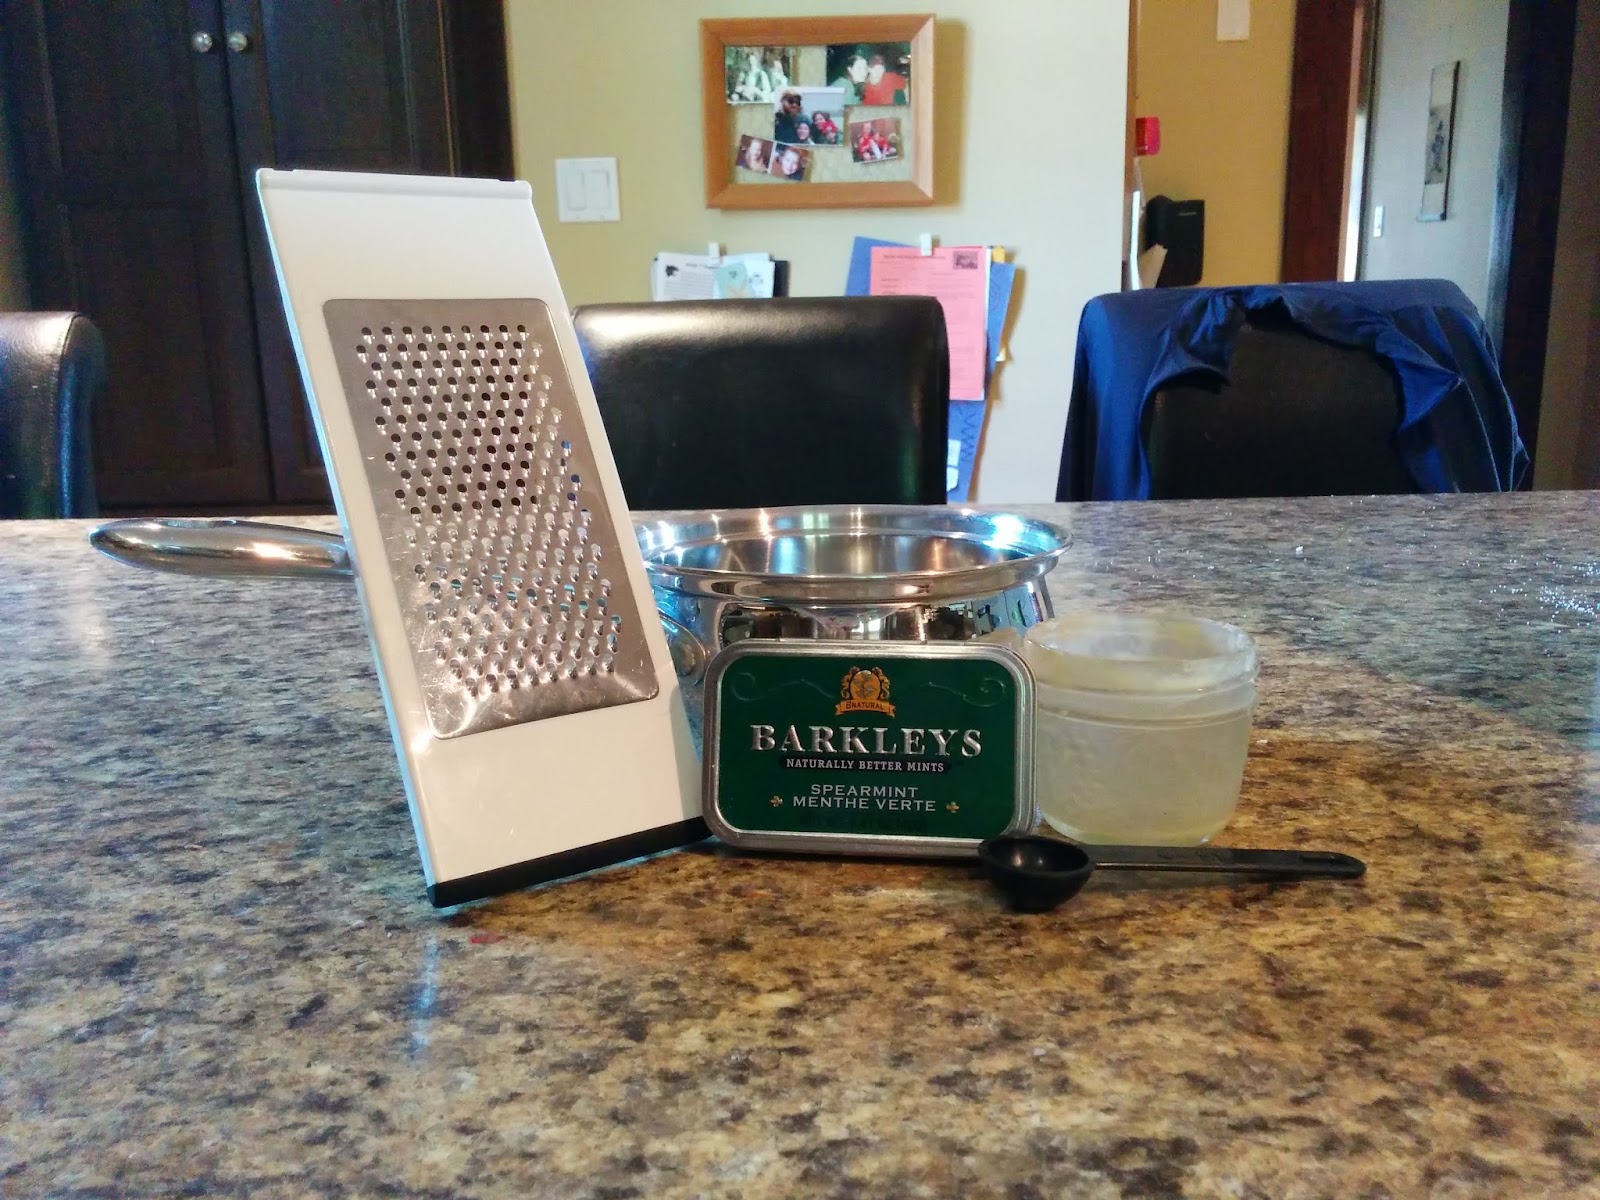
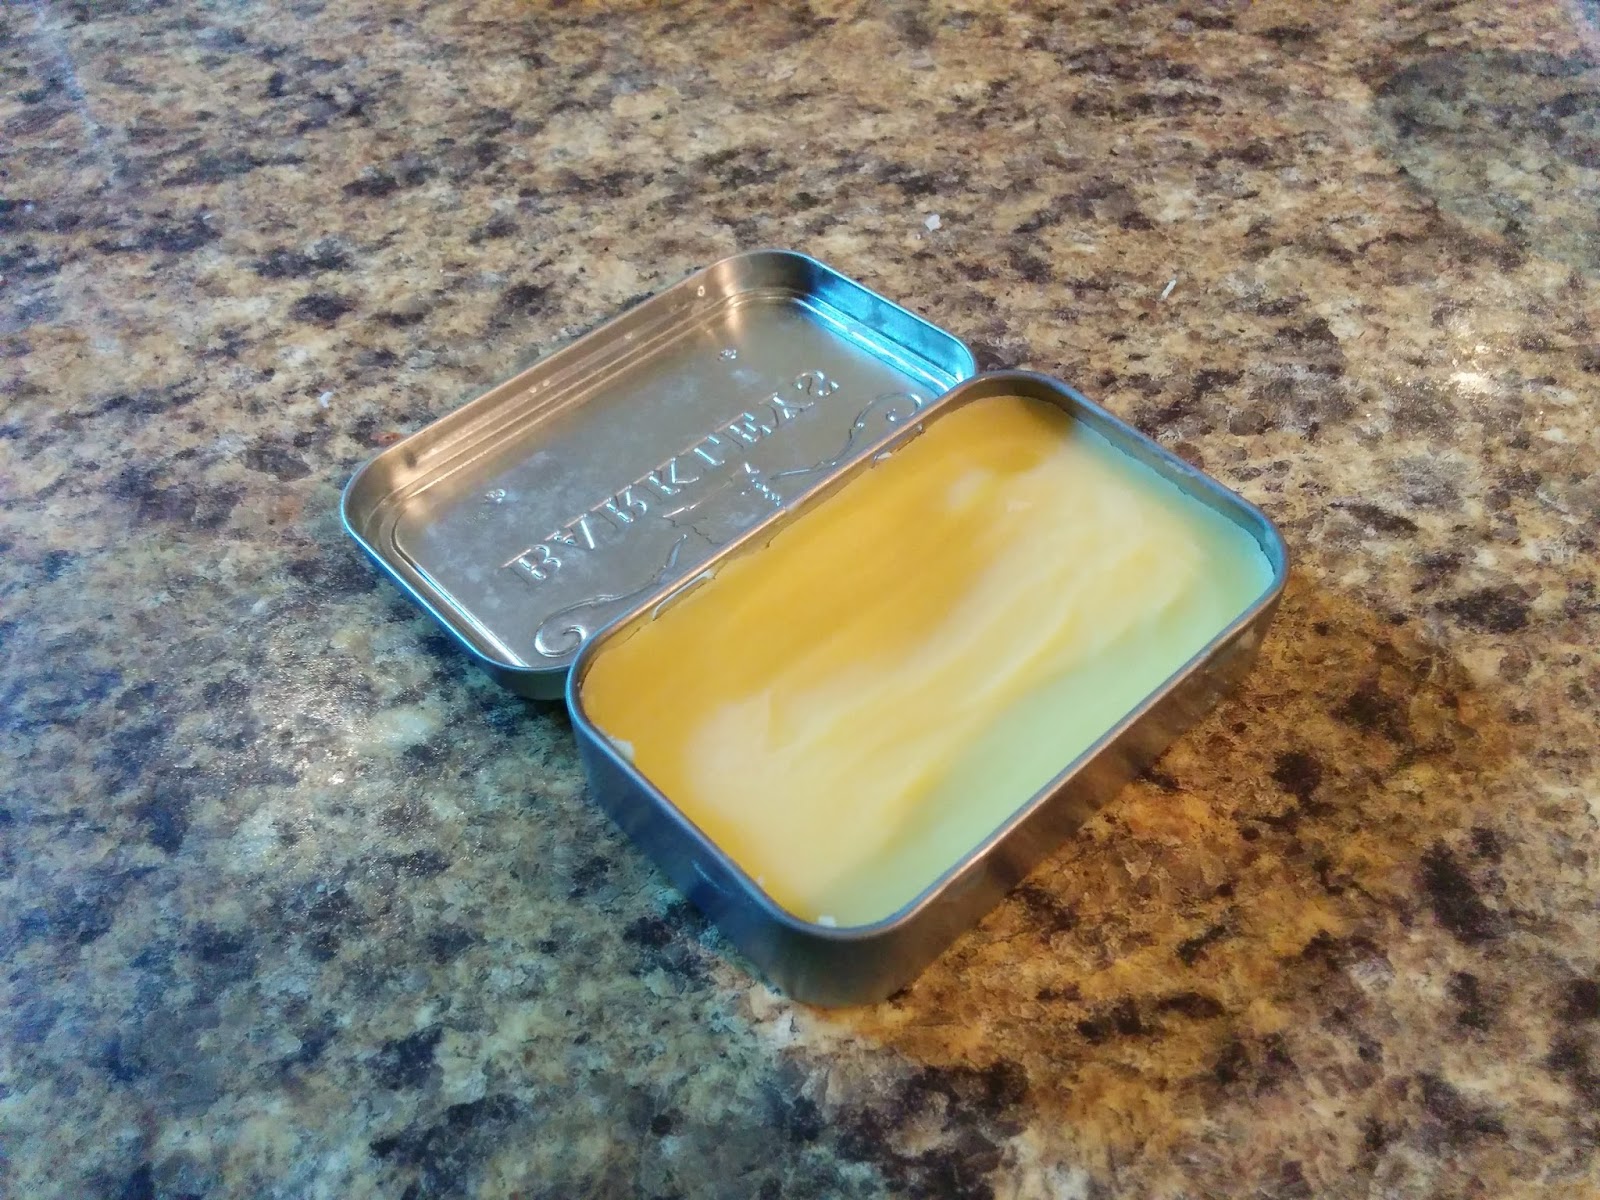
Again, I started by going to my recycling bin. I pulled out a mint tin to keep the finished product in. It’s the perfect size and fits nicely in your pocket if you want to carry it around with you. That being said, I don’t, but it’s nice to know it will travel easily if needed.
I bought a cheese grater at the thrift store for a few cents. It makes measuring the beeswax easier, and I don’t have to hear about it from my wife when I don’t clean our regular grater well enough and our cheese tastes funny.
Obviously, to measure stuff you need measuring spoons. I’m not a big stickler on being precise and I don’t like cleaning too many different utensils, so I tend to just reuse the same one for all the ingredients.
Now comes the hard part. I don’t have a fancy double boiler, instead I just put an old jam jar in a pot with a bit of water. I keep the temperature low and continuously stir the wax and butter to make sure they only melt and not burn. I obviously wouldn’t want to do this if I was making a lot, but since I’m only melting a few ounces at a time, this works fine.
Beard Balm Ingredients.jpg
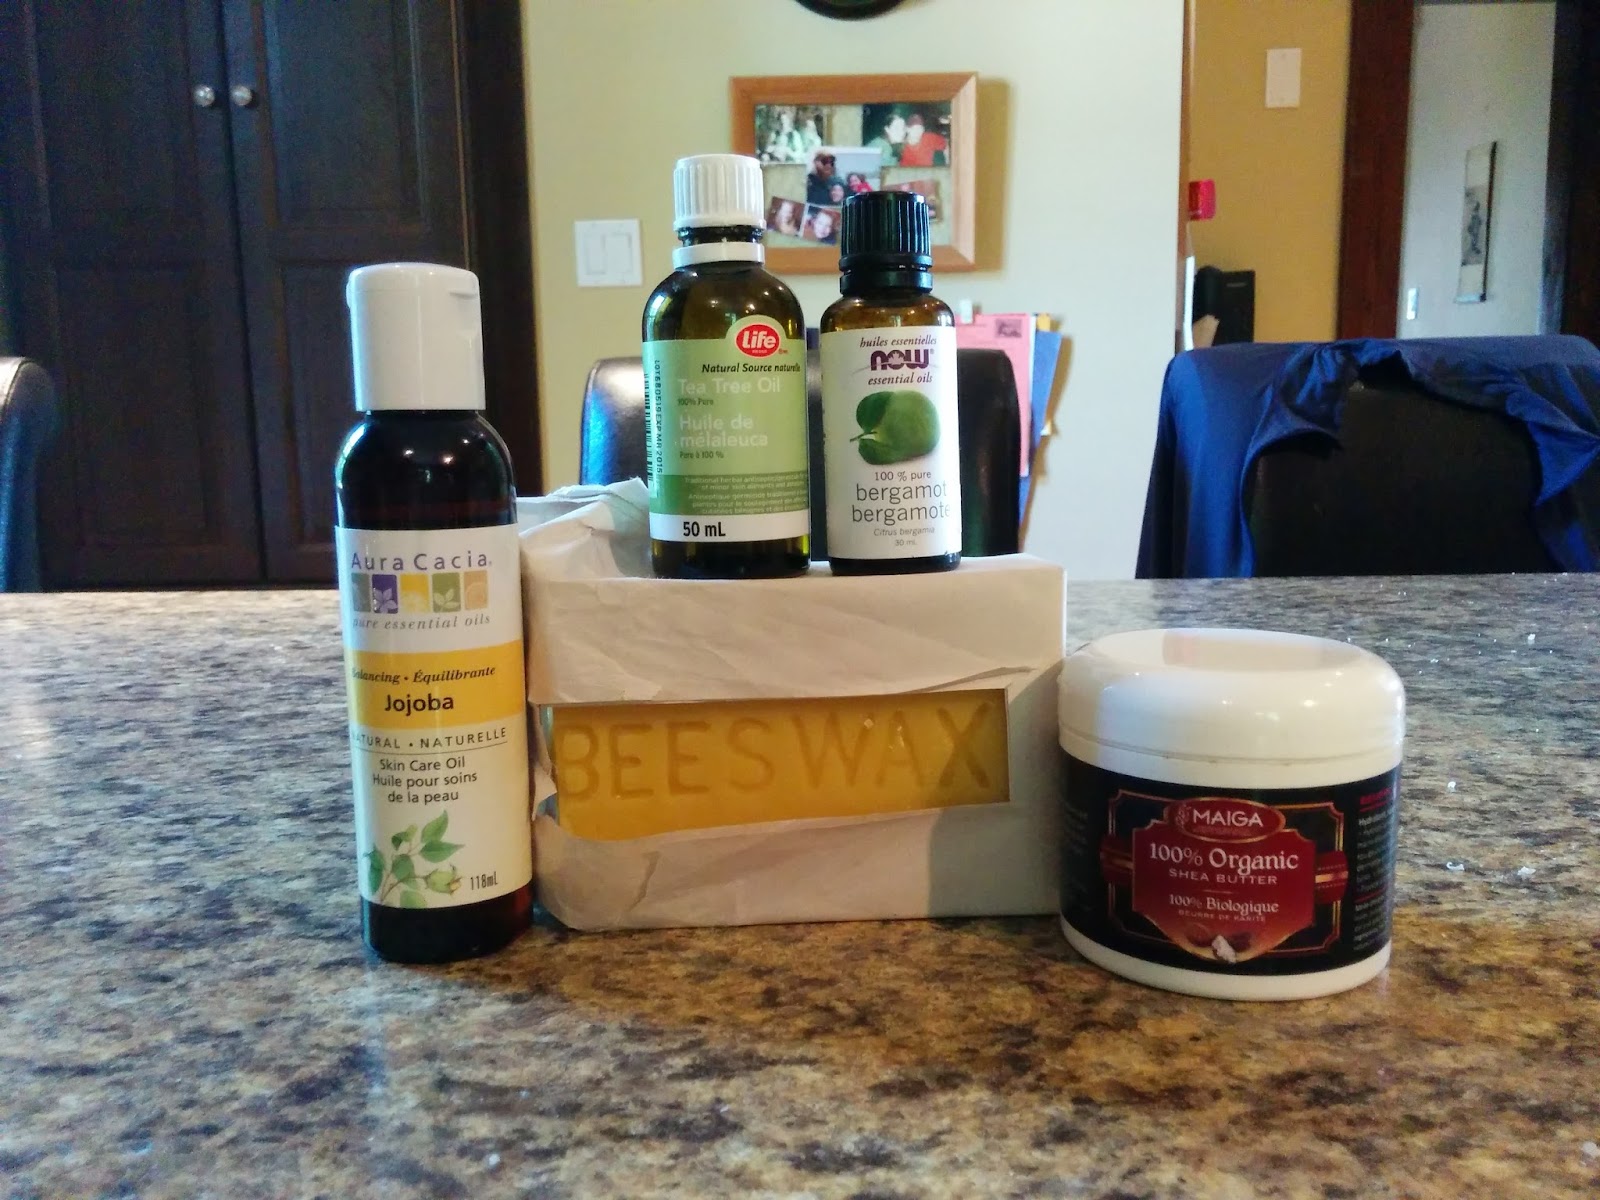
These are the ingredients I use and are the stars of any beard balm.
Half the ingredients for my beard balm are the same as my oil. Jojoba is my carrier oil and tea tree and bergamot are the essential oils I use for scent and extra goodness.
I bought this giant brick of beeswax at the health food store for $10. As you can see, I haven’t used that much of it yet, and with my second attempt I initially used too much beeswax and my balm was too hard for my liking. The more wax, the stiffer the hold, but it also makes it more difficult to work it in.
To make my balm silky smooth I use shea butter. I think I may have tossed in coconut oil once, but it wasn’t very much and I certainly didn’t measure the amount - shea butter is my go-to. It smells pretty good and has many healthy benefits. I guess, technically, you could just rub shea butter into your beard by itself, but adding other ingredients gives a balm even more benefits and makes it last longer.
To mix all the ingredients together, start by melting the beeswax and butter. Remember, go slow on low heat as you don’t want to ruin a batch. Once they are completely liquid and transparent, remove from the heat. Now, add your oils and stir them in. Before the mixture hardens again pour it into whatever you plan on keeping your balm in. You have to move kind of quickly once you’ve taken it off the heat, as the wax will harden again fairly soon.
And that’s it. Not that difficult at all.
Finished Product.jpg
Here’s what my finished product looks like. It’s semi-solid, but easily melts in your hand.
Since I’ve made this one, I actually don’t use it in my beard very much anymore. However, I’ve been letting my hair on the top of my head grow out and I use this as my hair styling wax. It doesn’t have a super high hold, but it works well enough for me and I know it’s all-natural so it’s kind to my hair.

What do you think about how I make my beard balm? Is this something you think you could handle? Do you have other uses for it that I haven’t thought of? Let me know in the comments below.

Monday, 27 June 2016

DIY Beard Oil

After a few months of growth, my beard started to feel wiry and wasn’t nice to stroke anymore. After consulting the good people down at the internet, it became apparent my beard needed more conditioning. The best way to do that: beard oil.
Now, there are many cool beard oil manufacturers out there, with great reputations for making an excellent product. However, mixing a premium beard oil is not the cheapest thing to do, and if you are frugal like me, you can make a passable beard oil for a fraction of the cost.
Also, with a near infinite combination of ingredients, you can be quite adventurous with creating your own recipe. I limit myself to only a few different ones just because I’m a cheap bastard, but I encourage you to experiment and make a beard oil that you love.
For a very good, in depth guide written by someone far more knowledgable than me, I recommend the one written by Shawn at Tools of Men.
Here’s how I make my beard oil and my further cost savings along the way:
Beard Oil Equipment.jpg
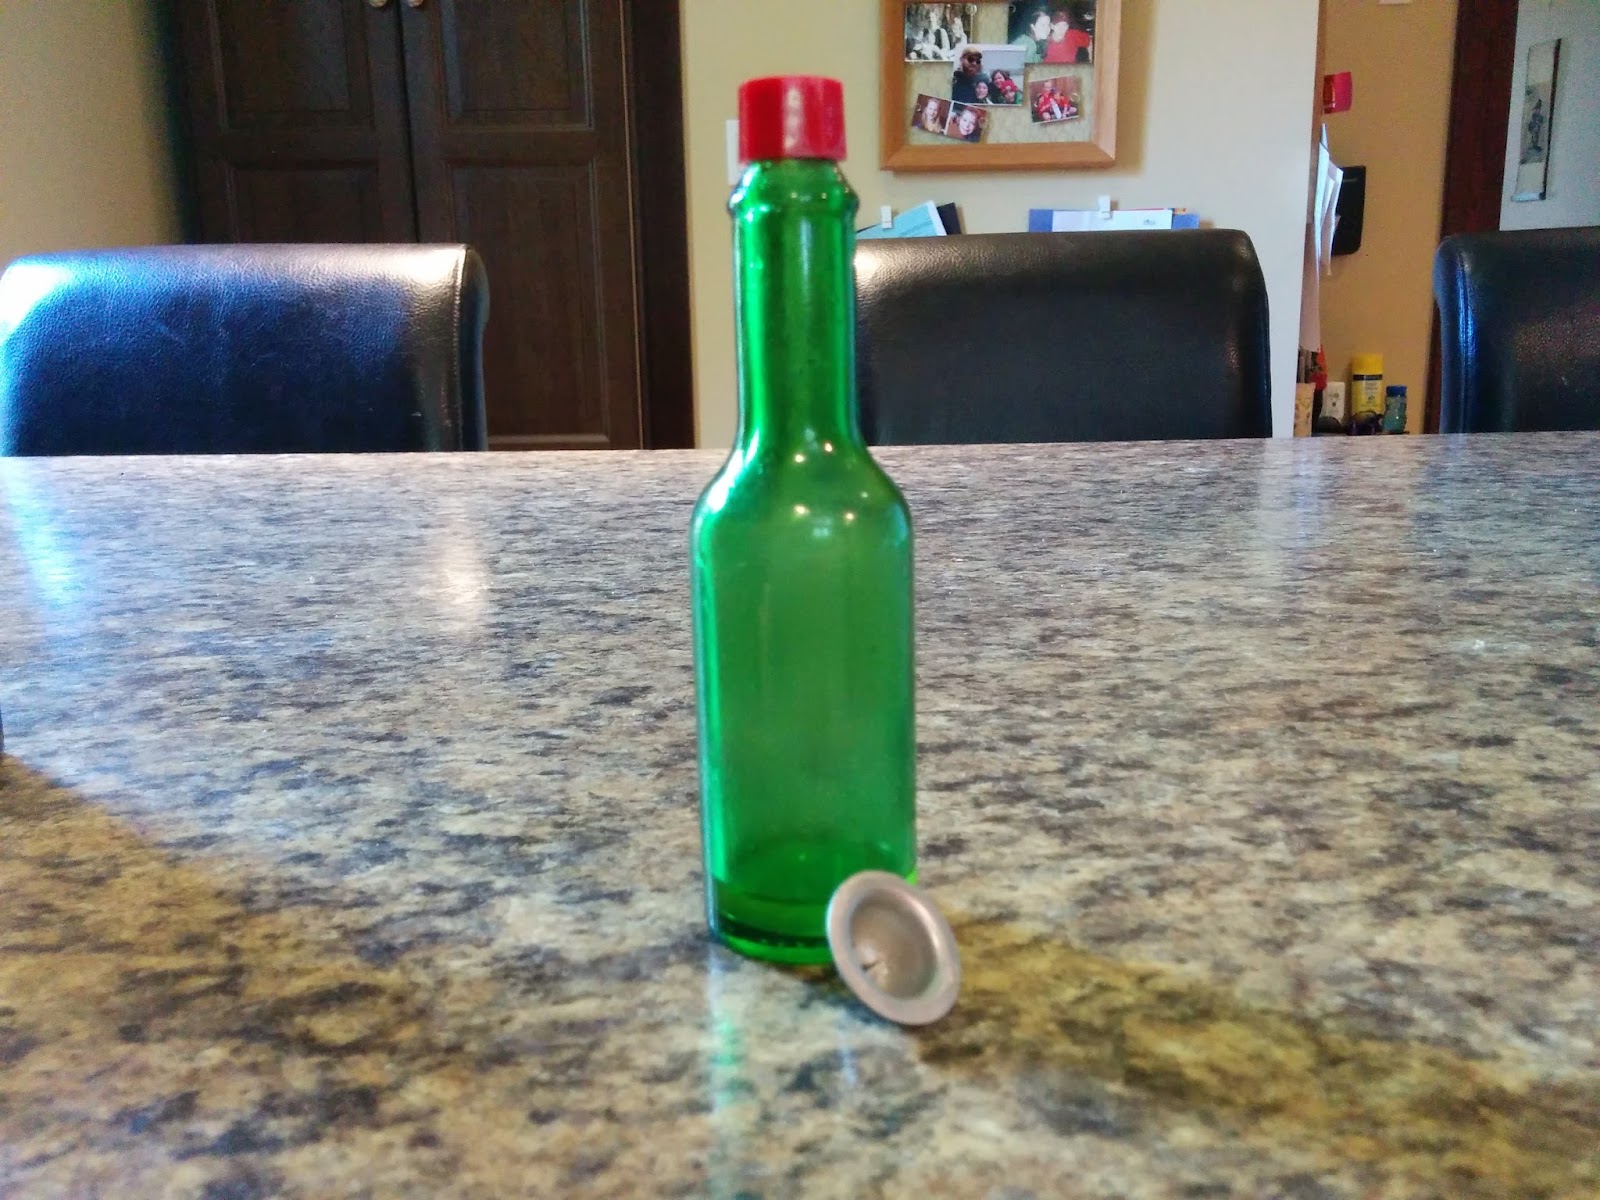
Instead of buying expensive bottles with eye-droppers inside, I just went to my recycling bin and pulled out an empty hot sauce bottle. While it may not provide the same level of shelf-life that a brown bottle may, I use beard oil everyday so I don’t need it to keep all that long. And, the narrow neck and small opening allows me to consistently drop the proper amount into the palm of my hand.
After making a mess the first time I tried to get my ingredients into the bottle, I went in search of a tiny funnel, or something that could accomplish the same result. I found a really cool, ancient icing...plunger thing at a thrift store for $0.75, but the nozzles are what I really wanted. They were the perfect size to fit on the top of my bottle to make sure all of my ingredients get into the bottle.
Beard Oil Ingredients.jpg
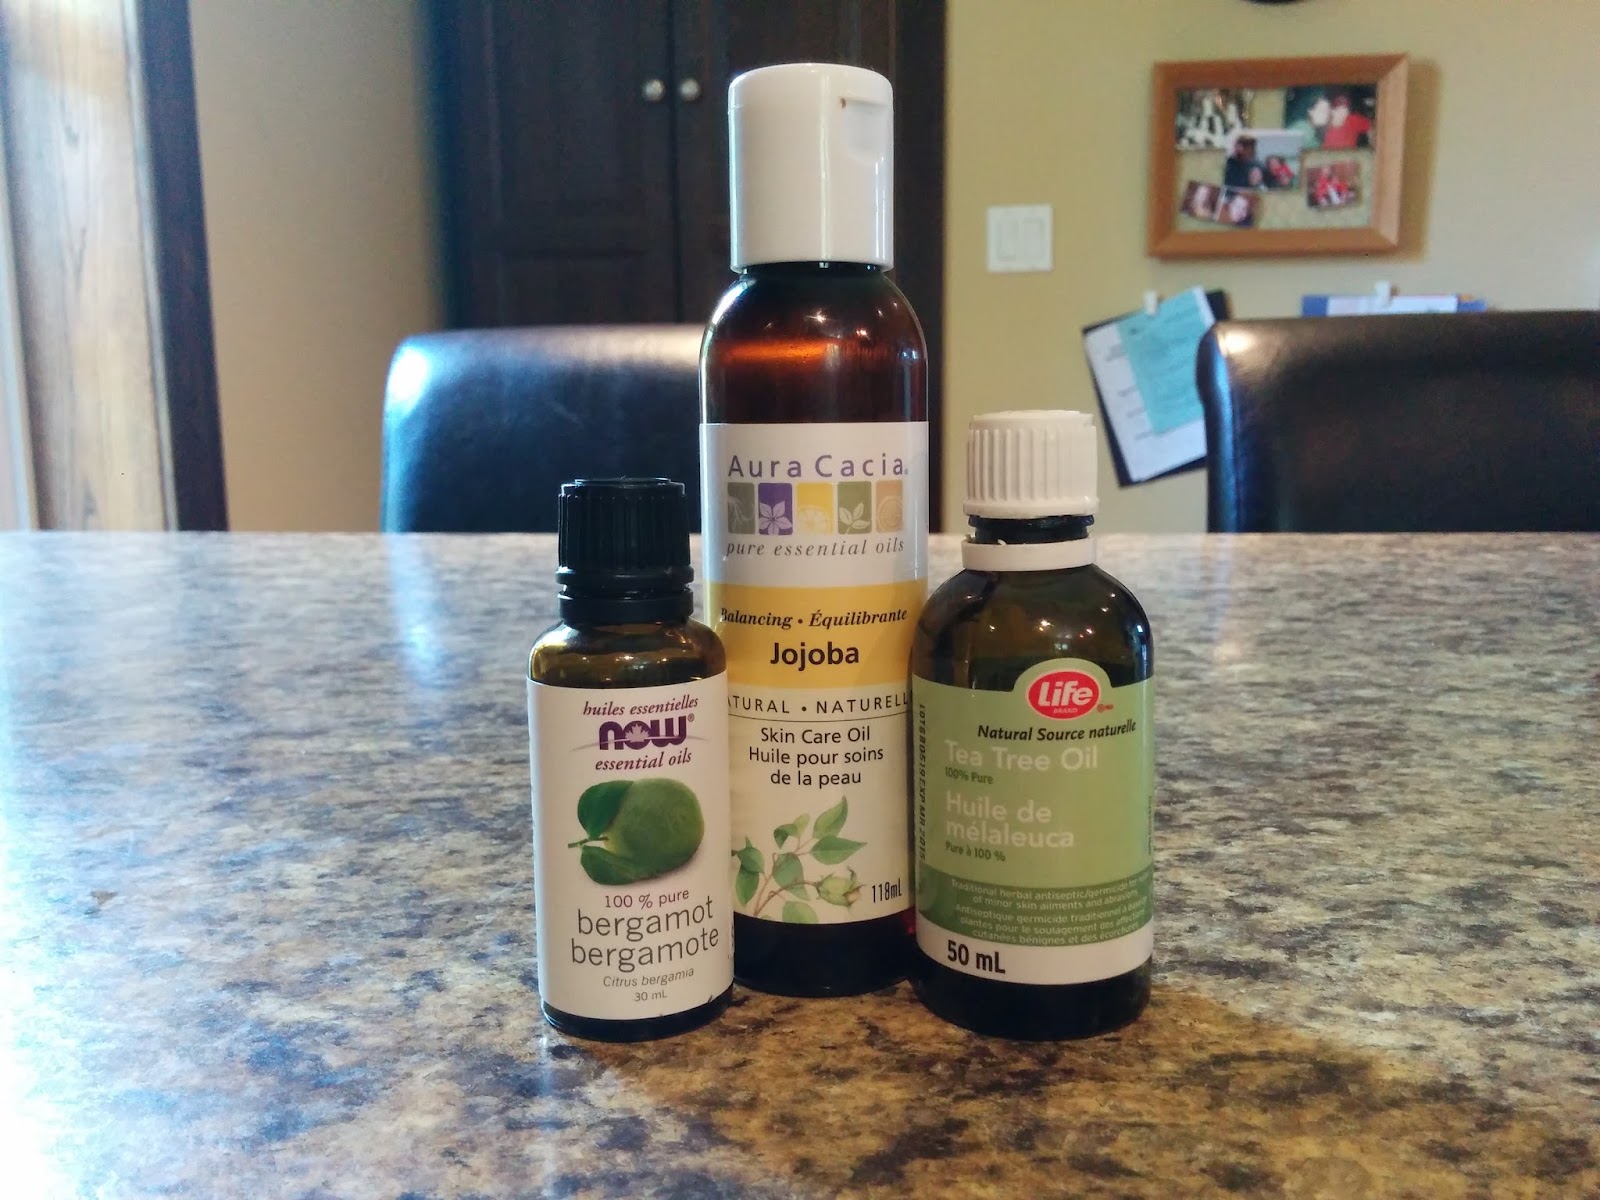
These are all the ingredients I currently use. As mentioned, you can mix and match many different oils, but I only use these 3.
Jojoba is my carrier oil. Everything I read said Jojoba was great because it is most similar to our body’s natural oil. But, to be honest, I haven’t experimented with any other oils to learn if I would like something better.
I use tea tree oil simply because we had it. It’s supposebly good for you for many reasons, but again I wasn’t terribly concerned about that. It was in our medicine cabinet so I tossed it in.
I actually bought the Bergamot oil. I spent a long time at the health food store smelling all the different essential oils trying to decide which one I wanted to smell like. Pretty quickly, they all started smelling the same. I finally narrowed it down to two: juniper berries or bergamot.
I ultimately settled on bergamot because I drink Earl Grey tea daily and figured I was going to spill it on myself, so I may as well start the day smelling like it. Also, since I volunteer with children I didn’t want their parents thinking all I do is drink gin all day long.
To make my beard oil, I half fill the bottle with Jojoba. I then add a few drops each of tea tree and Bergamot oil. Filling the rest of the bottle with Jojoba is all that’s left to do. Then, simply close the bottle and shake.
It’s that easy. If you can mix a drink, rye and ginger or a gin and tonic, you can make beard oil.
What do you think about my beard oil making technique? Do you make your own beard oil? And if so, what cost-saving measures to you employ?