
I love my beard. But, I have to admit, maintaining this luxurious face forest takes quite a bit of work.
When I first started letting my beard grow longer, I found the best cure for the itchiness was regular combing. The tiny fingers of the comb scratched off the dead skin that the longer hairs were now holding in place.
However, constant combing with a cheap, plastic comb can damage the hair. This is bad for many reasons, but the two I cared most about were: 1) I’m trying to grow my beard out, I don’t want to pull any of it out, and 2) just like the hair on the top of your head, beard hair can get split ends, and then doesn’t lay flat or feel nice when you stroke it.
With that in mind, I started looking for a quality comb. But, if you know me, you will know I don’t like to spend money. Thankfully, the good people down at the internet showed me how I could make my own high quality wooden beard comb just from the scraps I already had laying around.
Here’s how I made mine, and the adventure I had and the errors I made:
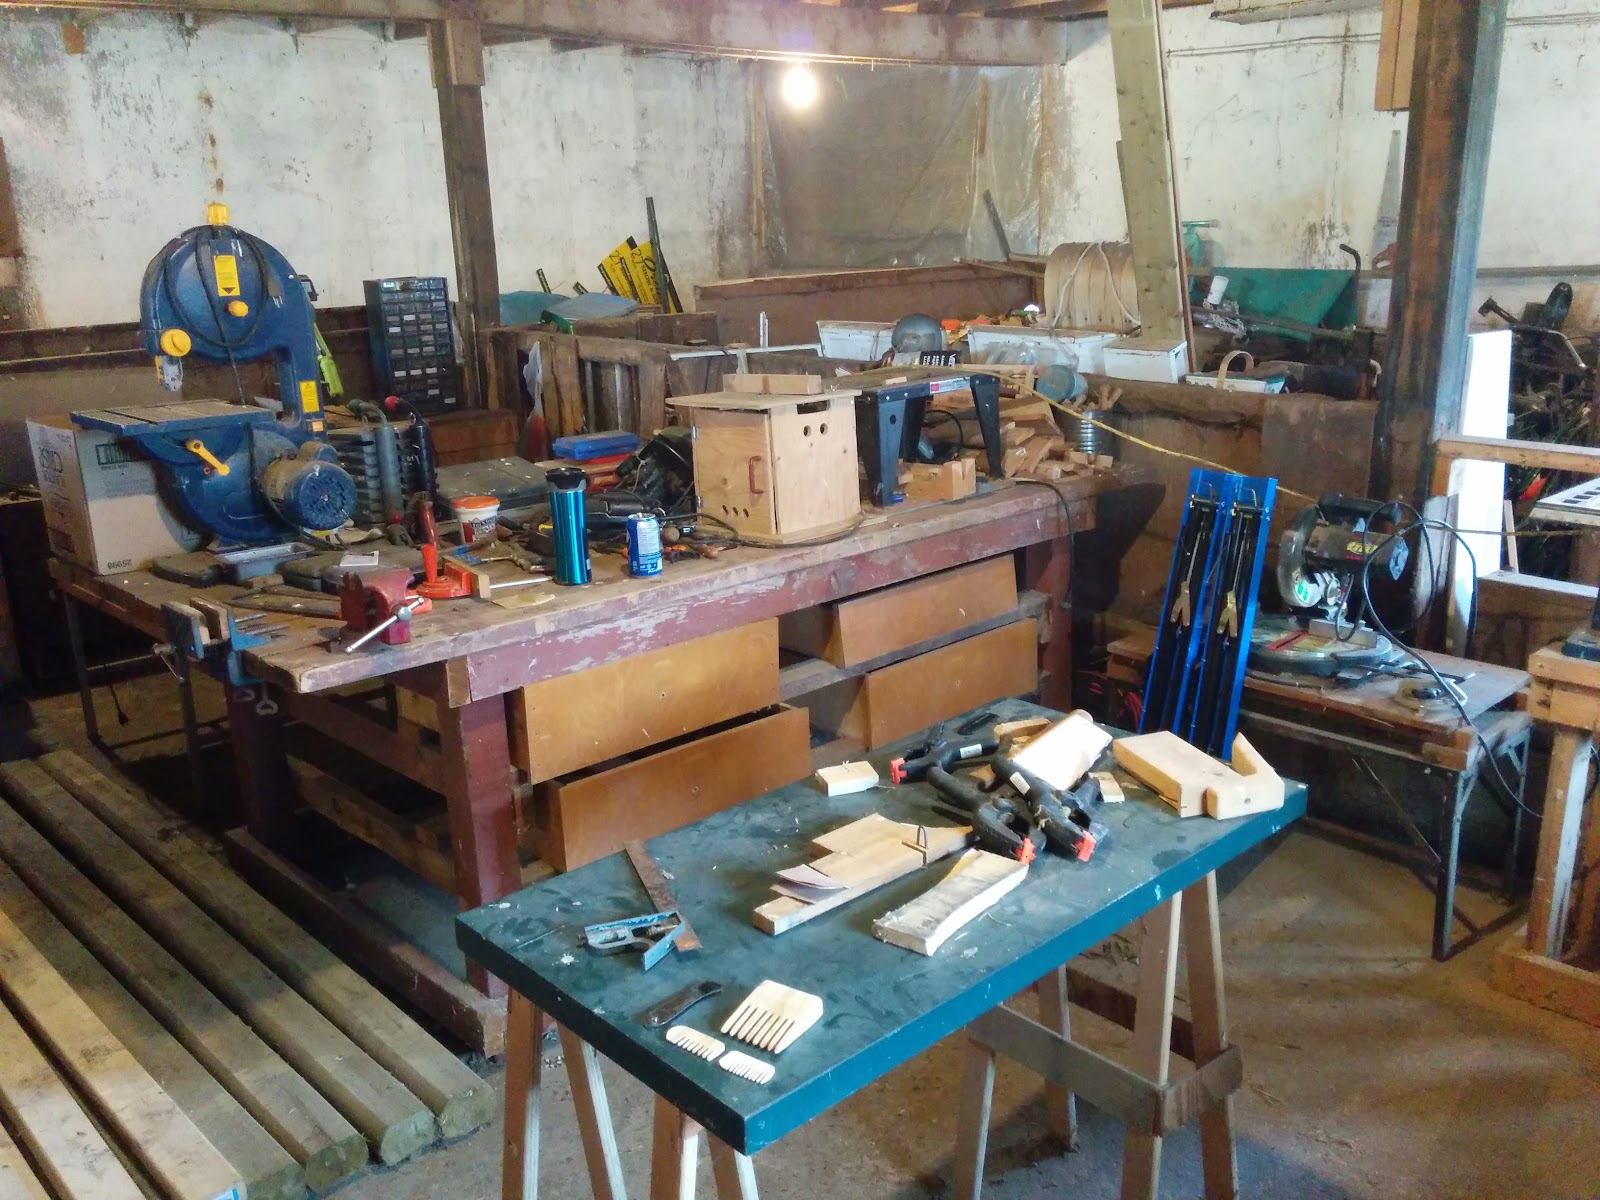
Unfortunately, the two major tools I needed to make my comb - a table saw and a belt sander - I don’t have. However, my dad does. The down side, his “workshop” is just an old barn and it’s as dusty and dirty as an old barn can get.
There is a whole flock of swallows living in the barn, and they do not take too kindly to anyone disturbing their comfortable home. You know that saying, don’t shit where you eat? Well, birds don’t live by that mantra. Therefore, there is bird crap on everything in my parent’s barn.
Also, my dad is not the most organized person in the world. So, finding tools, or even just walking around, can sometimes be impossible.
Another fun quirk about old barns, there are no outlets. To power the tools, my dad just runs one extension cord across the rafters and just throws it around or over everything else. And, since he doesn’t work in there very often anymore, thick cobwebs cover everything.
Everytime I work here, I’m amazed I don’t start a fire or get E. coli.

After taking a deep breath and clearing a spot to work, this is what I started with. These are the broken ends of pallet boards.
The biggest requirement for this project is that you need to start with hard wood. Pallets need to hold a lot of weight and therefore they use strong hardwood. They are obviously made quickly and cheaply, which means the wood is not finished and can be in rough shape if the pallet was well used. Since I was going to be doing a lot of shaping, I wasn’t bothered by that.
I have made several projects using pallets and will share them with you soon.
Since this was my first attempt, I was expecting to make many mistakes which is why I have 3 boards that are far longer than I needed.
One thing to keep in mind: you need to make sure the comb teeth run in the same direction as the grain of the wood. If not, they lose all their strength and will likely break. For me, with the wood I had, that meant my comb was going to be narrow but I could make the teeth fairly long.
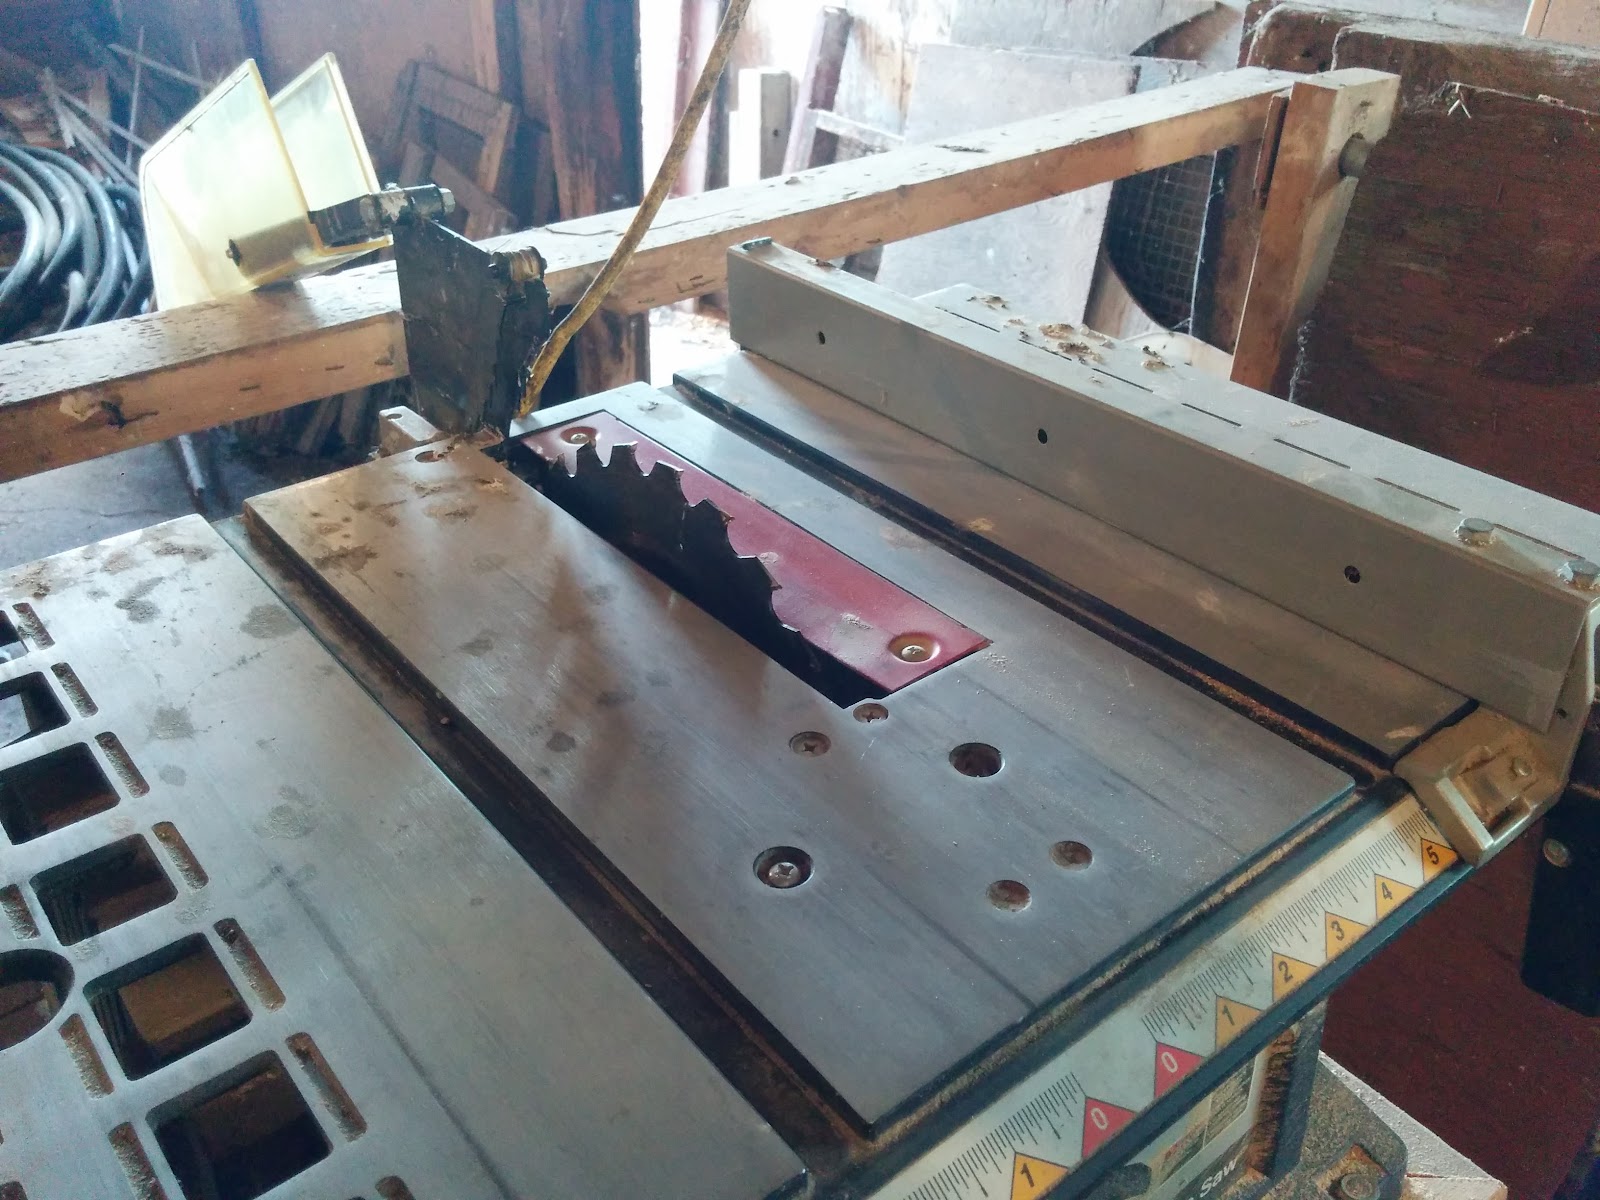
First, I cleaned off the table saw. I then hacked off most of the jagged, broken parts of the wood so I had a relatively square block.
Next, I set about making a jig to hold the block while I make the many cuts for the comb teeth.
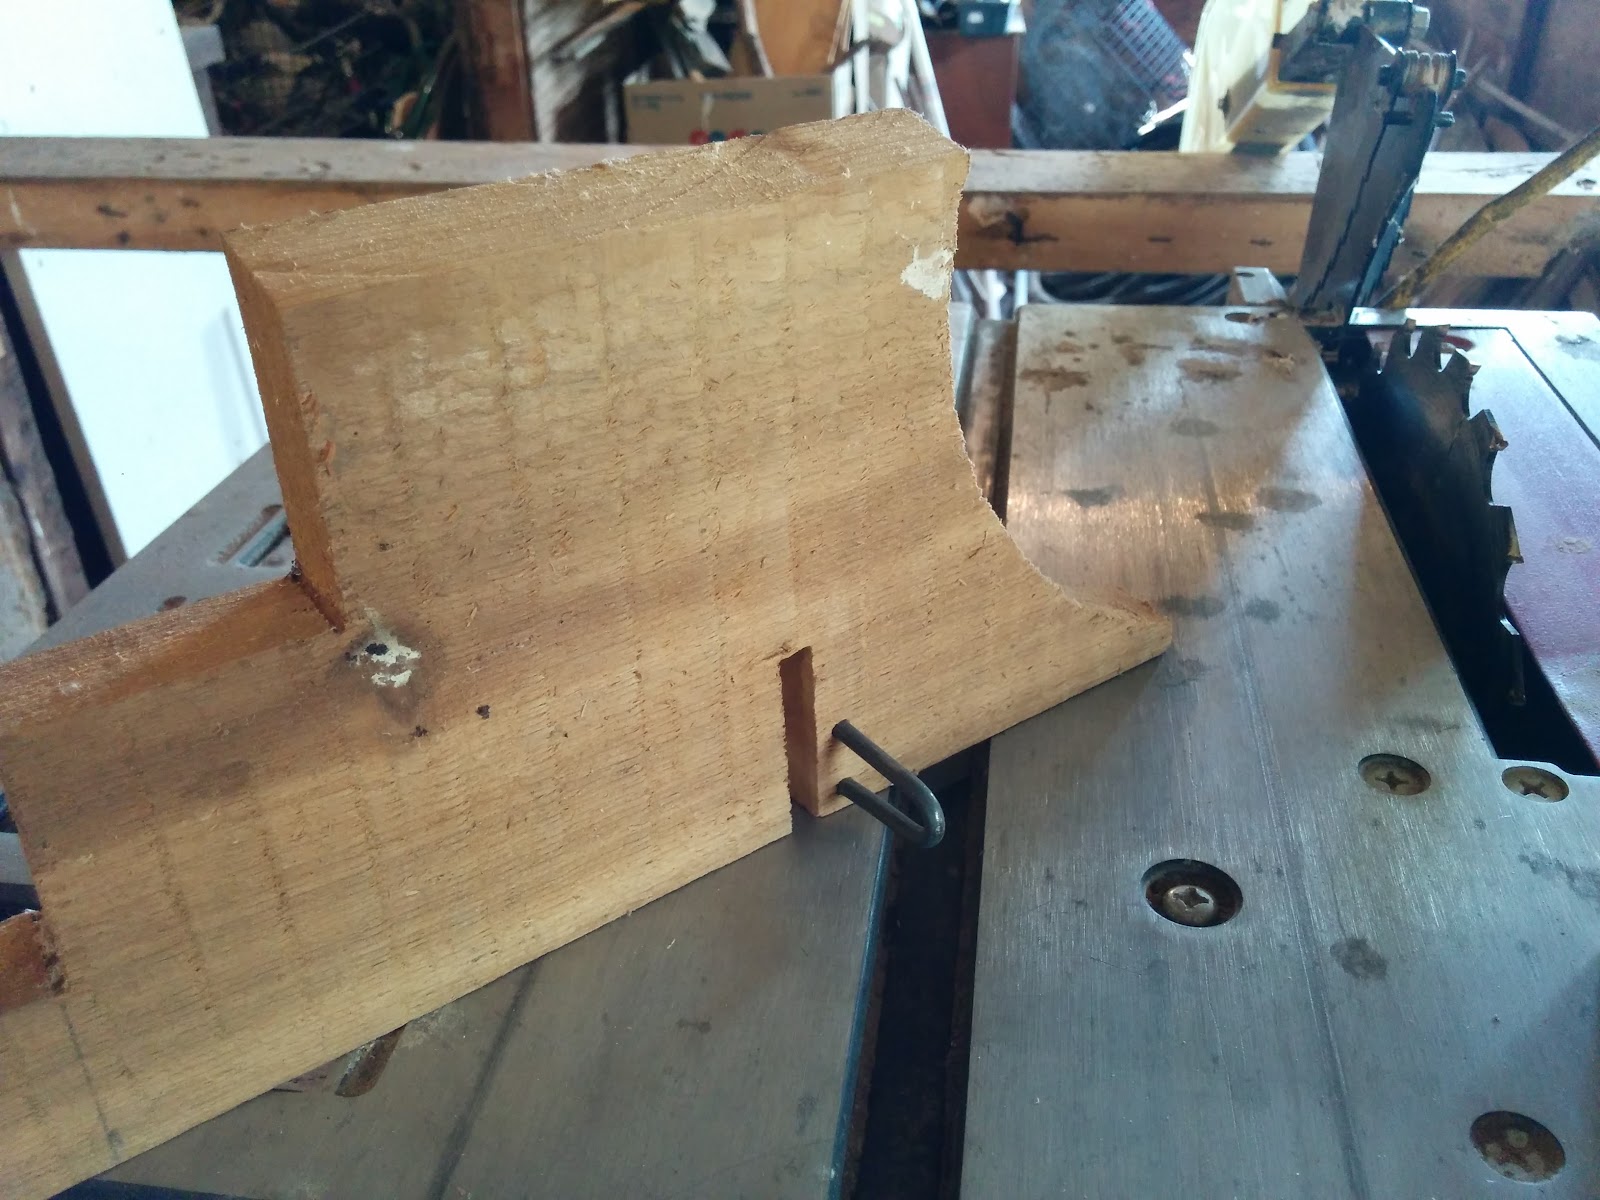
I discovered a package of fencing staples while spelunking through my dad’s collection of random hardware. To my amazement, the staples were the exact same width of the saw blade. Using a larger piece of scrap, I nailed a staple vertically roughly in the middle. Now, I could ensure my cuts would be evenly spaced.
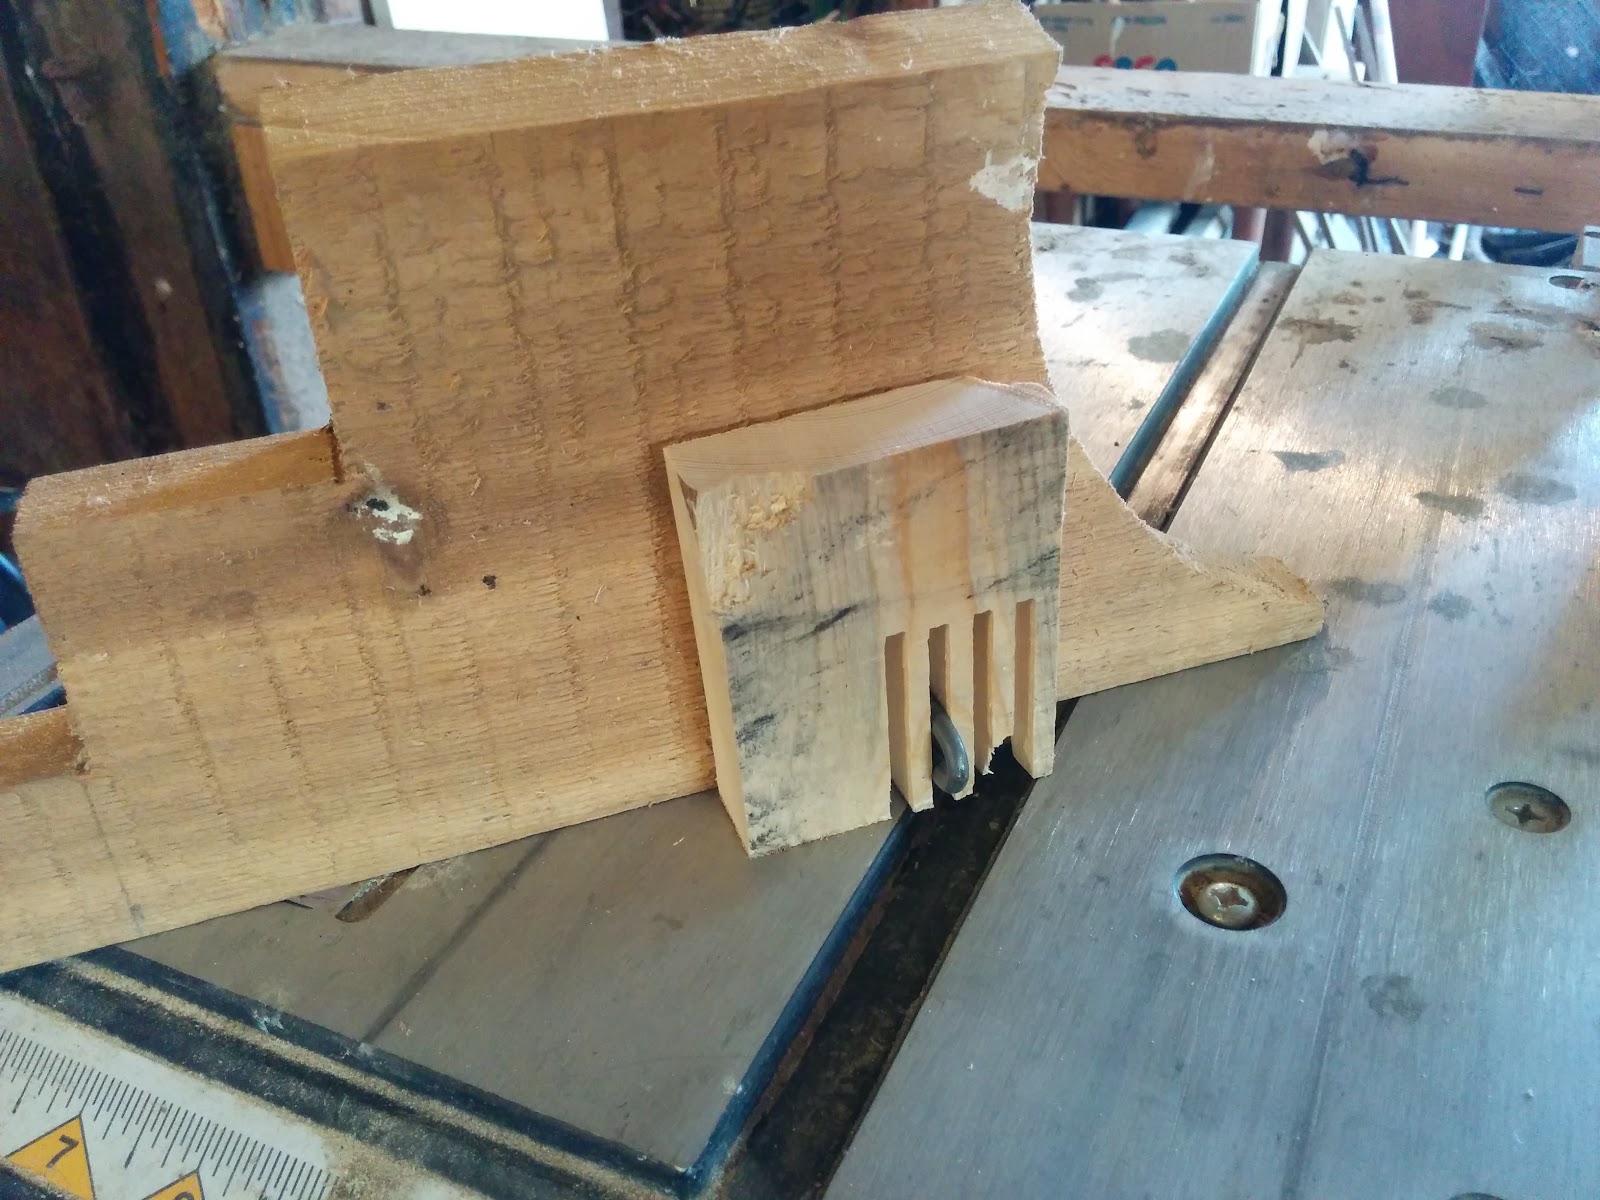
Here’s how it looked during testing. I didn’t like having my fingers so close to the blade and was experimenting with different clamping mechanisms until my mom showed up and helped me find a smaller hand spring clamp. After that I was ready to make a real attempt.
Now that I knew what I was doing, I could work much faster. In a matter of minutes I had a rough square comb cut out.
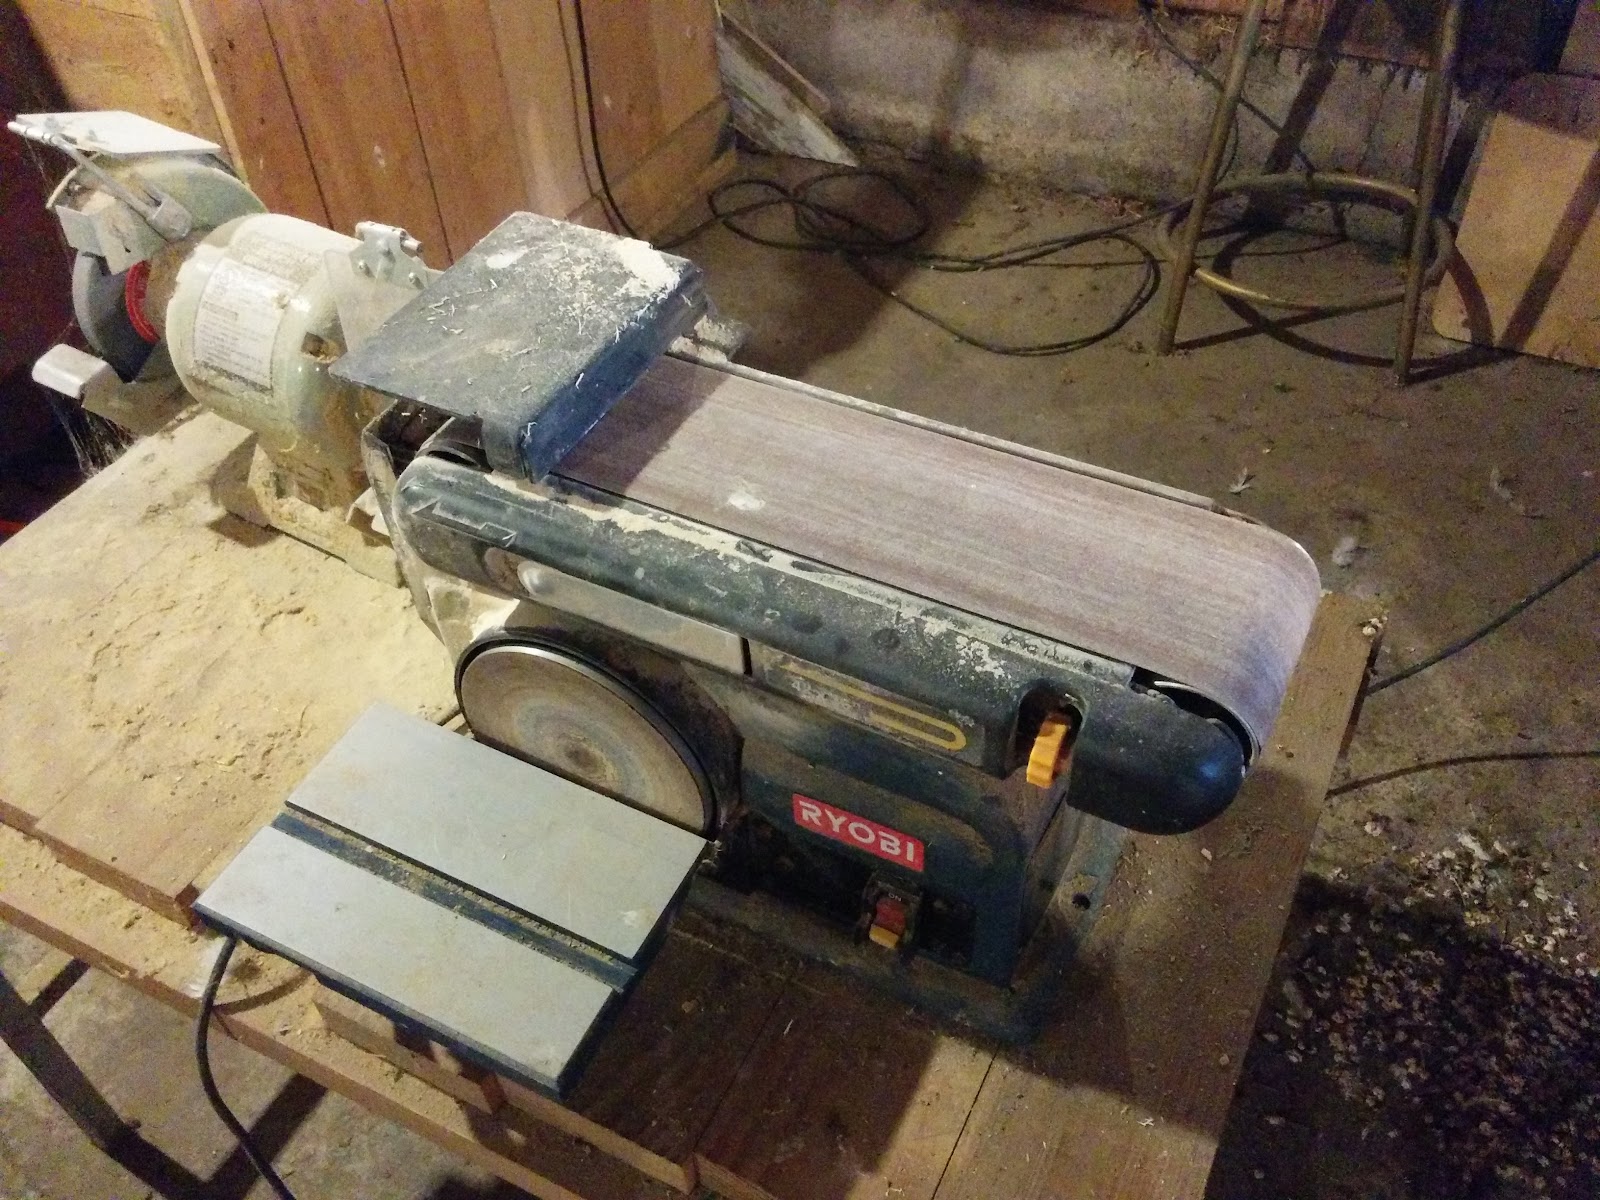
It was now time to throw the extension cord over the work table and fight my way to the belt sander. In the picture you can kind of see a big pile of bird poo on the ground. There is obviously a nest directly above it and that became the biggest challenge of this project.
Sanding is what takes the most amount of time when making a comb, and doing so while constantly ducking aerial assaults and trying to not step in shit certainly ups the difficulty level.
Eventually though, I was able to get my comb into a shape I was happy with. It was now starting to look like a comb. All that was left was the finishing touch ups.
While it looked like I was close to being done, and could move to a safer location, there was a lot more sanding to do. Using different grit sandpaper and good ol elbow-grease, I set about making the spaces between the teeth as smooth as possible. This doesn’t require any amount of talent, but it does require a lot of patience.
Eventually, I was holding something I was happy with. To finish it off, I made a real simple mix of olive oil and lemon juice and dunked the comb in it and let it dry. I waited until I got home to do that, though, as I didn’t want to trap in any of the nasties floating in the air in my comb and then put it on my face.
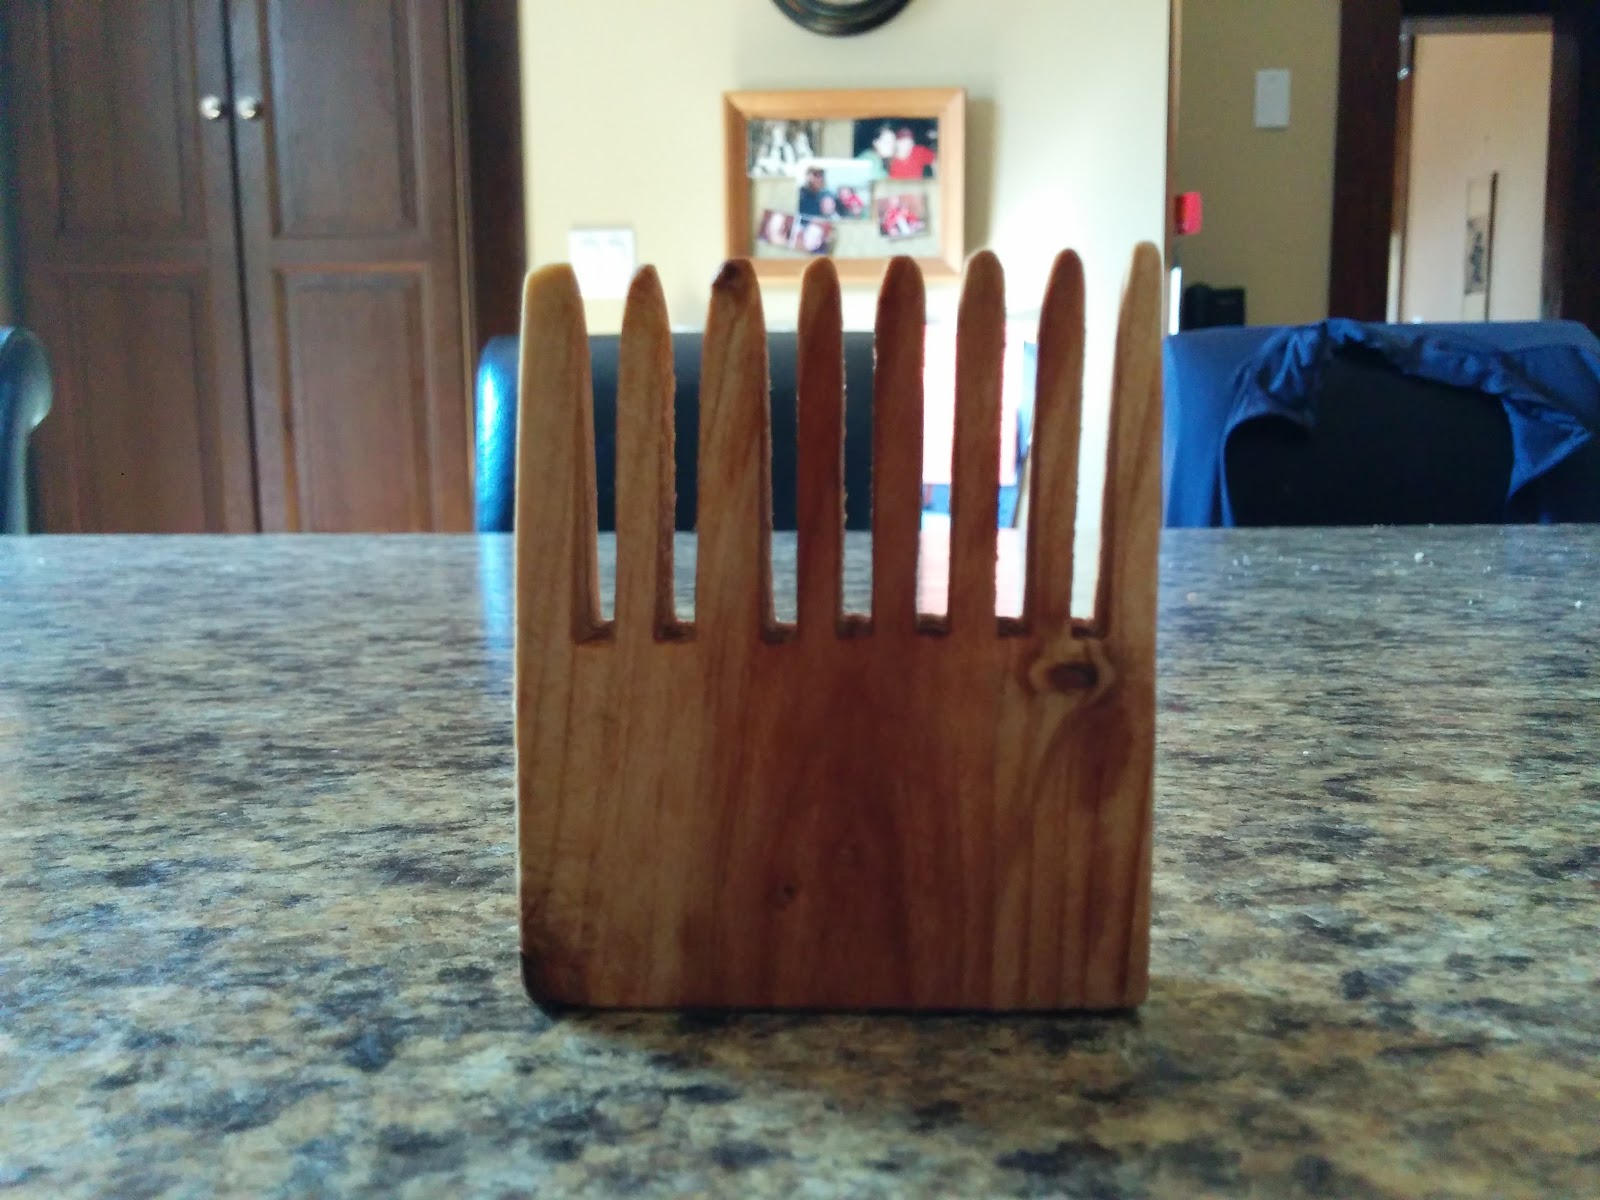
This is the finished product. I’m happy with how it turned out, but I want to try and make a few more and see if I can’t make one even better.
I’m also impressed how well it works. After only a week of using it, I feel like my beard is smoother and still tangle free. It also works on my hair upstairs as well, which I was a little worried about as I have pretty fine hair on my head.
Overall, making my first comb went quicker and more smoothly than I expected. If I can do it, standing in poop and dodging attacking birds, anyone can.
That thought filled me with undeserved confidence. Now my string of mistakes began.
Feel free to stop reading here, but if you want a laugh at my expense, carry on.
I decided to try and make a thin folding pocket comb. I had a real cheap, crappy plastic one which I took apart and used as a template.
I started by cutting a 1-inch strip off the end of a piece and then split it in half using the table saw. I was left with 2 pieces about ¼-inch thick.
Using the old plastic comb a guide, I started marking the general shape of the comb and spaces between the teeth on one of the wood pieces. What happened next brought back one of my recurring childhood nightmares.
While leaning over close so I could see, I noticed a small black dot on my piece of wood. At first, I thought it was just an accidental mark from my pencil...until it started moving. Then I saw another...and then another. I must have been near a spider nest that just hatched.
When it was just one, I was fine as I just squished it with my pencil. But, now that there were five or six I tried to blow them off. Since the piece was still quite rough, that didn’t work.
Next, I picked the piece of wood up and was about to give it a good shake to try and get rid of the little critters. It was at this point I noticed one on my thumb. Dropping the wood, I realized the fear from when I was a kid was happening.
There were at least a dozen creepy crawlies all over my hand and moving up my arm.
To give myself some credit, even though I was alone, I kept my head about me and didn’t completely freak out. Reasonably calm, I walked outside, found a hose and soaked my arm until I couldn’t see anymore baby spiders...and then I sprayed it some more.
Finally getting back to the work I was there for (I moved my workstation to try and avoid disturbing any more bugs), I finished marking out my pocket comb.
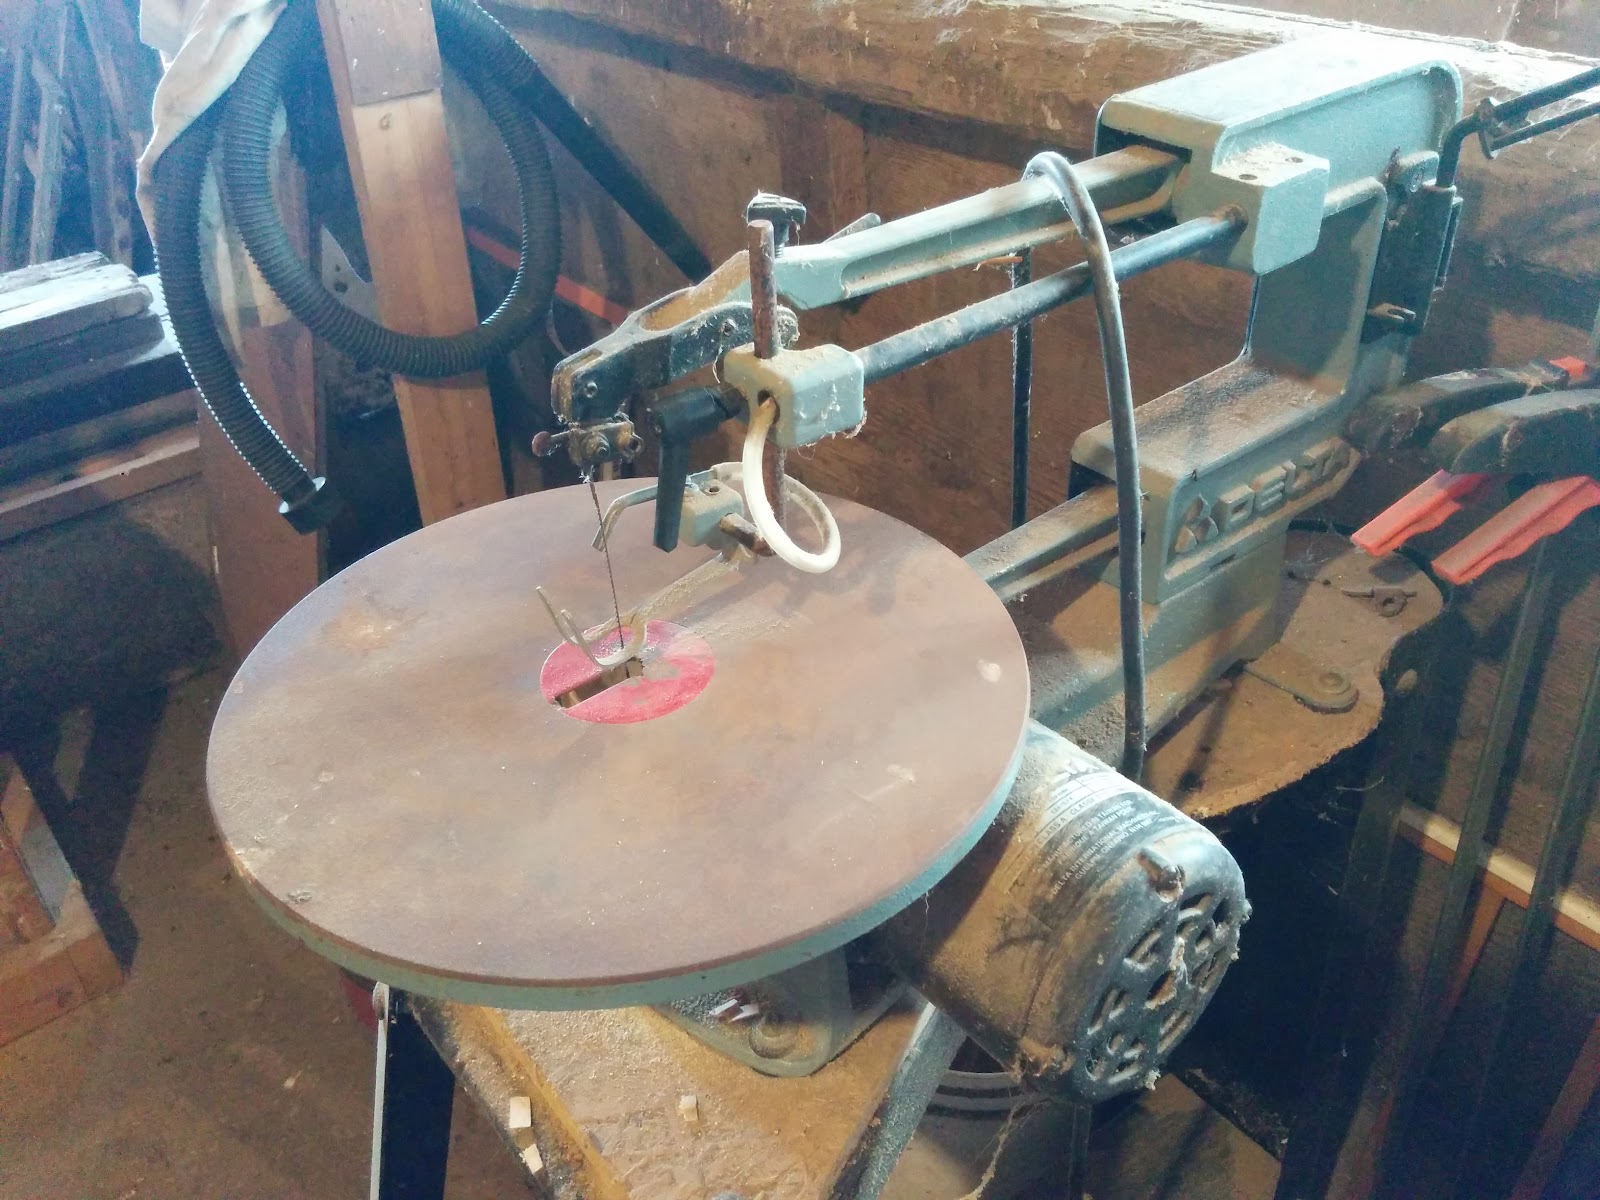
I moved to the jigsaw because I thought it would be more delicate on the thinner pieces of wood. I was mostly correct. However, my test piece had a knot in it and when I got close to that, the rest just fell off. Since it was just my test piece, I wasn’t too upset.
Relatively happy with how the rest of the test went, I grabbed my “good” piece of wood. I cut slow and steady and everything went quite well. With all the teeth cut out, I had the idea I would just trim the corners a bit to make them more round. Mistake number two.
Because I cut the wood too thin and the adjustment on the clamp on the jigsaw was rusted closed, the last few teeth snapped off. Frustrated, I rounded the new end off and went to the sander again. While I was there I cleaned up my test piece, too...just because I could.
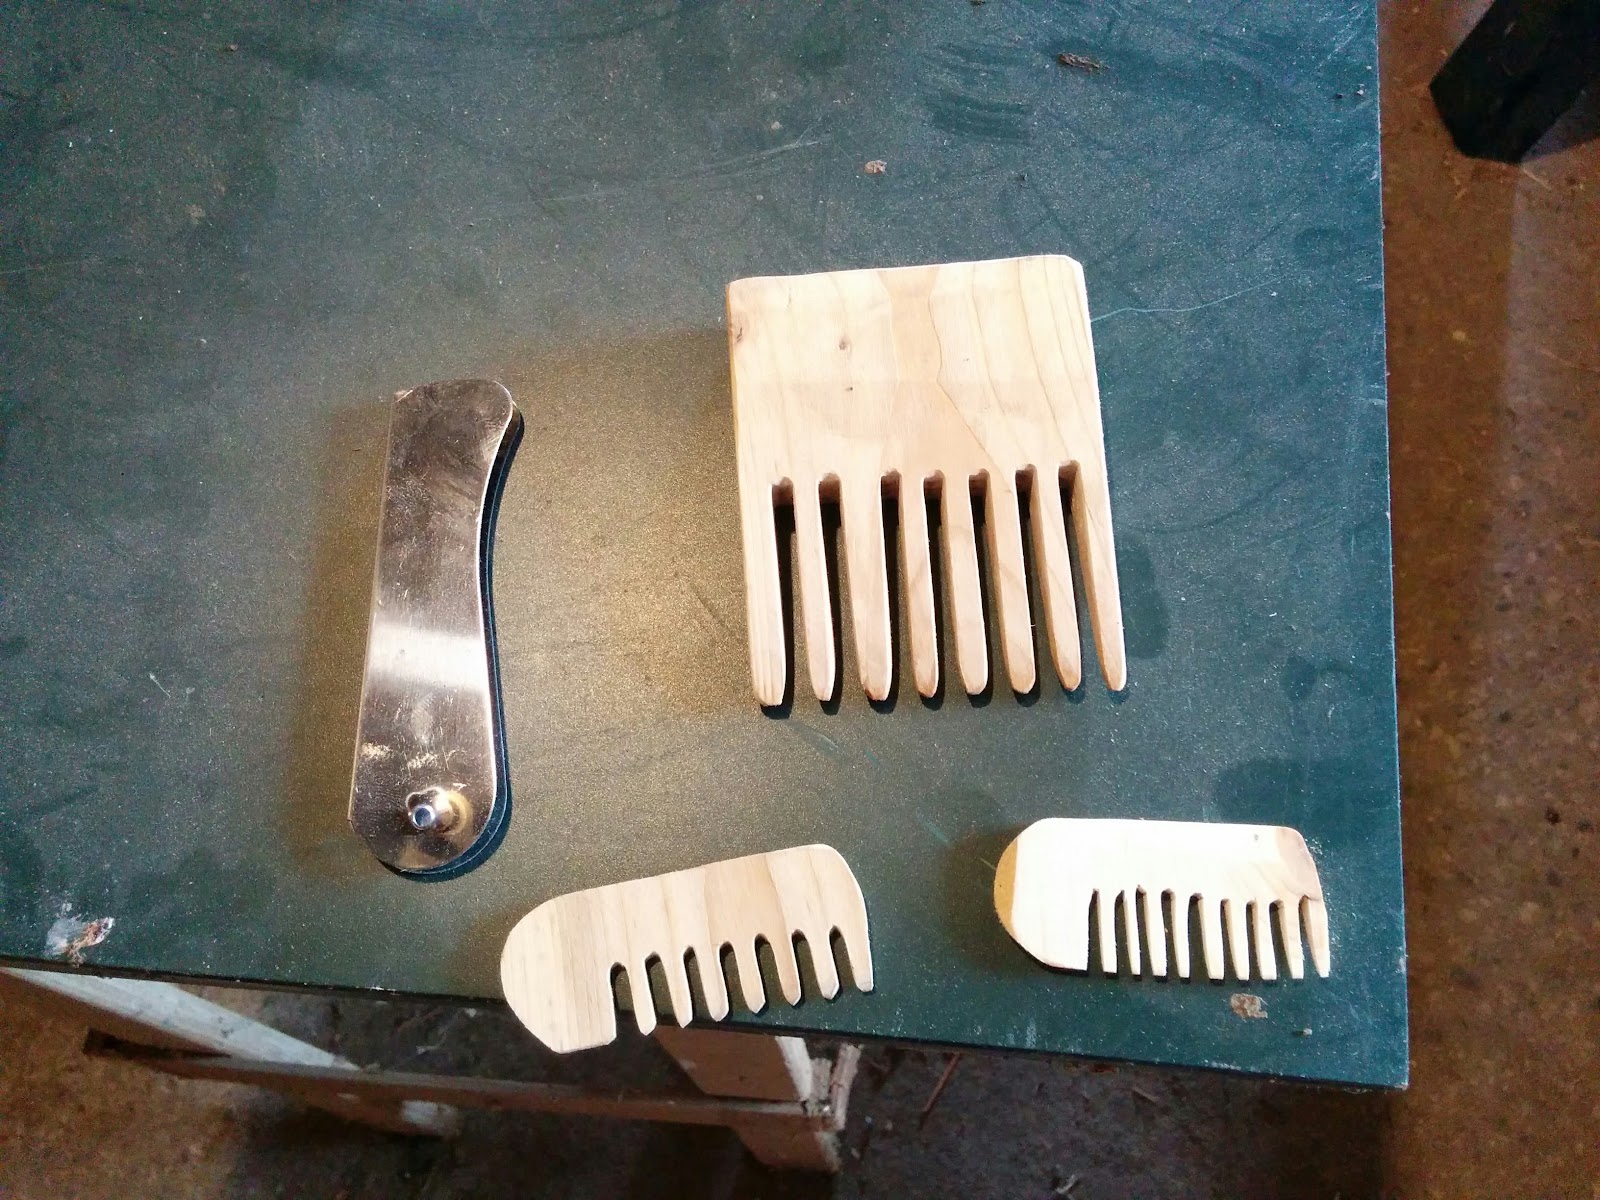
Though it was shorter than I wanted, I figured it might pass as a moustache comb. However, my frustrations were not over yet.
While I was trying to drill out the hole on my “good” comb, it split and broke apart. Now I was really annoyed. At least I still had my test piece that was sanded mostly smooth, so I successfully drilled a hole in that one.
Thinking I was in the clear, I finished sanding that comb and finished it with my olive oil and lemon juice concoction.
When it dried, I put in in the cover and slid the screw through. Either the finish made the hole slightly smaller, or I didn’t make the hole big enough to start with, but the first time I tried to open the comb it snapped in half.
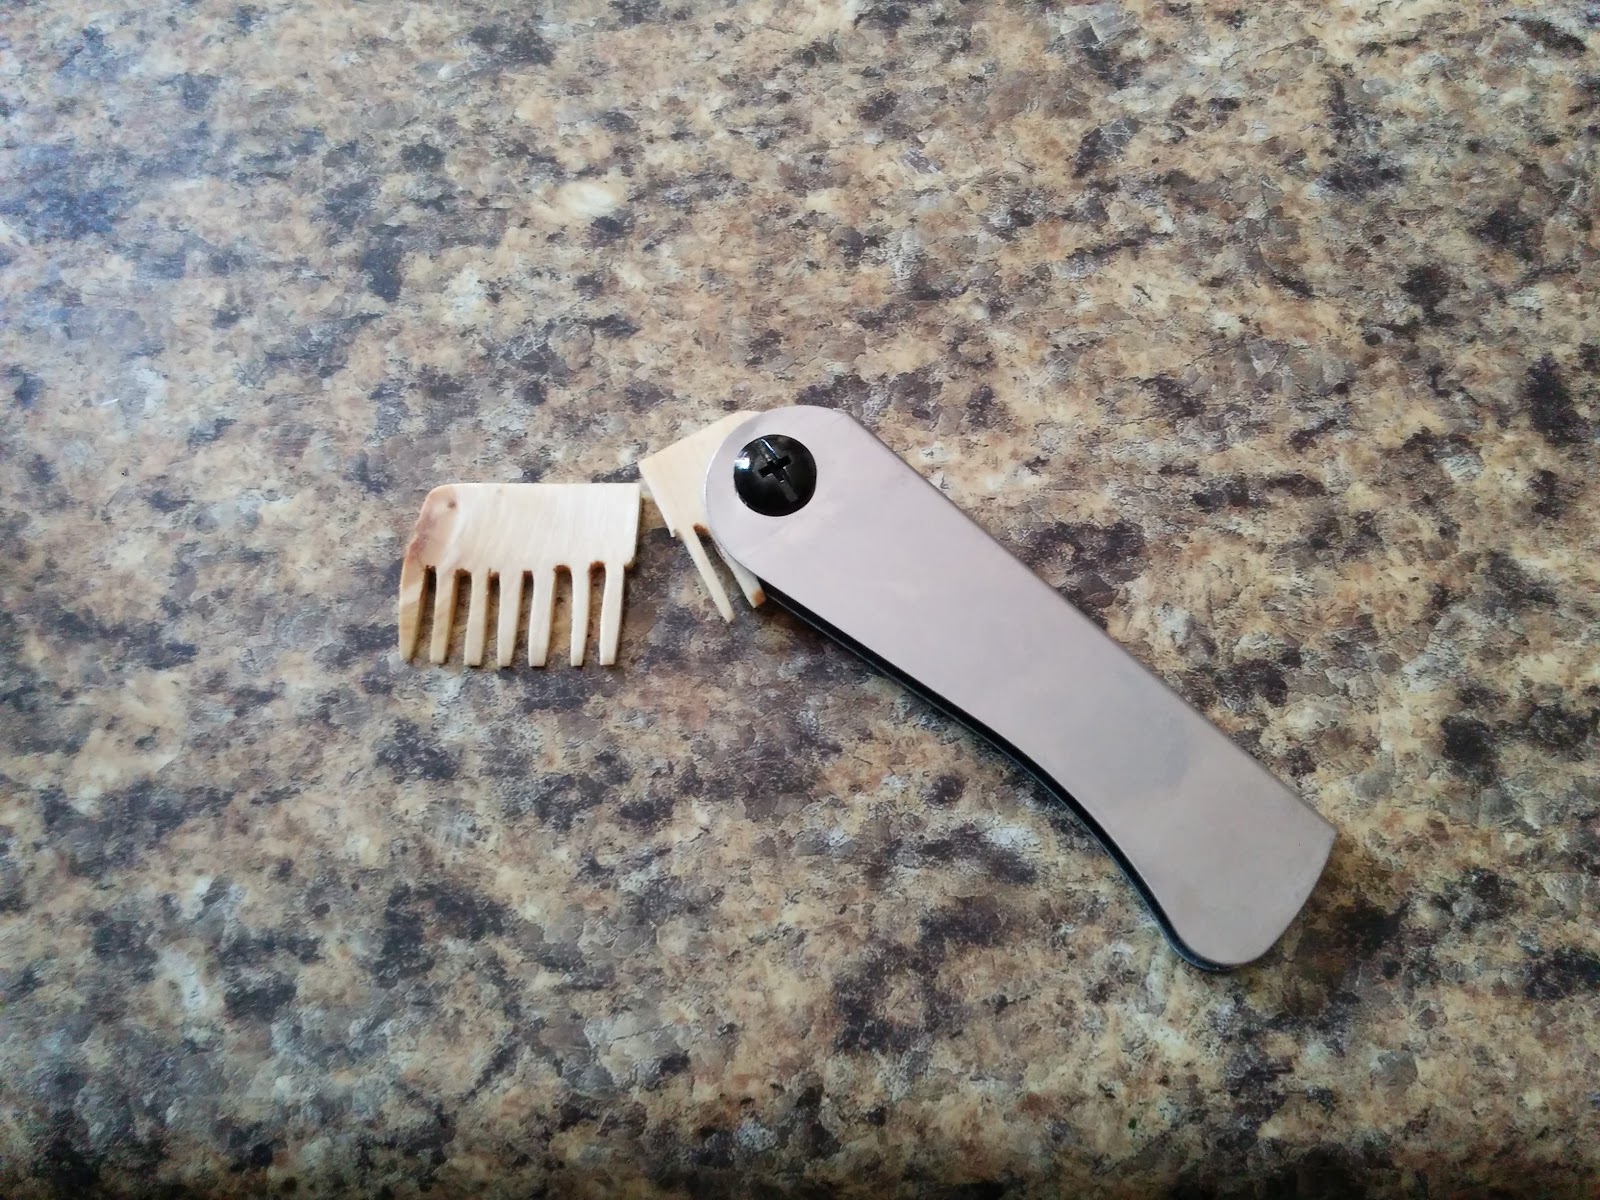
It was then I admitted defeat and chucked it across the room. After such a promising start, the day ending poorly.
So, I won’t be trying make anymore combs this size, but I think I will try to make a few more thicker ones and see what I can come up with.
What do you think about my comb-making experience? Have you ever considered making one yourself? Have you had any childhood fears come back to haunt you as an adult? Let me know in the comments below.
UPDATE: I found another piece of pallet board in my basement that was a little wider than the first one I used. Since I knew what I was doing, I made a second comb fairly quickly. I’m even happier with how this one turned out...and the board was also a little longer so I may make a couple more and give them away as gifts or something.
Here’s my new favourite comb:

I never realized how hard it was to maintain a beard until my boyfriend grew one. Not only does he have to trim it every so often, he also has to comb it. That's why having a beard comb in an essential part in the grooming process. A good, sturdy, reliable comb is a tool every man needs.
ReplyDeleteWell done. That last comb looks really nice.
ReplyDeleteThanks. My wife has commandeered it and uses it daily for her thick hair
DeleteThis comment has been removed by a blog administrator.
ReplyDeleteGreat..Thank-you so much for sharing with us.
ReplyDeleteWooden Beard Comb Australia
Nice comb And its is made of wood.. Nature friendly.. Thank you for the information about the product.beard comb
ReplyDeletebeard straightener
The Shaver Centre For Men and Women Products has a very impressive line up of products. Author is an expert of keyword, click here for more interesting information. Find more interesting information about shaver centre here.
ReplyDelete