

I love beer.
I mean, I love good beer. But, unfortunately good beer is not cheap.
A bunch of years ago, a group of my buddies and I who got together regularly decided to check out a local u-brew. We thought it would be cool if we could get a bunch of high-quality beer for the price of the cheap stuff.
We were right, and as it turns out, our local brew house is pretty awesome. They have a lot of different recipes to choose from that closely resemble many of the most popular beers from around the world.
After letting The Brew House do all the work for us the first few times, I decided to join them and learn more about the brewing process myself. I was hooked.
As the years passed, everyone in my beer-drinking group either moved away or life got in the way. However, I still loved beer, so I continued visiting The Brew House regularly.
For Christmas a few years ago, my brother-in-law gave me an awesome book: The Complete Joy of Homebrewing by Charlie Papazian. I would highly recommend this book to anyone interested in homebrewing or the brewing process in general.
Full of inspiration, I set out collecting the equipment needed to brew my own beer at home. With help from the good people down at the internet, I was able to do so staying true to my frugal nature.
Here’s how I do it:
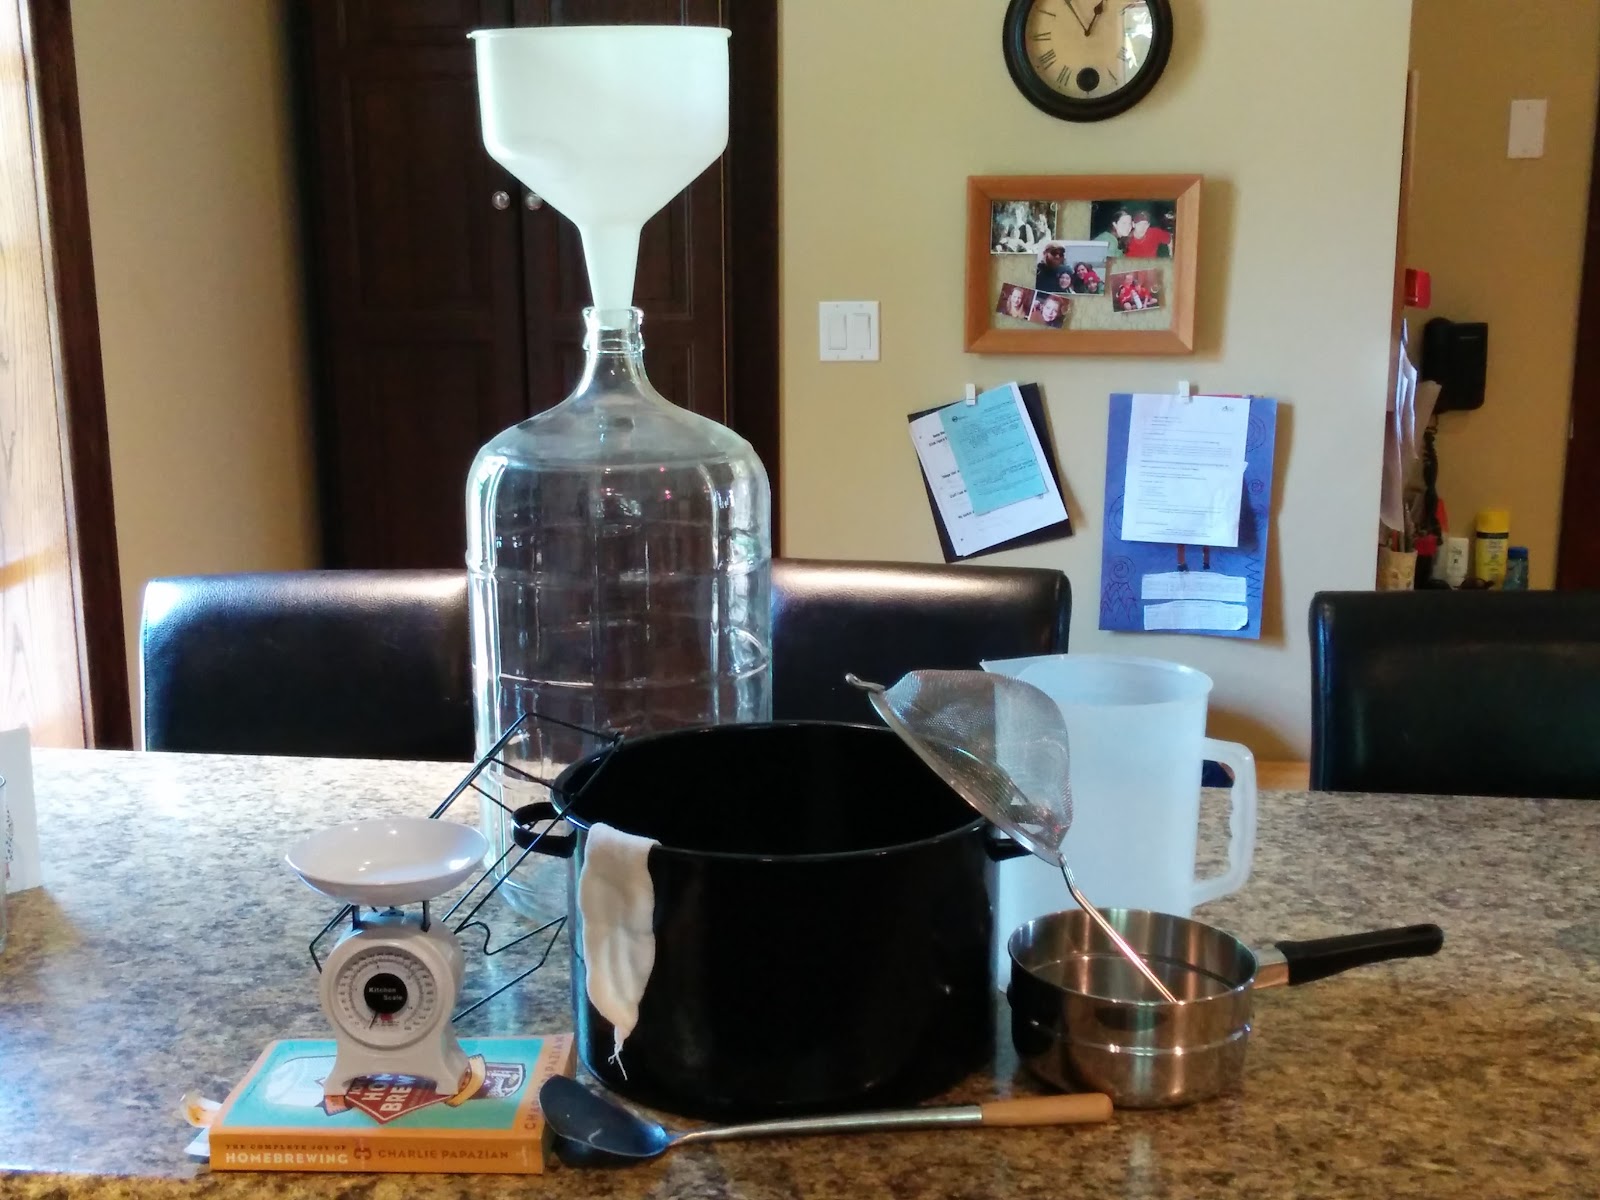
I started with extract brewing because it is easier and I have no trouble getting my hands on all the ingredients I need. With this process, the two key pieces of equipment are the boiling pot and the fermentor.
I actually have 2 brew pots, but the one I use the most often these days is the one pictured. It simply is a large round roasting pot that I bought at Canadian Tire for about $12. It came with the wire lifting rack, which I thought I wasn’t going to need, but I found a creative way to use it that you will see later.
As for the fermentor, I bought 3 5-gallon carboys off a guy on Kijiji for $40. Recently, my wife stumbled upon a 6.5 gallon one at a yard sale for $12 and bought it for me.
The rest of the equipment is cheaper items I collected at either the thrift or hardware store. I use an old metal spatula to stir my brew and an old saucepan as a nice, big ladle.
One unnecessary item I use and highly recommend is a muslin bag. Putting your grains in a bag makes it infinitely easier to remove them. That said, it's not critical that you strain out every bit of grain, but it makes your beer clearer in the end.
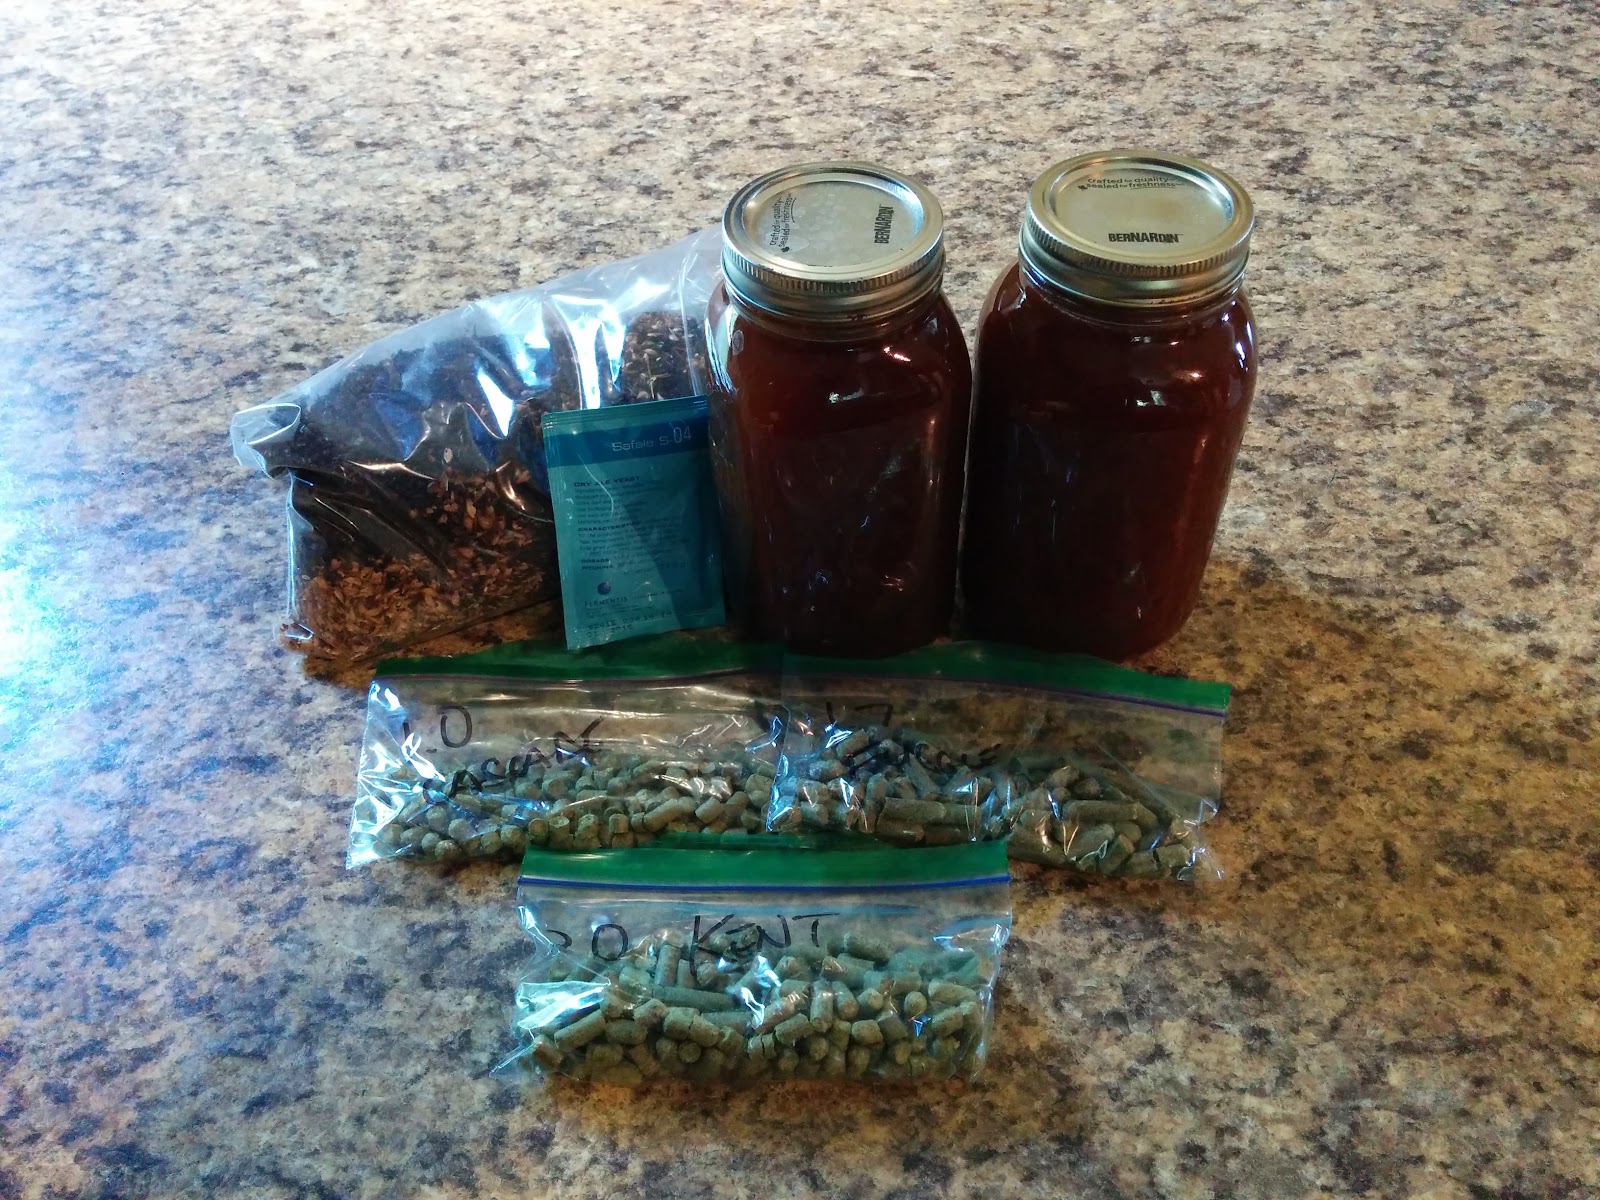
These are the ingredients I used for this brew. This is a recipe I cobbled together myself to make an amber coloured IPA. I like how simple this beer is to make and it is easy drinking but has more flavour than most big commercial beers. I dry-hop with cascade hops and I love the aroma they add. I had to steadily add more to this recipe until I was finally happy - I could probably add more and may try that in the future.
I love darker, maltier beers, but I’ve struggled to make a great one with extract and my sources say that it’s something very difficult to do. I have high hopes for when I get around to all-grain brewing.
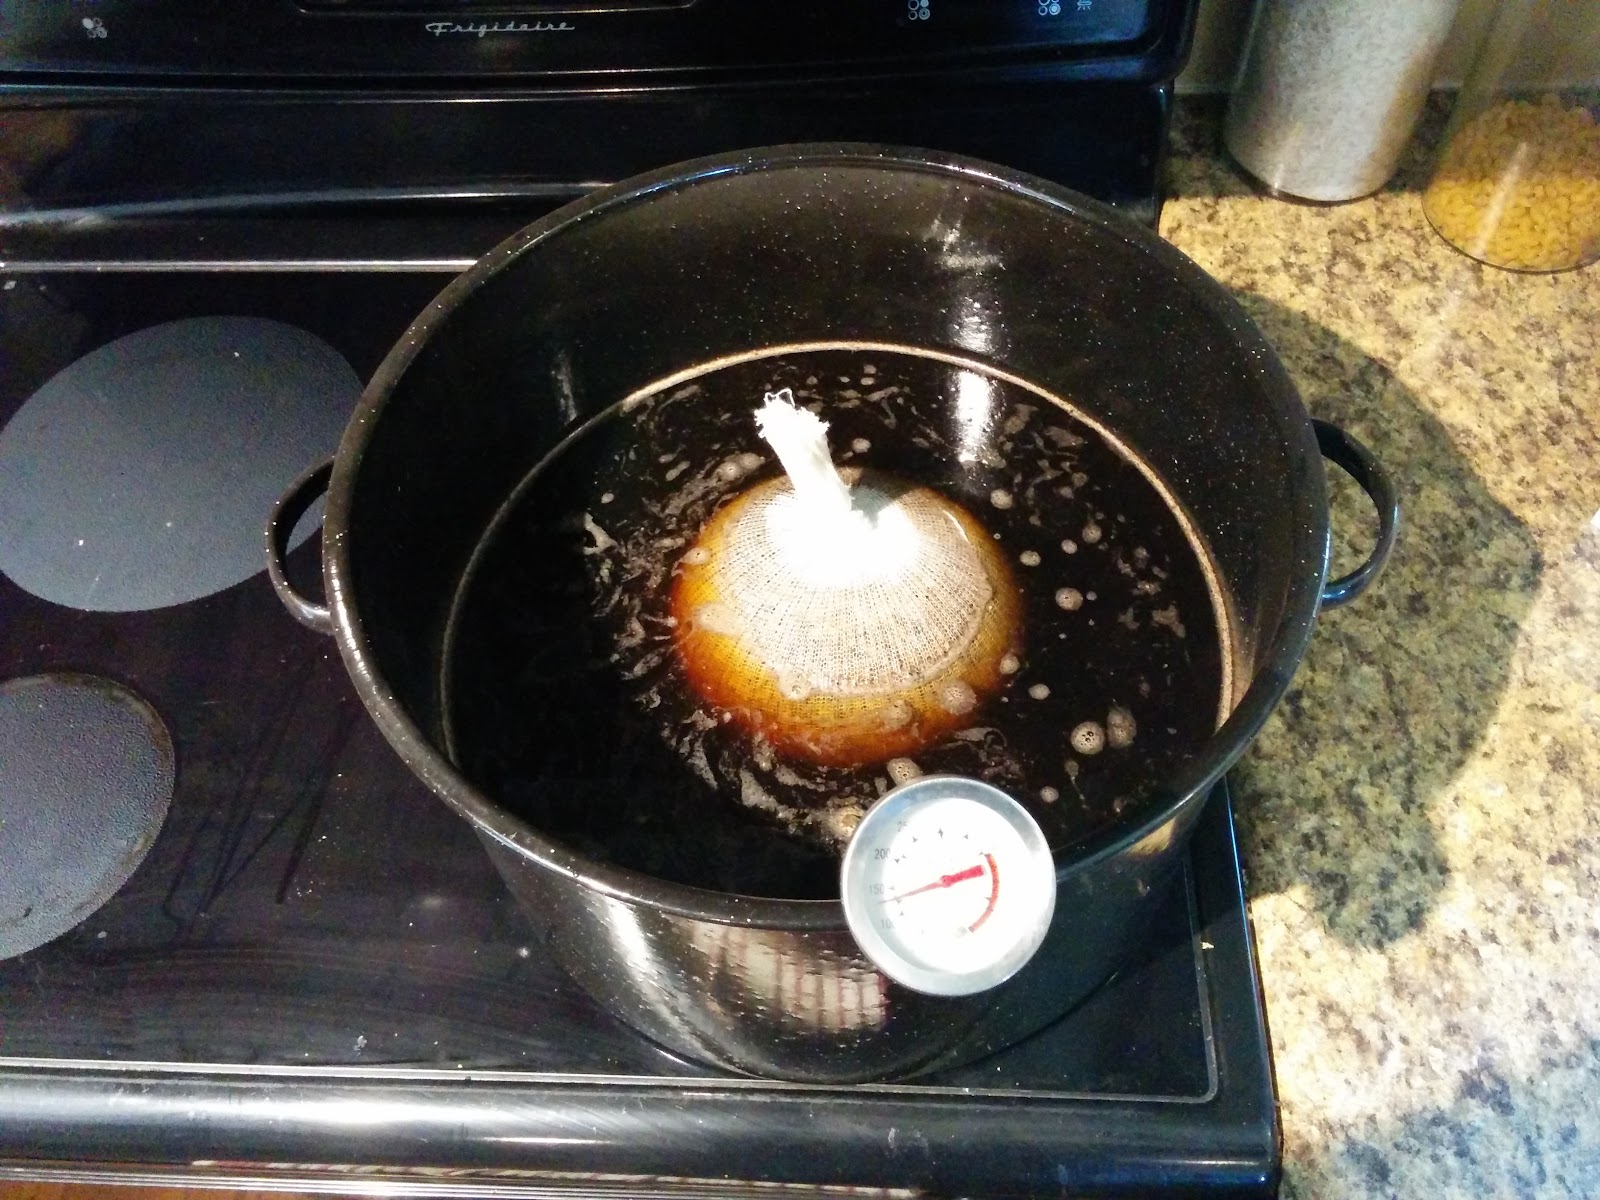
Here’s what it looks like after a few minutes of steeping. You can see the grains in the bag floating nicely and I use a thermometer to keep an eye on the temp. If the water gets too hot, the grains will burn and you will be able to taste that in the finished product.
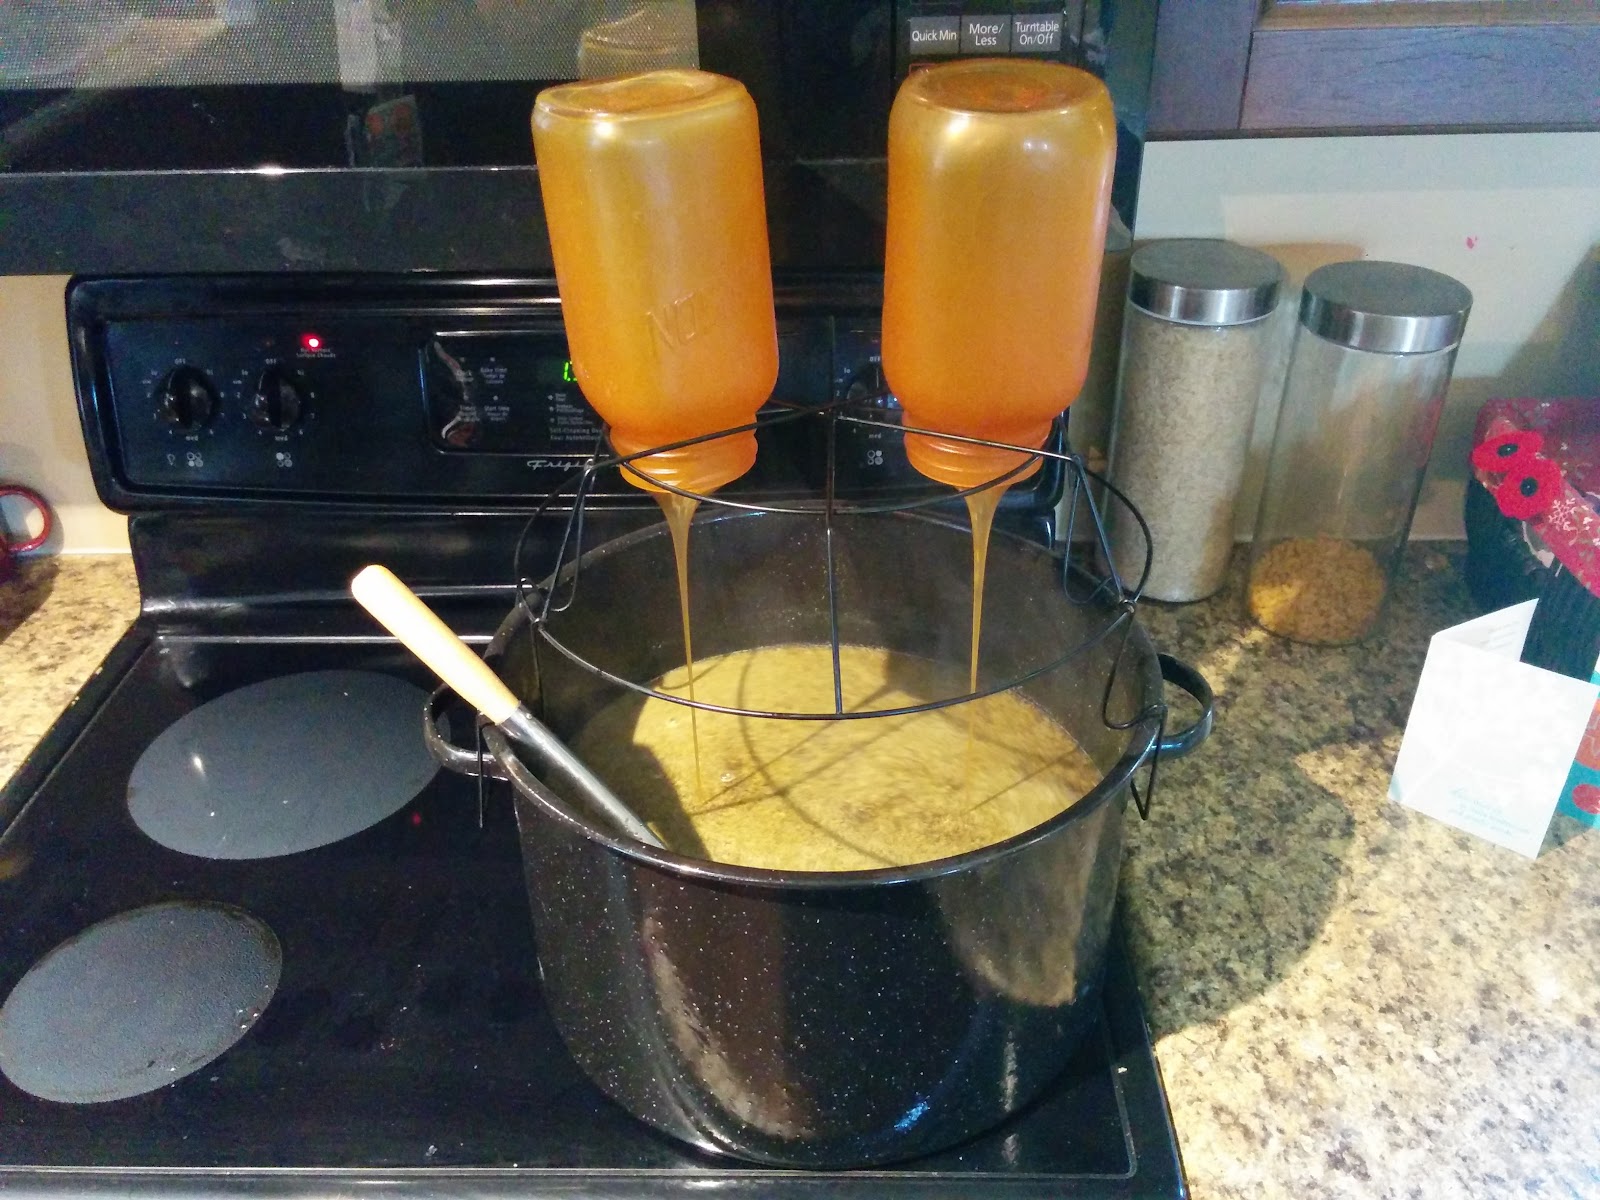
After 30 minutes of steeping, the grains get removed and the malt extract and some hops get added. This is where I discovered that if I turn the lifting rack upside down, my mason jars fit perfectly in the gaps. This allows the malt to drip out slowly and the steam will clean the jar so I can get every last drop.
While this is happening, I need to stir constantly so nothing sticks to the bottom of the pot. I also toss in the hops that need a full 60 minute boil. It takes some time for the liquid to reach a full boil and it goes through what is known as the hot break. This is where a thick foam develops at the top and you need to wait for it to break apart and fall back into the liquid before you can move on.
Once it’s finished boiling, it’s time to strain and sparge. (I lost my picture somewhere in the cloud.) Using my pot ladle, I scoop out as much as I can and pour it through my strainer into a carboy. Depending on the amount of hops I use, sometimes I need to use my stir spatula to help the liquid drain by turning the hops in the strainer. As I get near the bottom of the pot, I can safely pick up the pot without spilling any or burn myself and dump the remaining wort into the fermentor.
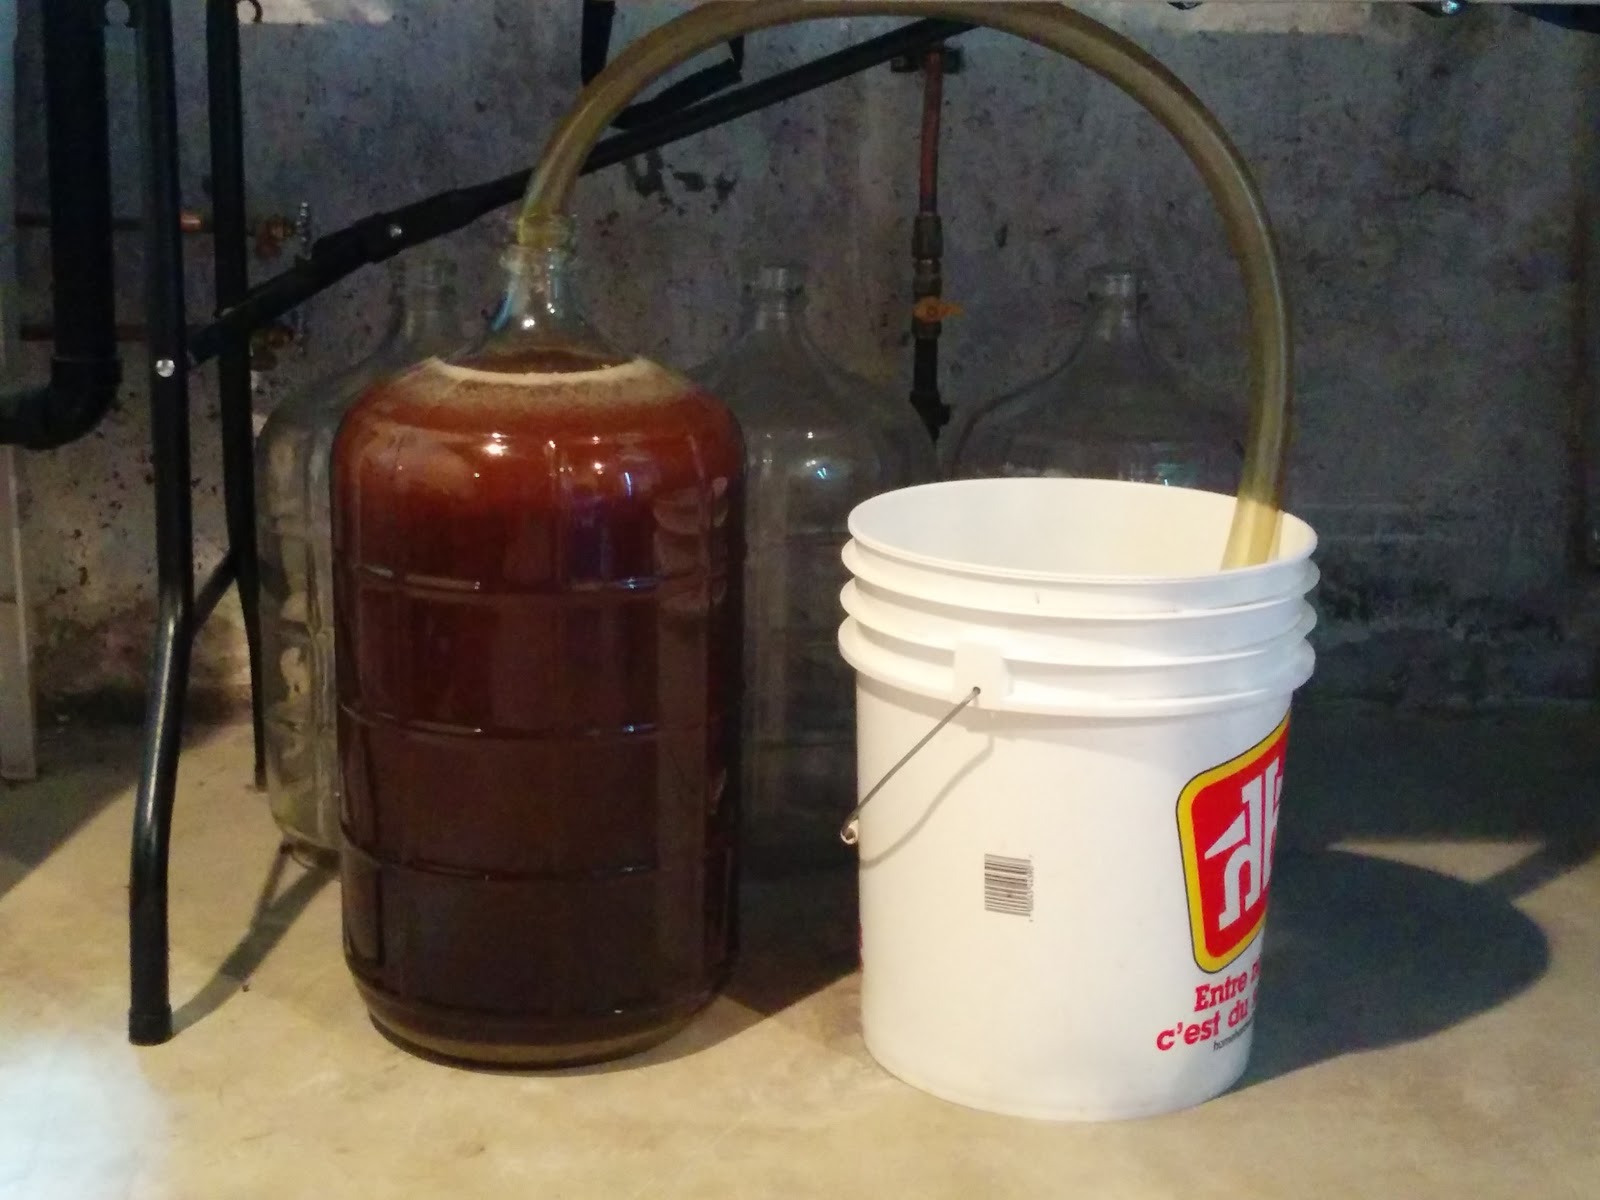
Now that all my hard work is done, it’s time for the yeast to do its job. After sprinkling the packet into the carboy, I stick a 1-inch hose into the top and run it to a pail with a bit of water in the bottom. This way, most of the crazy bubbles created during the violent early fermentation can blow off and not fall back into my beer. These apparently leave a very bitter flavour, but I wouldn’t know because I’ve always done it this way.
After about a week, fermentation slows down so I can remove the hose and switch to a fermentation lock. At this point, I add the dry-hops and let it sit for another couple of weeks.

When I finally find the time, I set about getting my sweat beer into bottles. First I boil some sugar water and put it in the freshly cleaned pail. I then quietly siphon the beer on top of it.
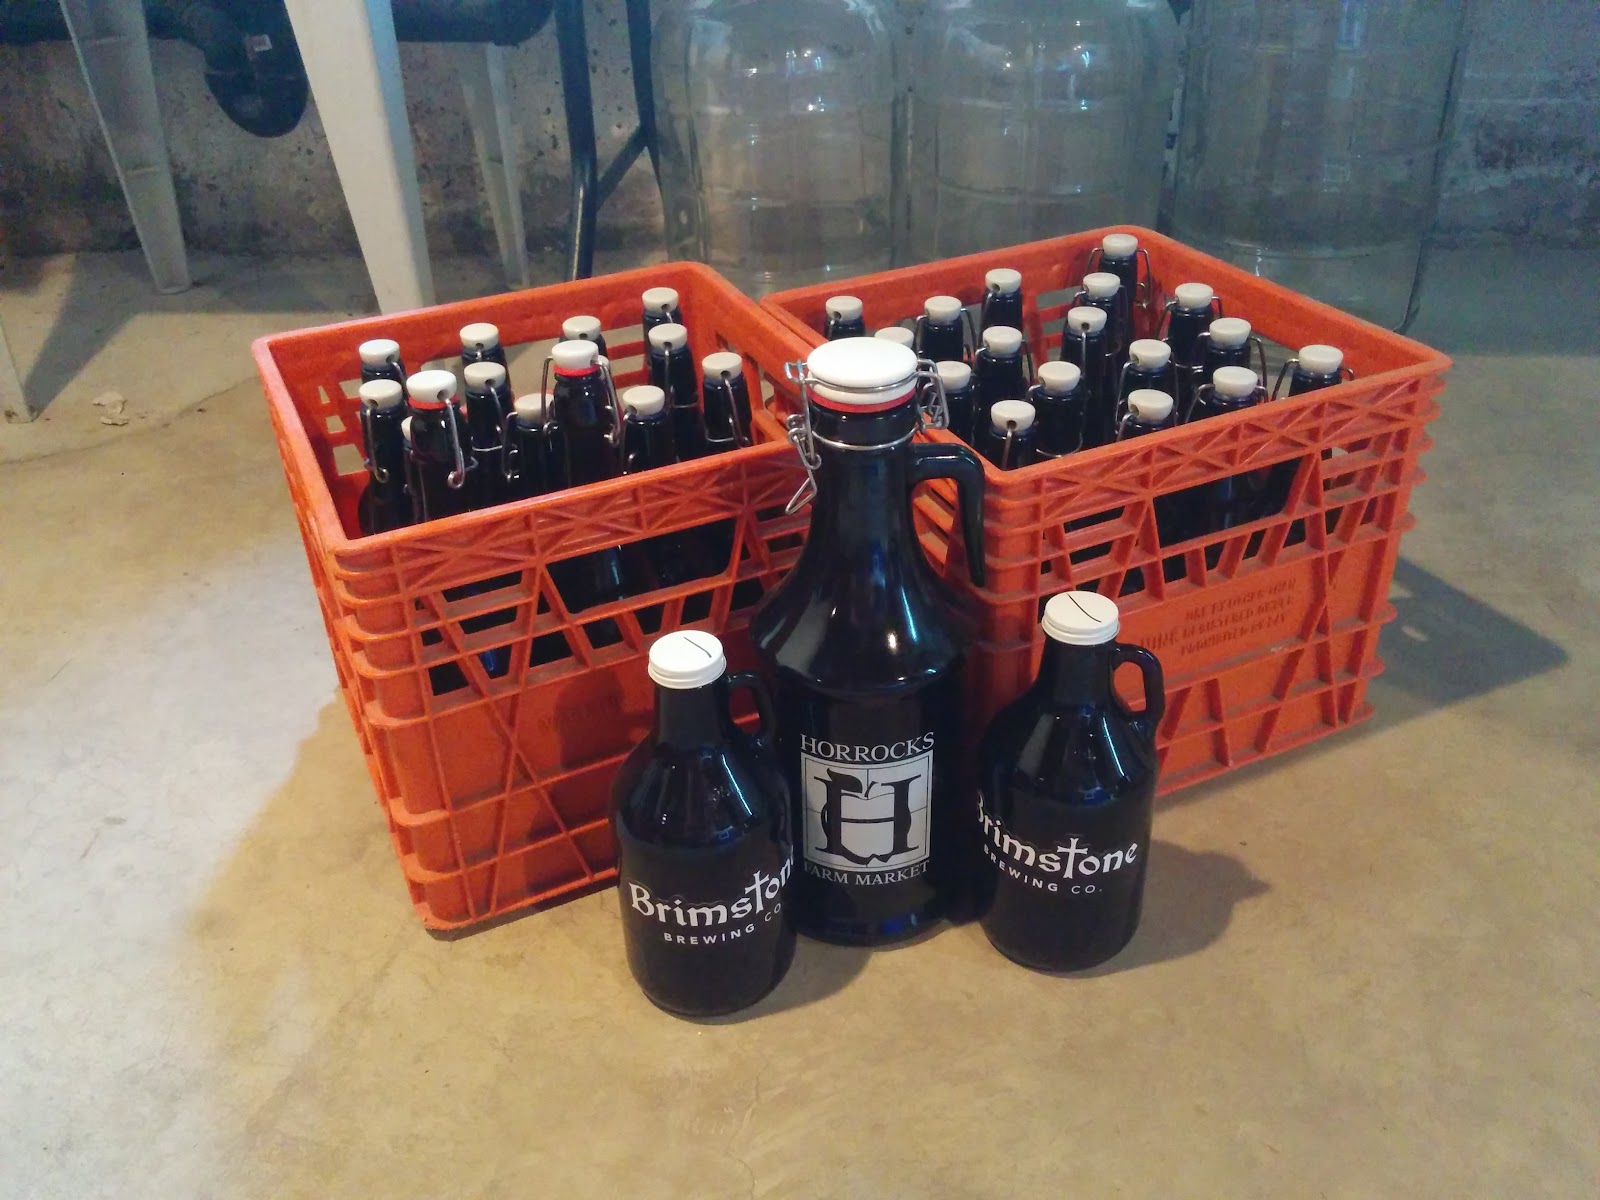
With that done, I attach my racking cane to my siphon and start filling my bottles. I took the tough task of drinking a lot of beer that came in bottles with a flip-top lid. It was hard work, but now I have a sizeable collection of bottles I can reuse and don’t have to worry about capping. I do have a bag of caps and I will from time to time use them, but it just takes longer so I don’t like doing it.
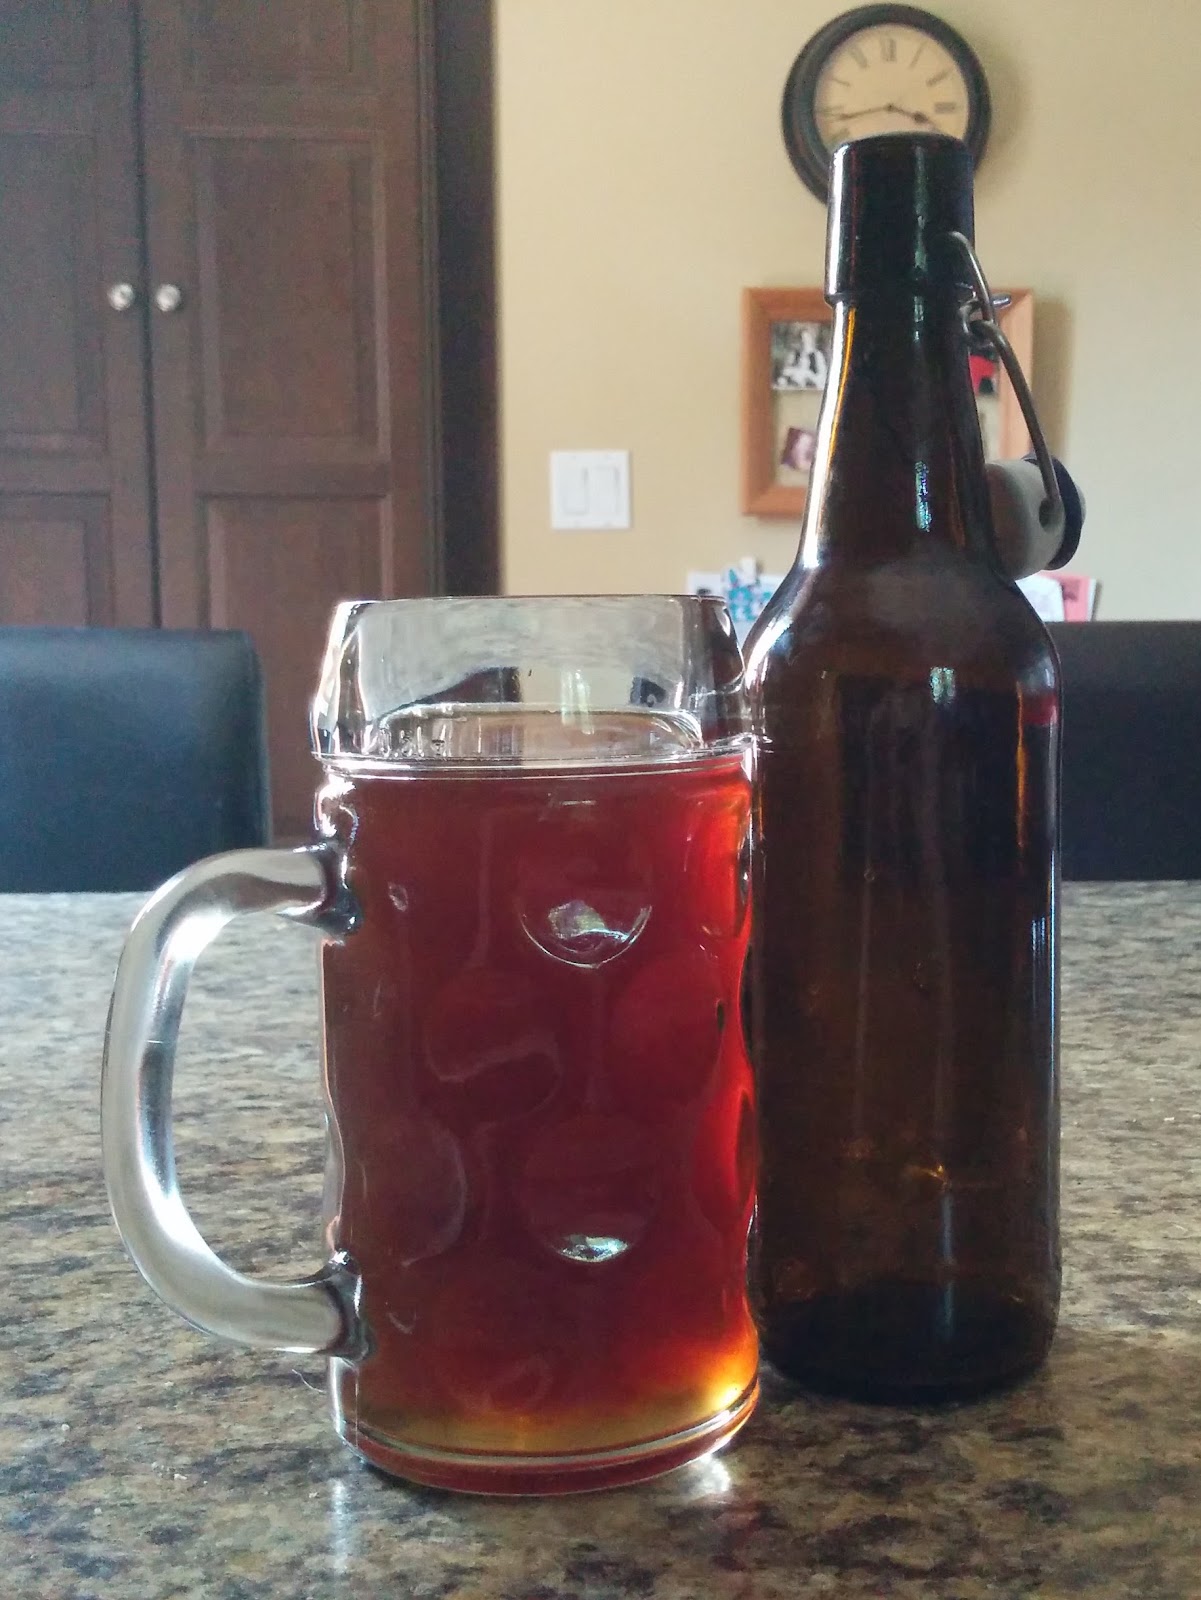
Even after they are all full, I still need to wait a couple weeks to let the beer condition in the bottle. This allows the beer to naturally carbonate, but I have to admit, I usually break the seal on the first bottle after about a week - it tastes good, but it is a little flat.
After all is said and done, I have about two and a half cases of quality beer at the cost of less than $1 a beer. I also enjoy the process and look forward to doing an all-grain brew in the very near future.
Do you like good beer and make it yourself? Do you like to enjoy high-quality brew at less than half the price you can buy it? Tell me in the comments how you do it.
Looks and sounds wonderful, Mike. Rusty
ReplyDeleteThanks, Rusty
Delete